Deploying MongoDB Helm Chart
Last updated
Was this helpful?


Last updated
Was this helpful?
Let's assume that you are creating an application and want to use mongodb to store data of your application. You can deploy mongodb using stable/mongodb-replicaset Helm chart and connect it to your application.
This guide will introduce you to how to deploy the mongoDB's Helm chart.
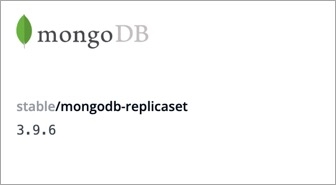
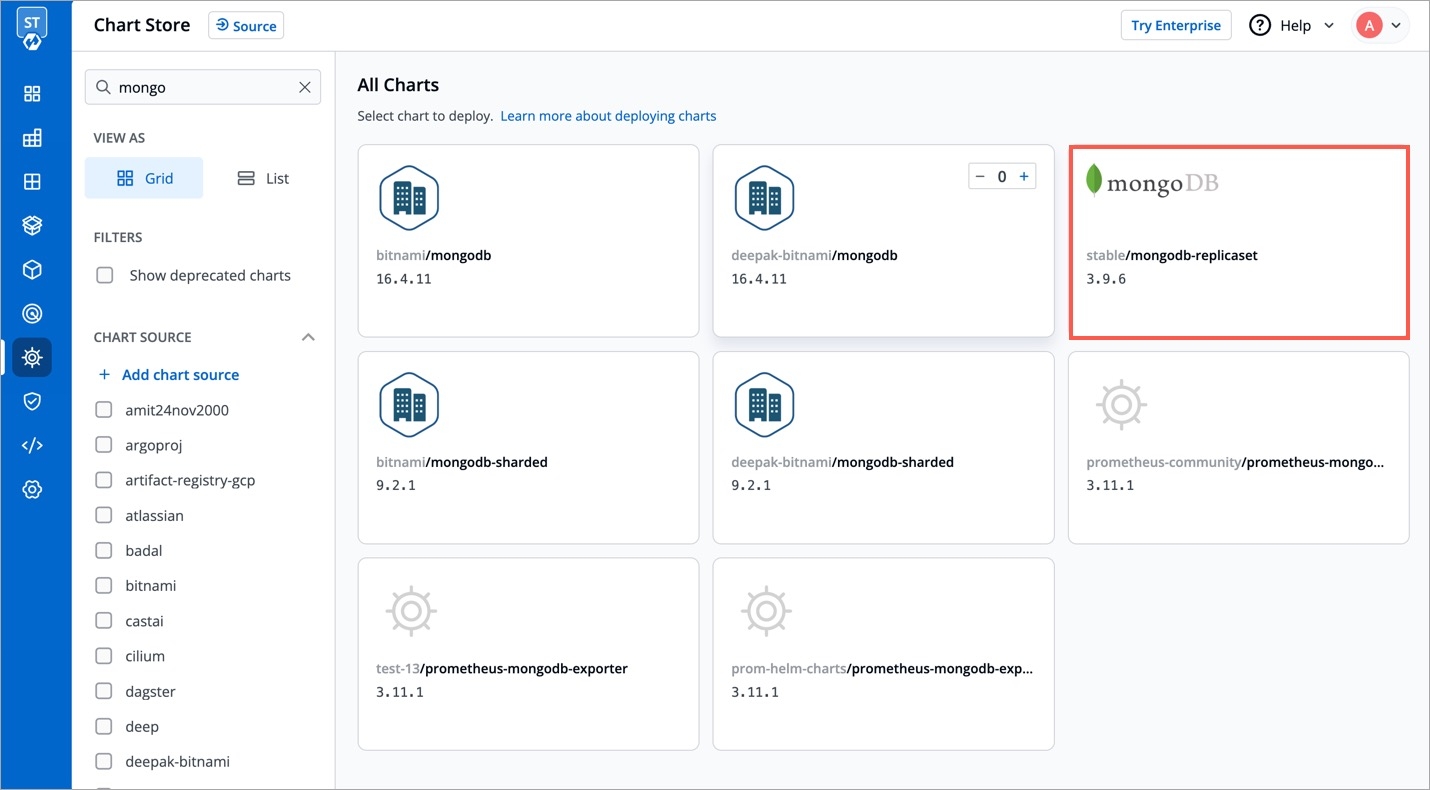
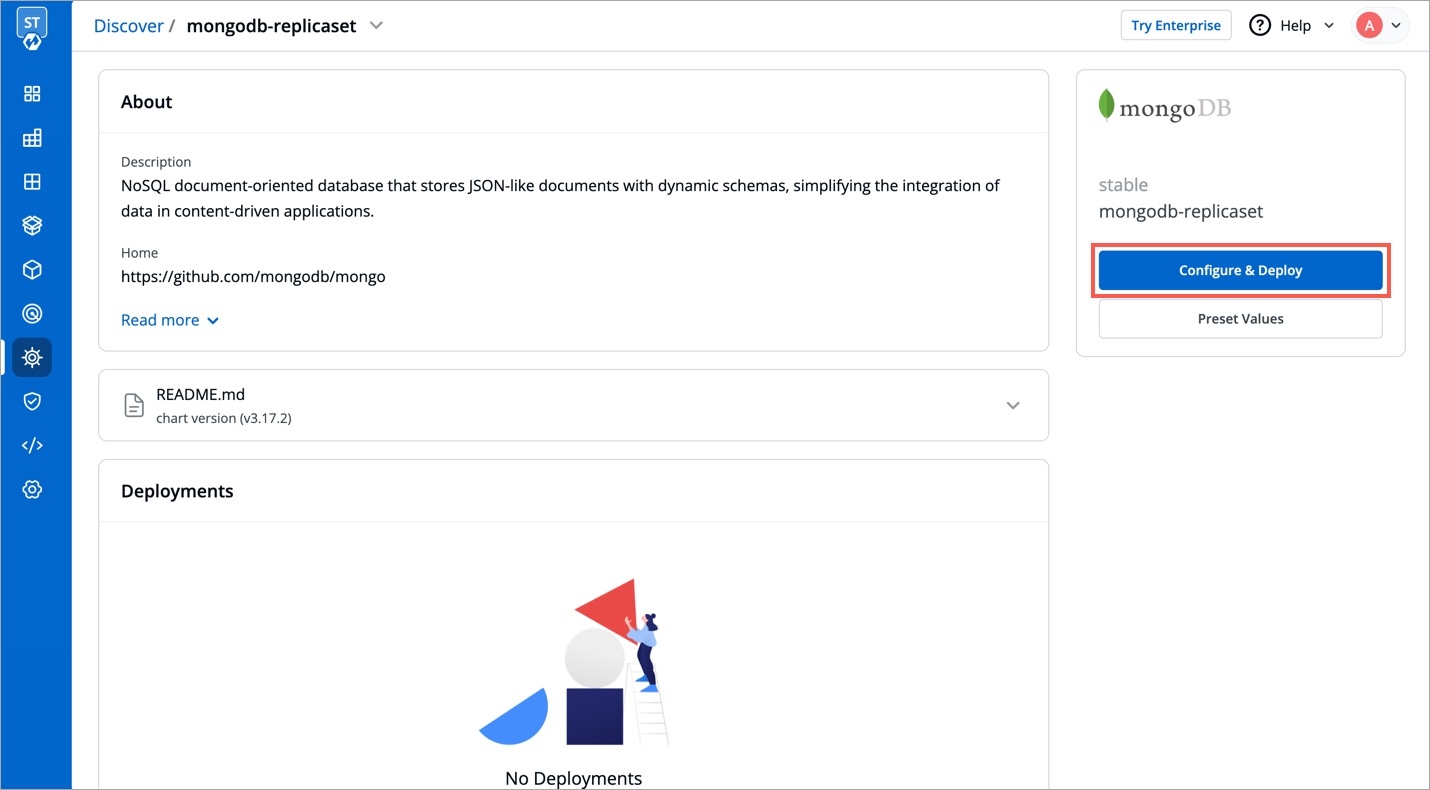
Visit the Chart Store page by clicking on Charts present on left panel and find stable/mongodb-replicaset Helm Chart. You also can search mongodb chart using the search bar.
After selecting the stable/mongodb Helm chart, click on Deploy.
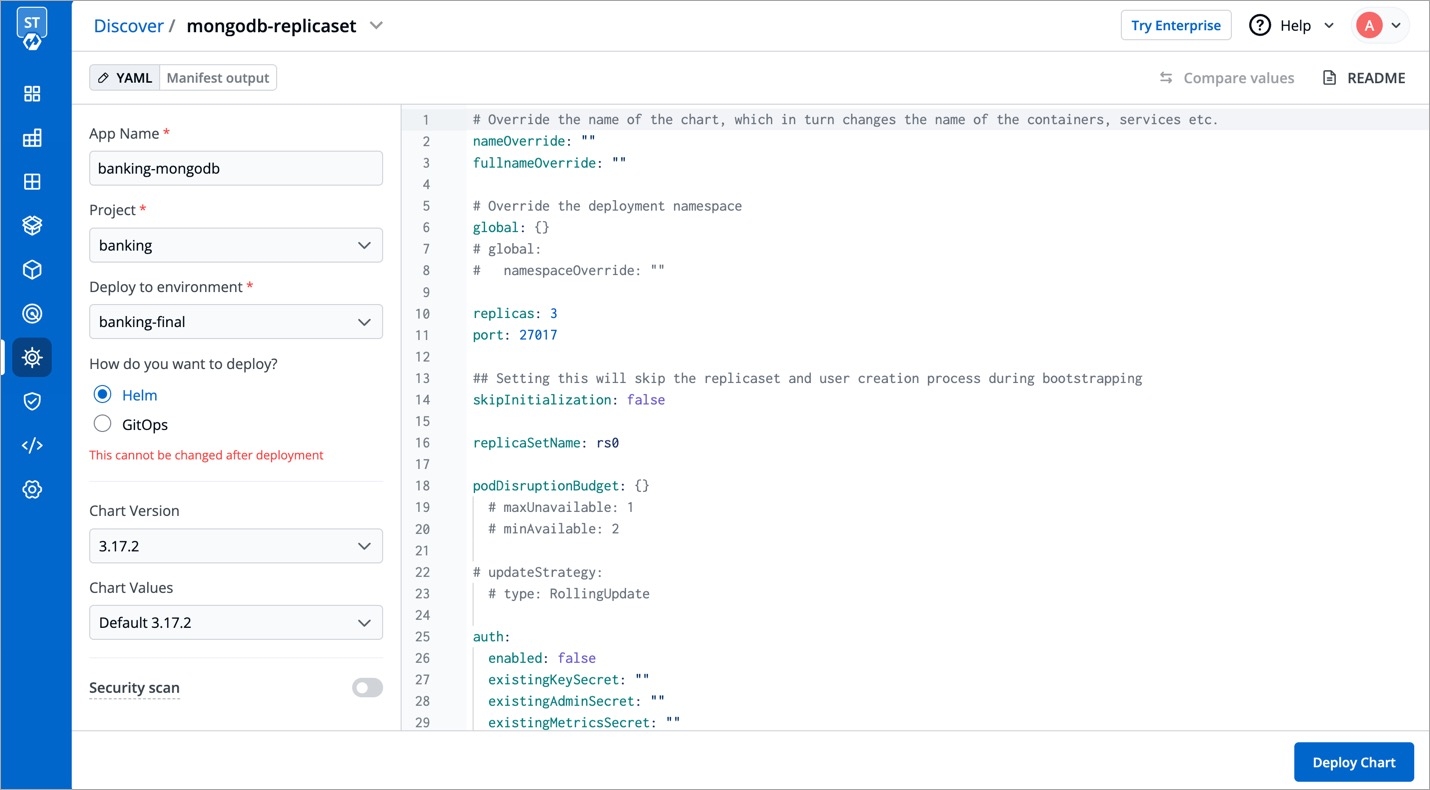
Enter the following details before deploying the mongoDB chart:
App Name
Name of the Chart
Project
Select the name of your Project in which you want to deploy the chart
Environment
Select the environment in which you want to deploy the chart
Chart Version
Select the latest Chart Version
Chart Value
Select the latest default value or create a custom value
values.yamlClick on Deploy Chart once you have finished configuring the chart.
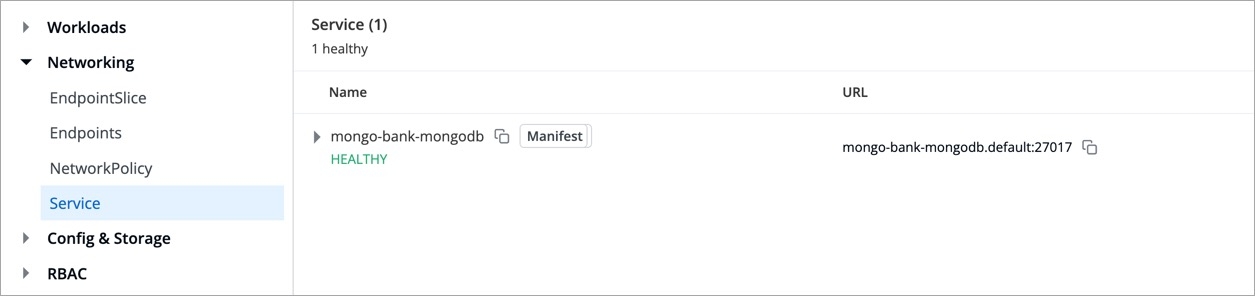
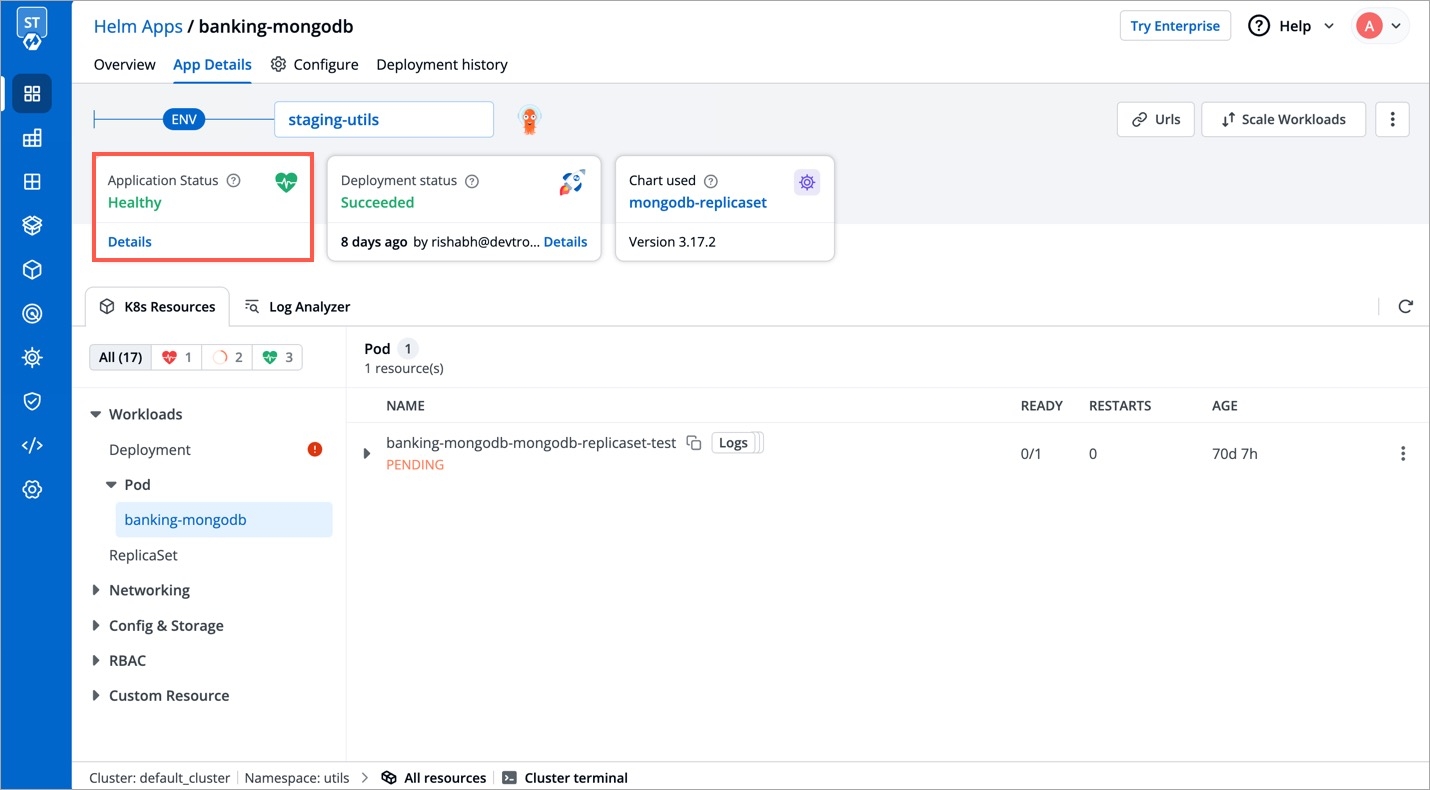
After clicking on Deploy Chart, you will be redirected to App Details page that shows the deployment status of the chart. The Status of the chart should be Healthy. It might take few seconds after initiating the deployment.
In case the status of the deployment is Degraded or takes a long time to get deployed, click on Status or check the logs of the pods to debug the issue.
Copy the service name, it will be used to connect your application to mongoDB.
You can configure the values.yaml according to your project's requirements. To learn about different parameters used in the chart, you can check