Deploying Mysql Helm Chart
Last updated
Was this helpful?


Last updated
Was this helpful?
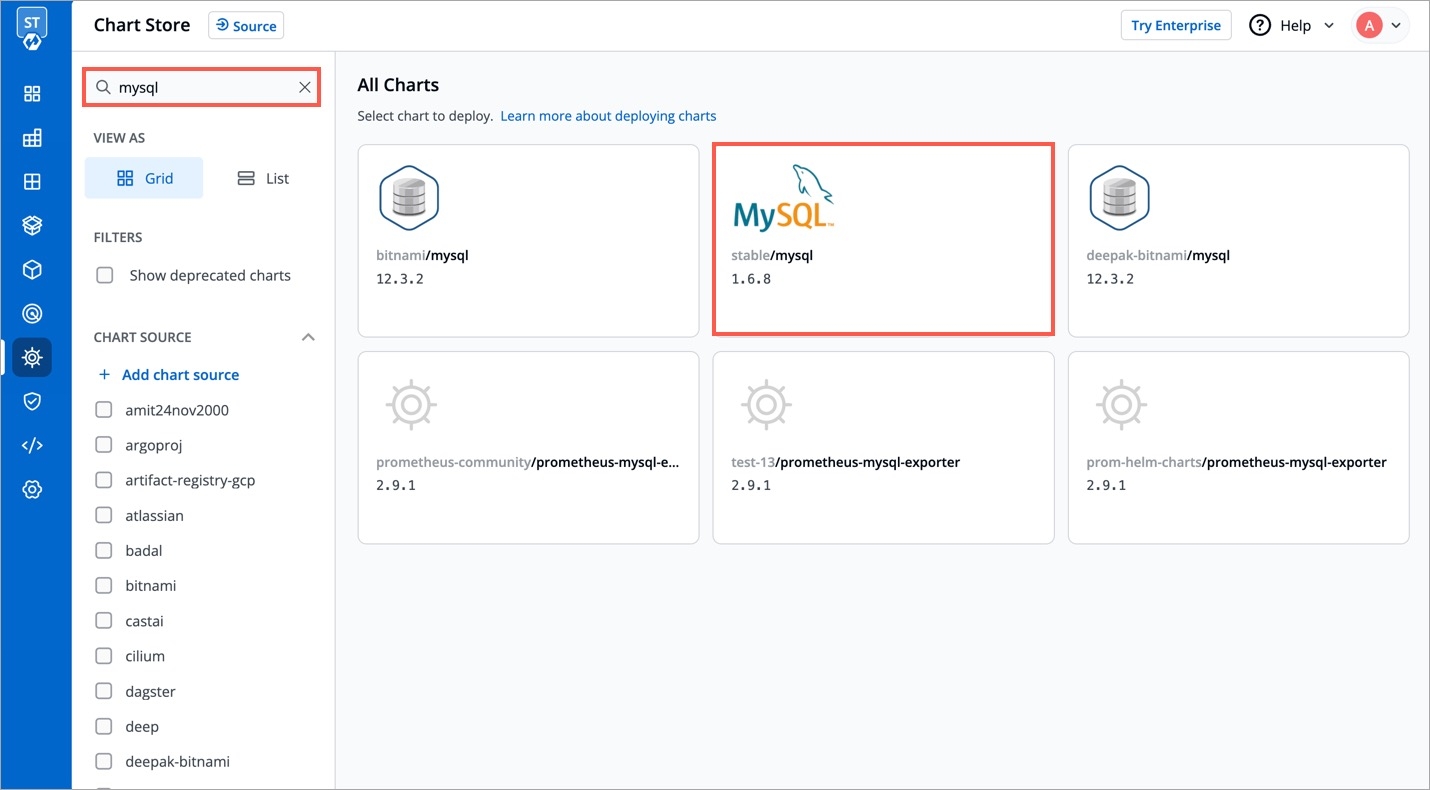
stable/mysql Helm chart bootstraps a single node MySQL deployment on a Kubernetes cluster using the Helm package manager.
Select Charts from the left panel to visit the Chart Store page. You will see numerous of charts on the page from which you have to find stable/mysql chart. You also can use the search bar to search the MySQL chart.
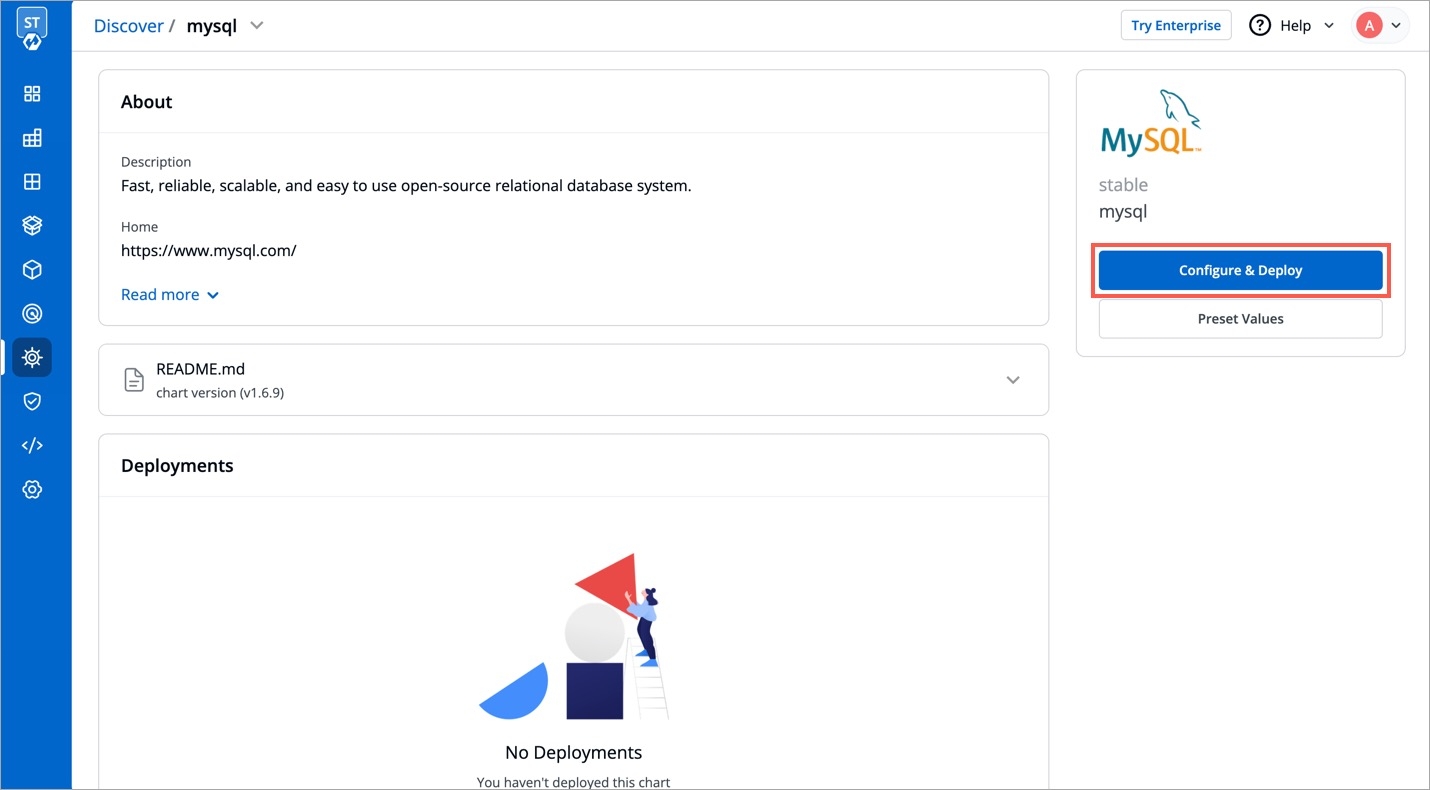
After selecting the stable/mysql Helm chart, click on Deploy.
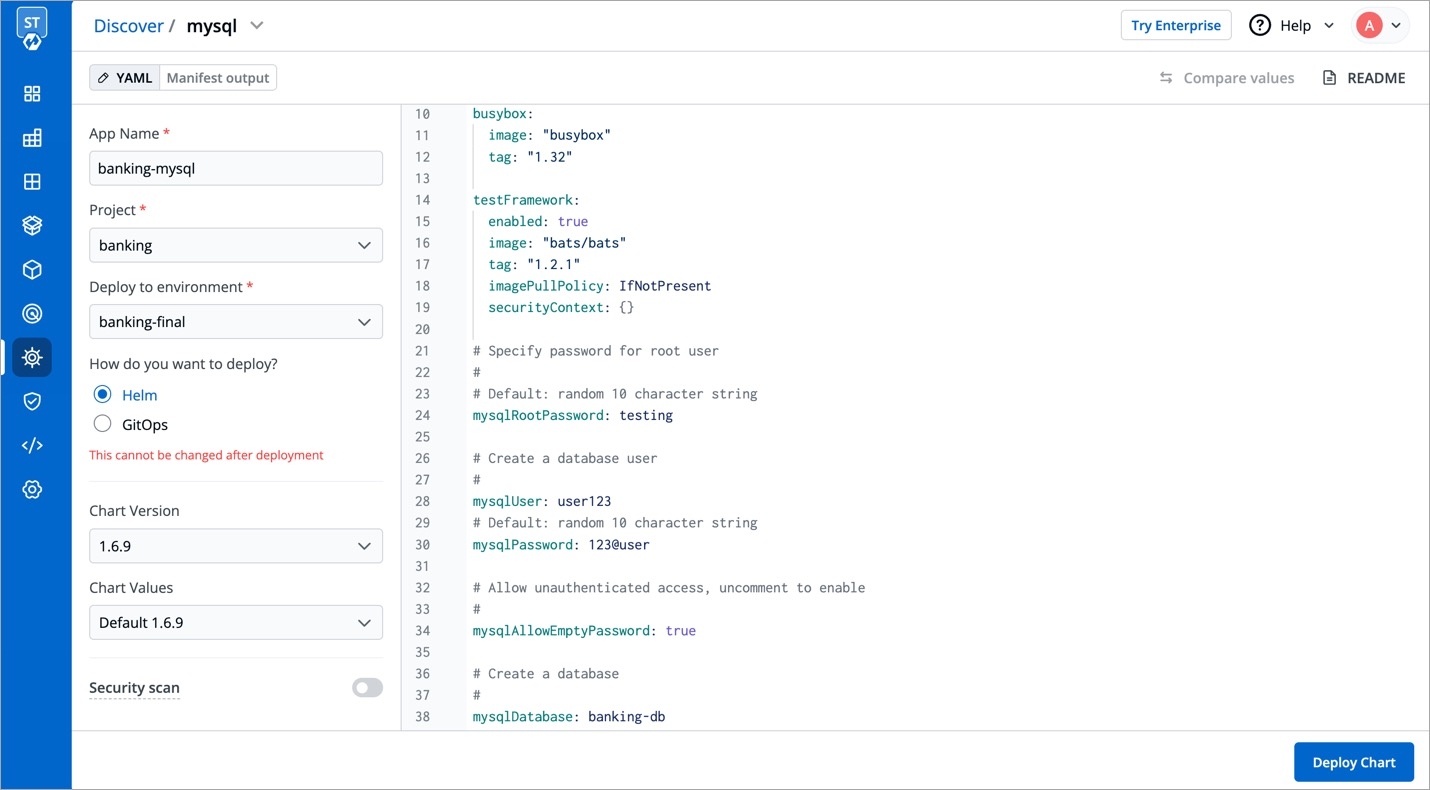
Enter the following details, to deploy MySQL chart:
App Name
Name of the Chart
Project
Select the name of your Project in which you want to deploy the chart
Environment
Select the environment in which you want to deploy the chart
Chart Version
Select the latest Chart Version
Chart Value
Select the default value or create a custom value
values.yamlSet the following parameters in the chart, to be later used to connect MySQL with your Django Application.
mysqlRootPassword
Password for the root user. Ignored if existing secret is provided
mysqlDatabase
Name of your MySQL database
mysqluser
Username of new user to create
mysqlPassword
Password for the new user. Ignored if existing secret is provided
Click on Deploy Chart to deploy the Chart.
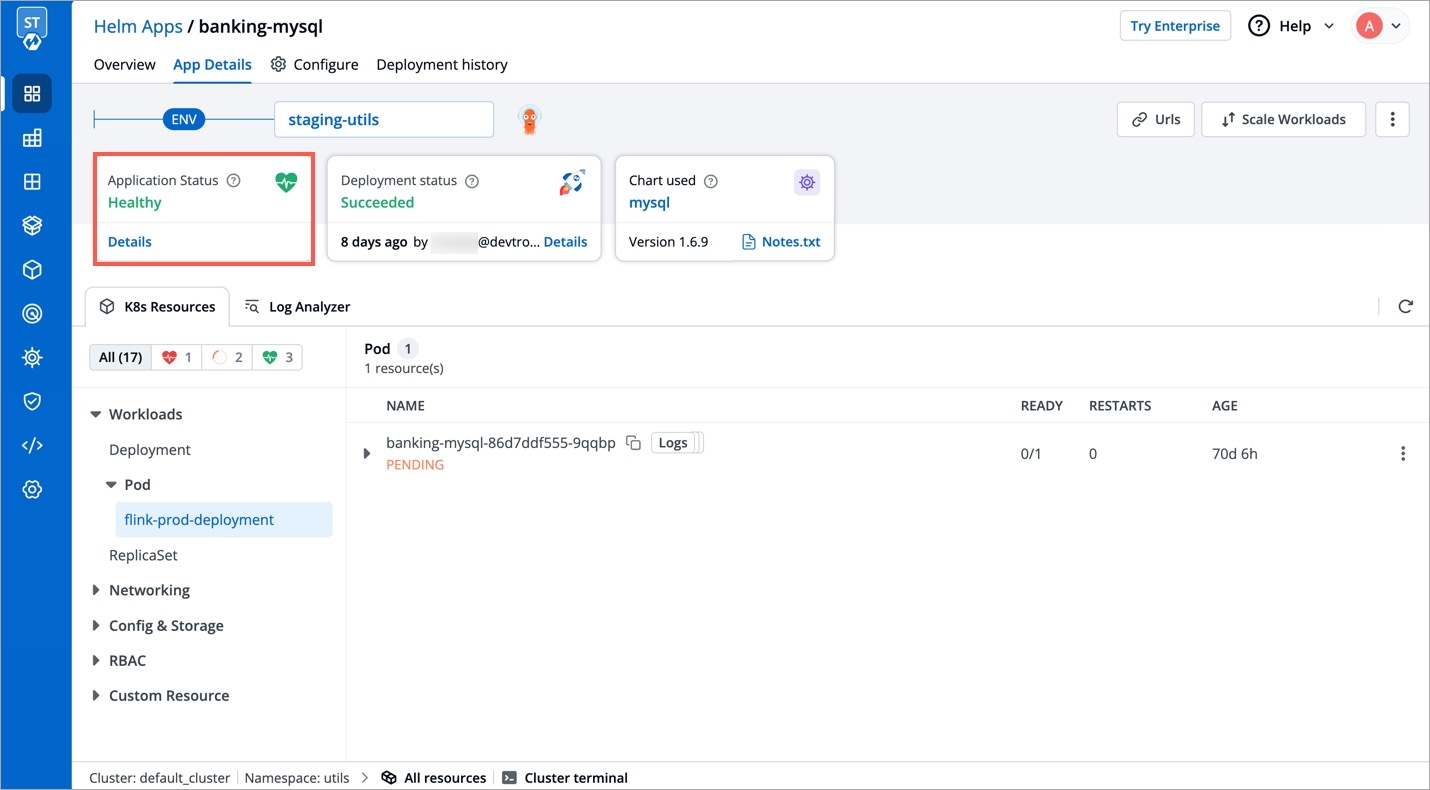
After clicking on Deploy you will be redirected to app details page where you can see deployment status of the chart. The Status of the chart should be Healthy. It might take few seconds after initiating the deployment of the chart.
In case the Status, of the deployment is Degraded or takes a long time to get deployed. Click on the Status or check the logs of the pods to debug the issue.
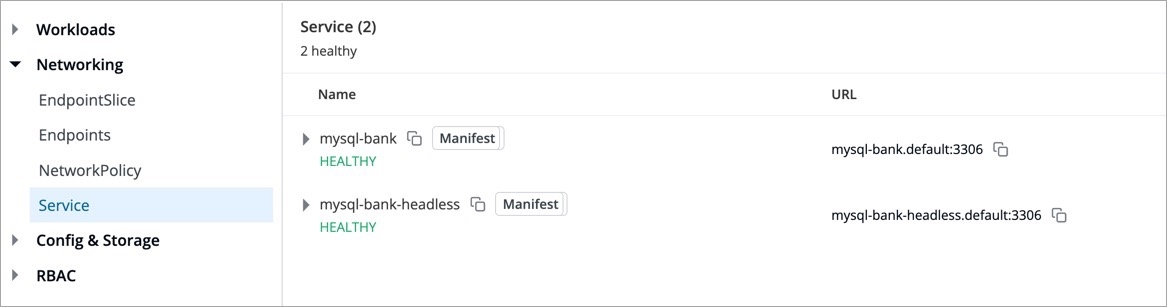
Copy the service name, it will be used to connect your application to MySQL.