Tenants
This section allows you to add new tenants and map environments to these installations to ensure updates rollout correctly.
Adding Tenant
This involves the creation of new organizations where you wish to deploy s/w updates. Whenever you are onboarding a new client, you add them as a tenant.
Click + Add Tenant.
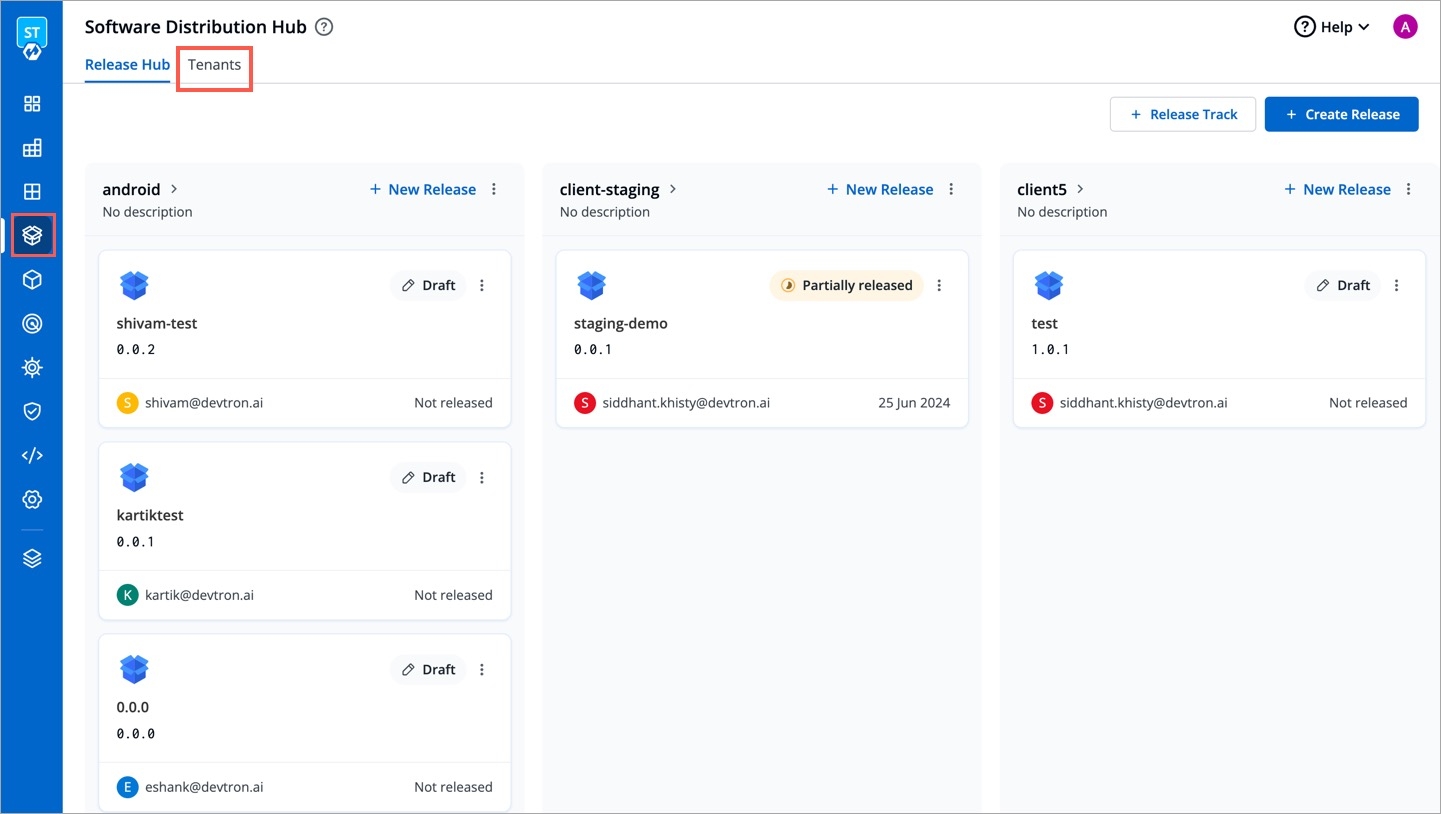
Figure 1: Adding a Tenant Enter a name in Tenant display name field, e.g.,
flareup.xyz. Once set, you can rename it later (if needed).Add a unique identifier to your tenant in Tenant ID field, e.g.,
flareup123. Once set, you cannot change it later.(Optional) Add a description of the tenant.
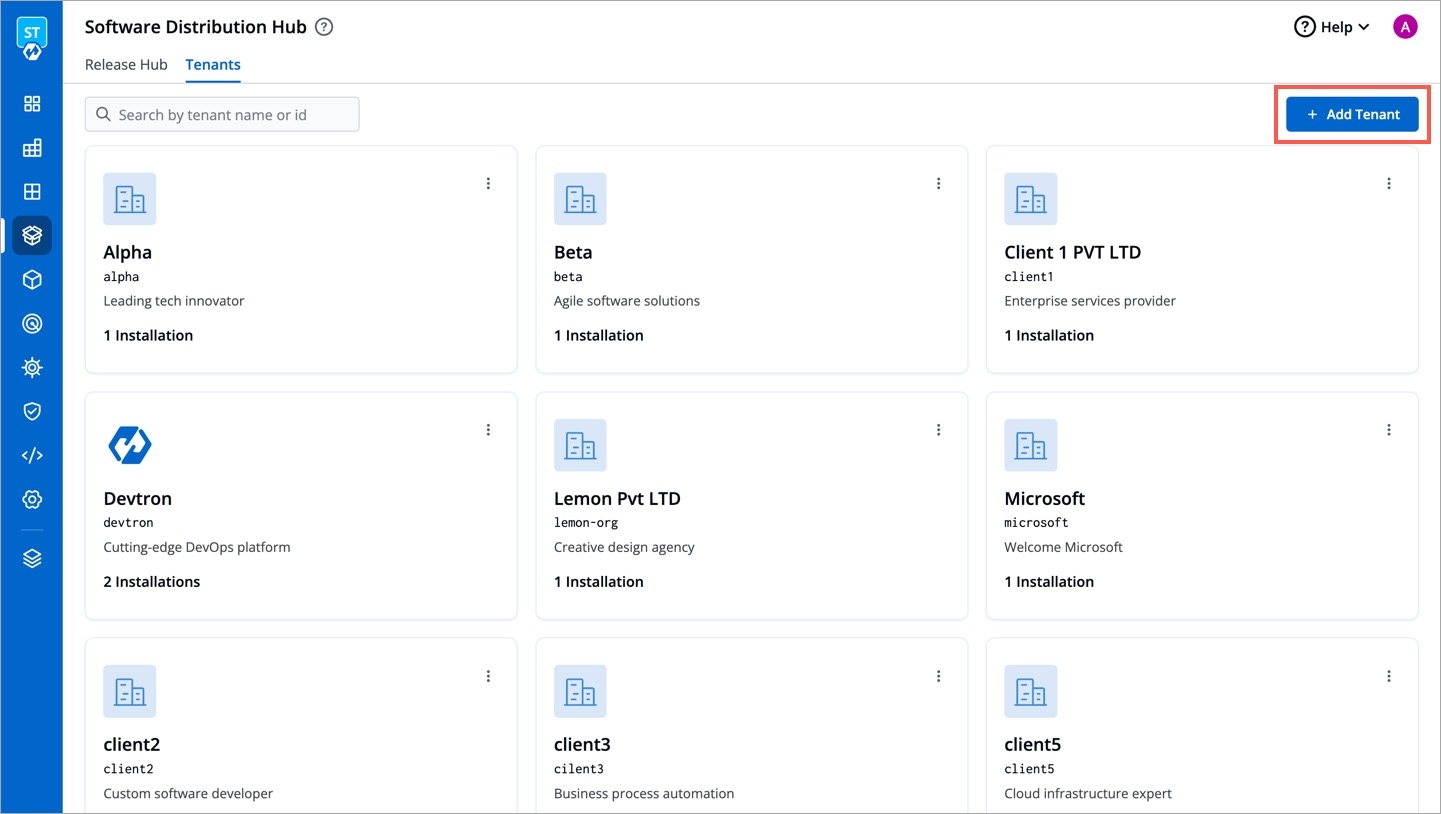
Figure 2: Saving Tenant Details Click Save.
Adding Installation
Who Can Perform This Action?
Users need to have super-admin permission to add installations to a tenant.
This involves setting up installation for different environments, such as Prod, Development, and QA environments. You can consider these as licenses/installations your client has subscribed for.
Click the tenant you created.
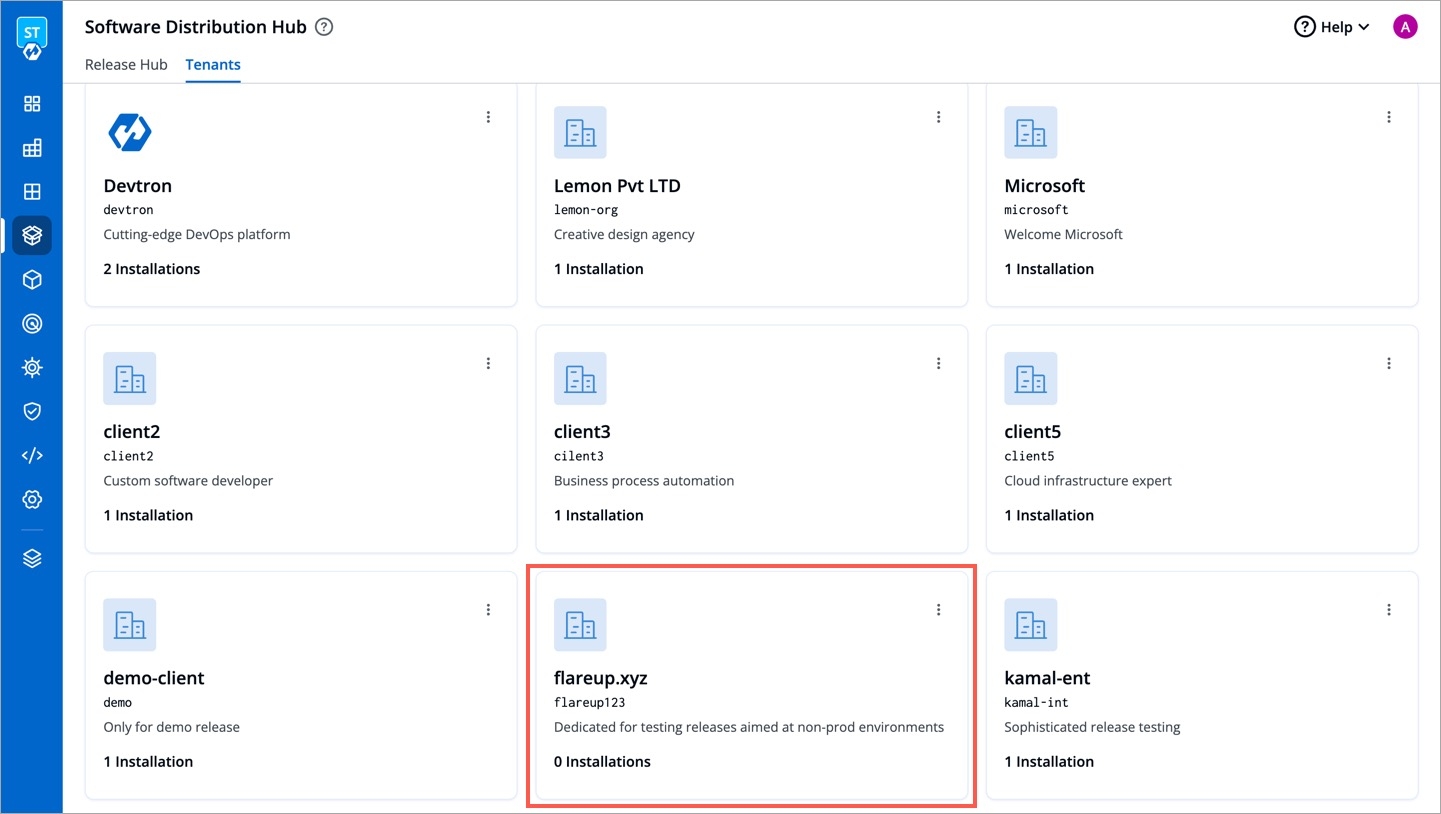
Figure 3: Clicking Your Tenant Click + Add Installation.
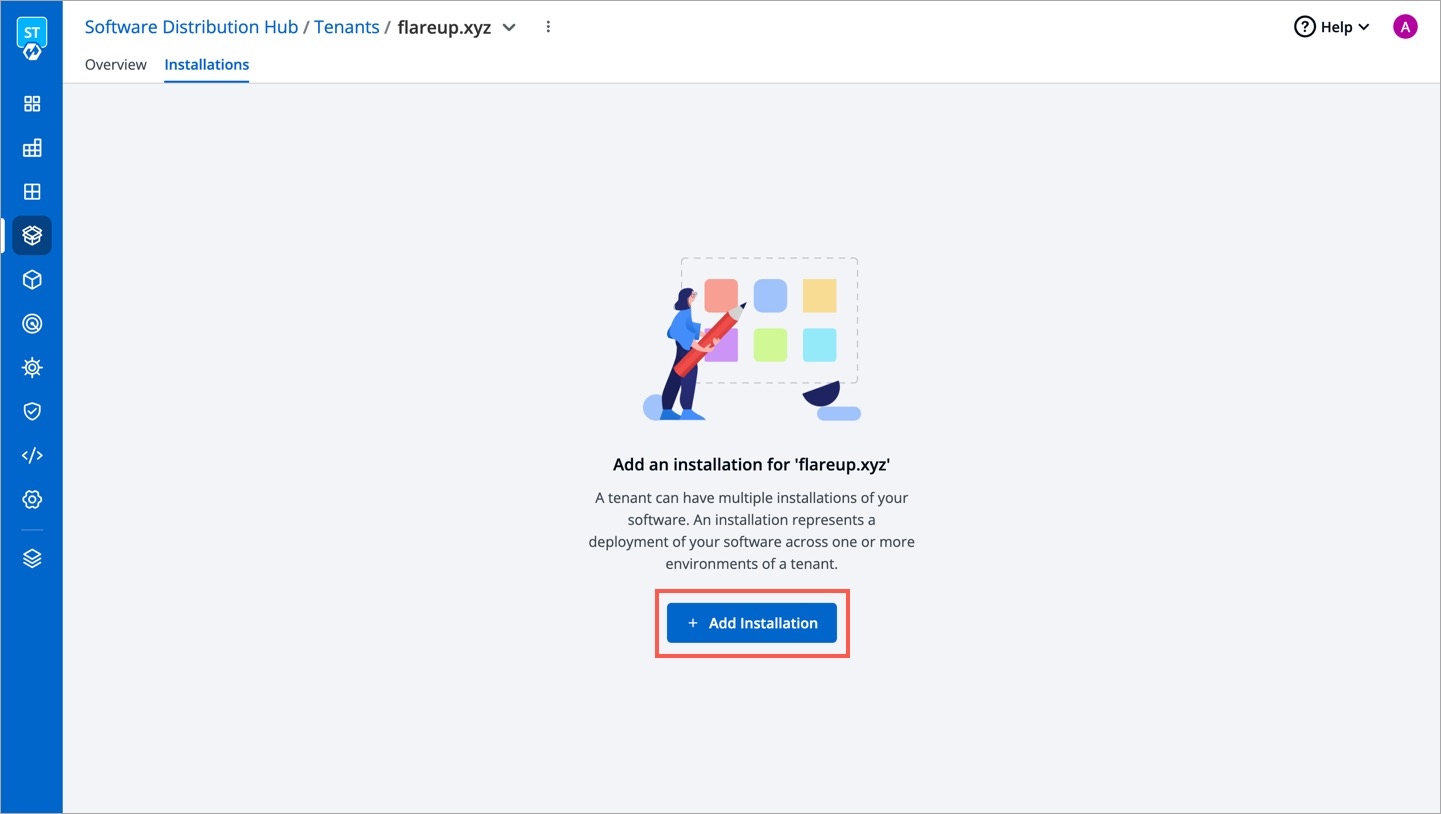
Figure 4: Adding an Installation Enter a name in Installation display name field, e.g.,
Flareup ProdEnter an Installation ID, e.g.,
flareup-prod-1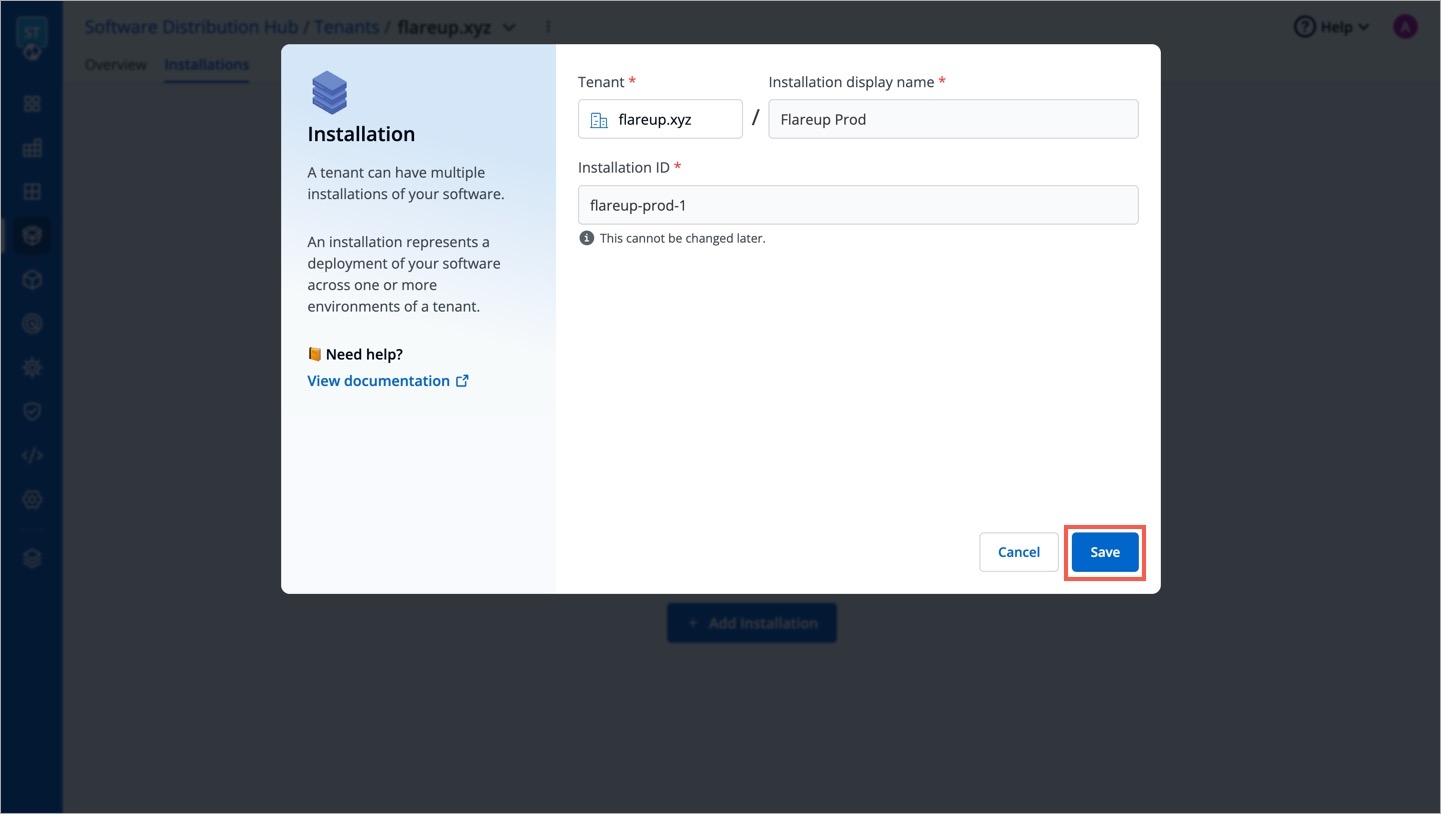
Figure 5: Entering Installation ID Click Save.
Mapping Environments
This involves mapping customer's environments to the tenant installation so that your updates are deployed to the correct environments. If you haven't created an environment yet, refer Clusters & Environments.
Click Map Environment.
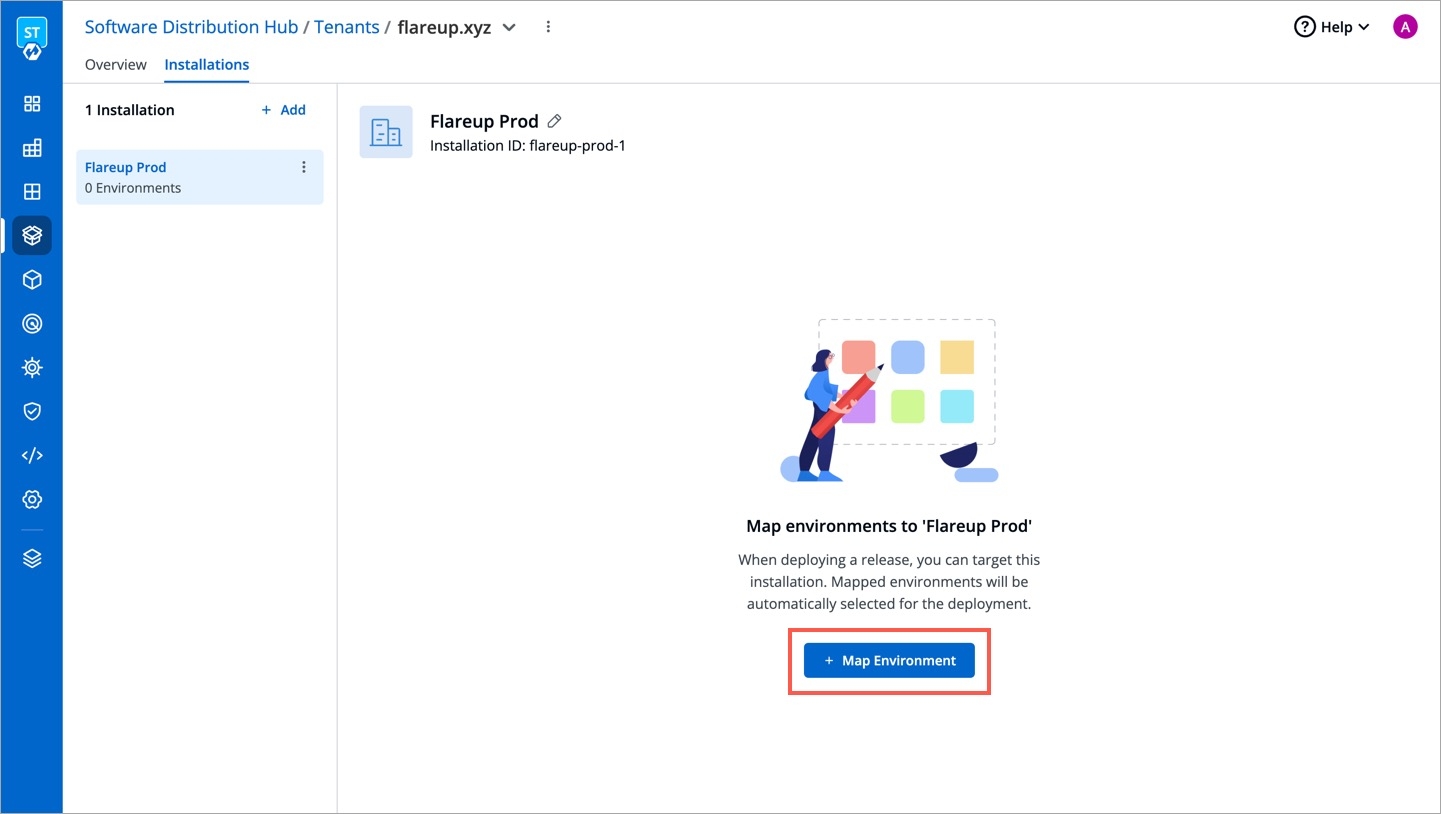
Figure 6: Map Environment Button Use the checkbox to choose the environments to map to the tenant installation. Note that, you cannot map an environment that is already mapped to another tenant installation.
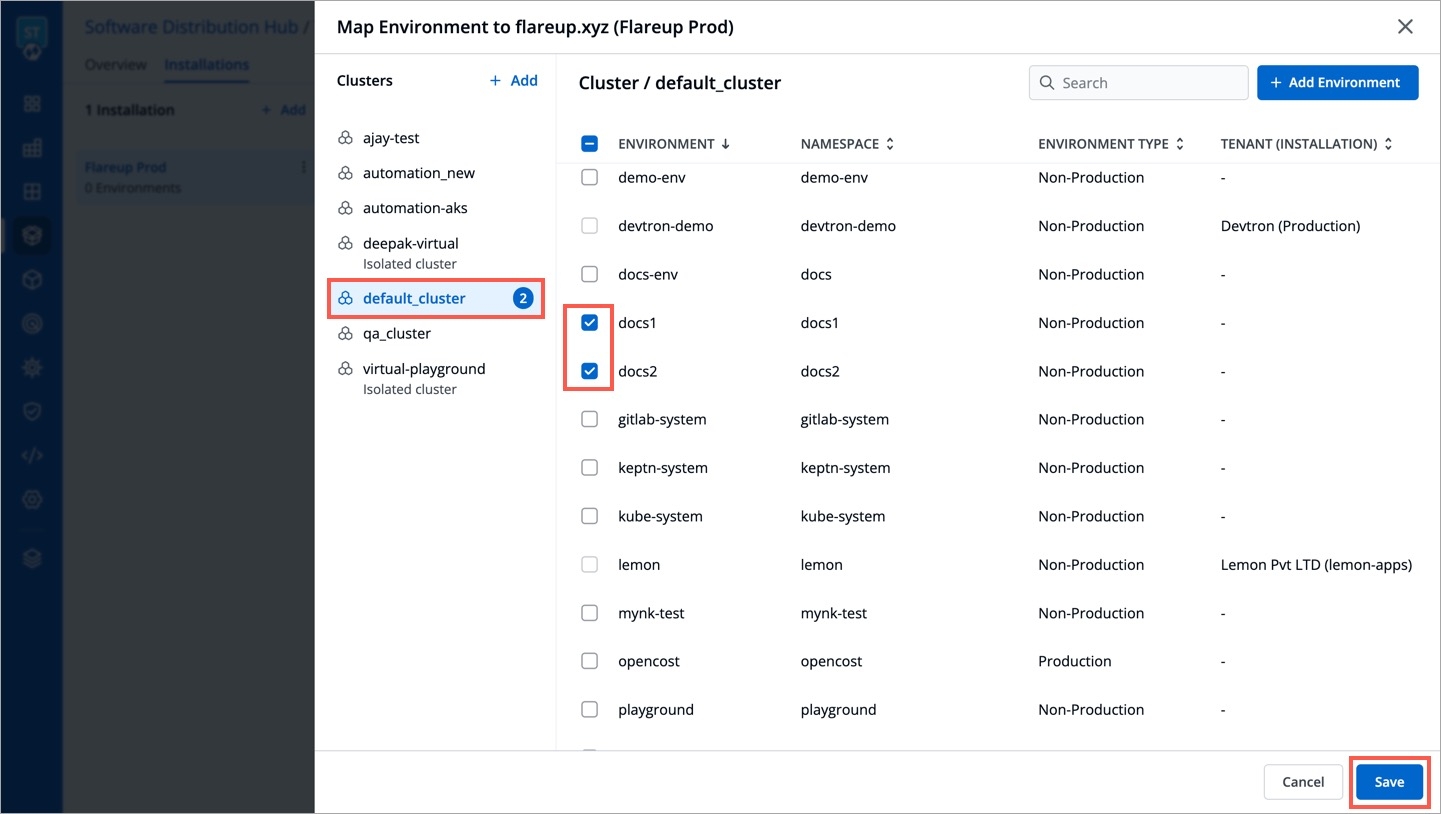
Figure 7: Mapping Environment to Your Installation Here, we have mapped
doc1anddoc2environments to the production installation.Click Save
Next, you need to set up a release on Release Hub. If you have correctly mapped the customer's environments to an installation, and if you choose applications that already have those environments (say doc1 or doc2 or both) in their deployment pipeline, you can rollout your release.
Last updated
Was this helpful?


