Base Deployment Template
Last updated
Last updated
A deployment configuration is a manifest of the application. It defines the runtime behavior of the application. You can select one of the default deployment charts or custom deployment charts which are created by super admin.
To configure a deployment chart for your application, do the following steps:
Go to Applications and create a new application.
Go to App Configuration page and configure your application.
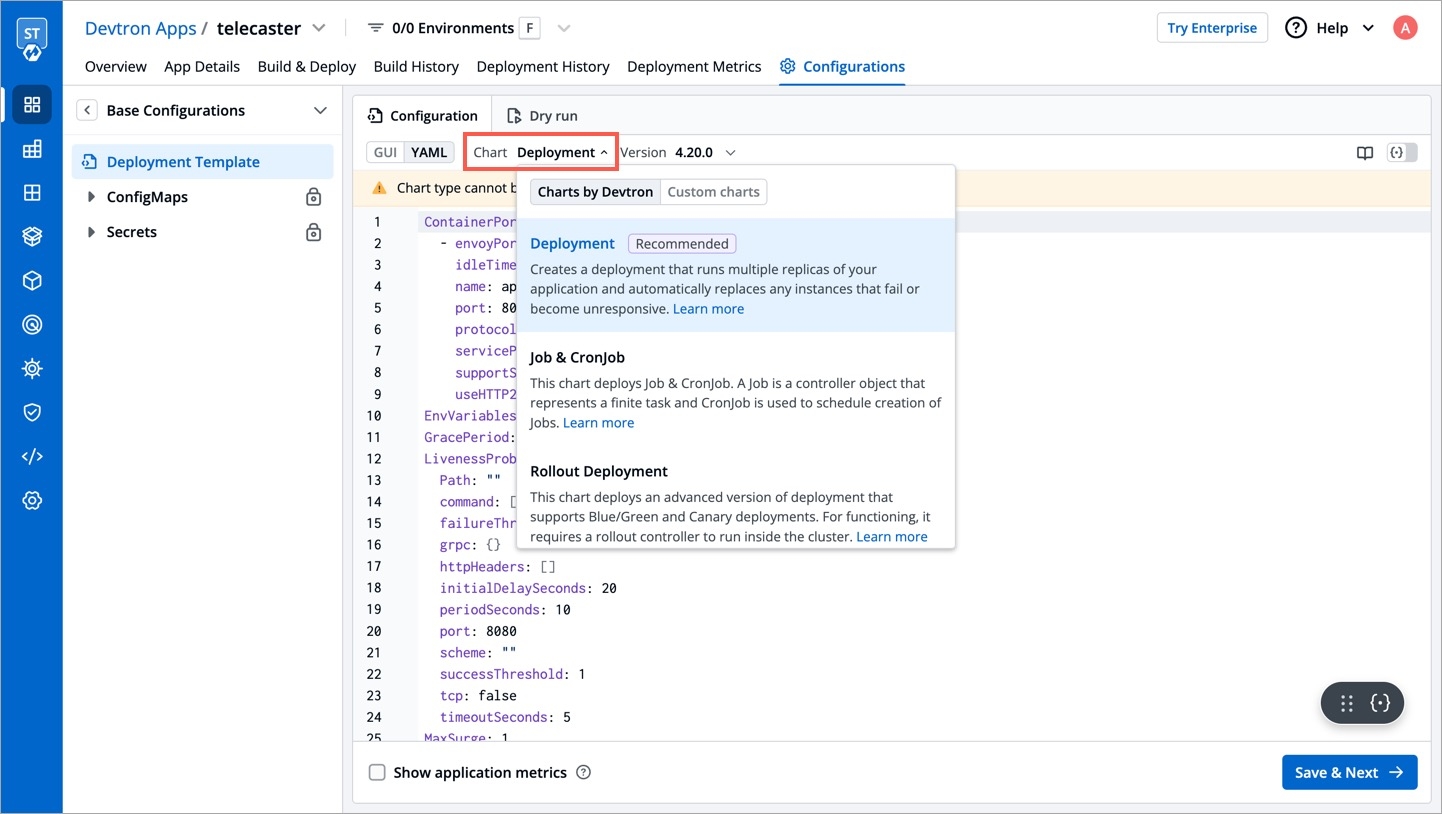
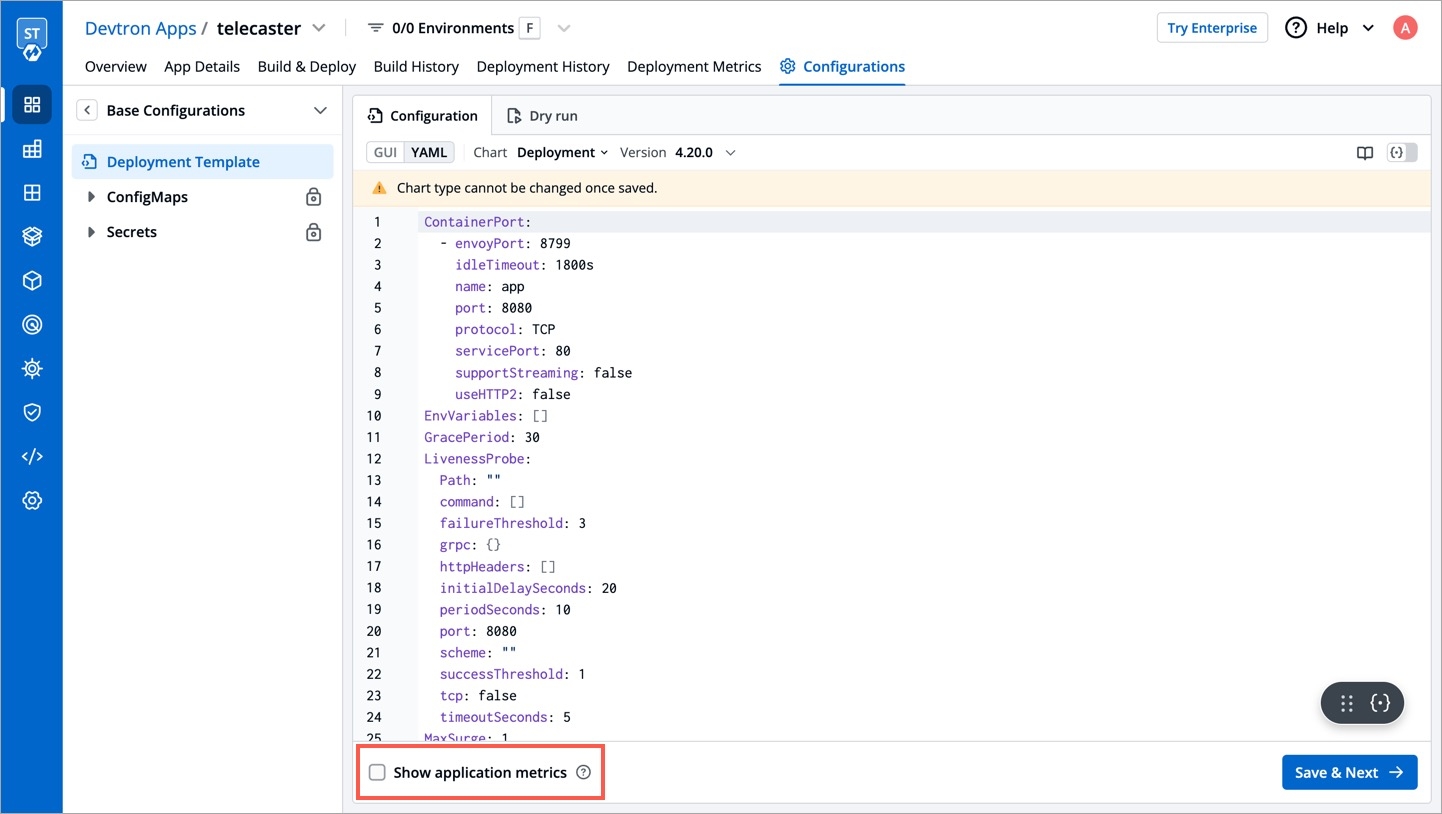
On the Base Deployment Template page, select the drop-down under Chart type.
Users need to have Admin role or above to select a chart.
After you select and save a chart type for a given application, you won't be able to change it later. Make sure to choose the correct chart type before saving. You can select a chart from Devtron Charts or other Deployment Charts.
You can select a default deployment chart from the following options:
Deployment (Recommended)
This option will be available only if a custom chart exists. If it doesn't, a user with super admin permission may upload one in Global Configurations → Deployment Charts.
You can select an available custom chart as shown below. You can also view the description of the custom charts in the list.
Users need to have Admin role or above to select a chart version.
Once you select a chart type, choose a chart version using which you wish to deploy the application.
Devtron uses helm charts for deployments and it maintains multiple chart versions based on the features it supports.
One can see available chart versions in the drop-down. You can select any chart version as per your requirements. By default, the latest version of the helm chart is selected.
Every chart version has its own YAML file that provides specifications for your application. To make it easy to use, we have created templates for the YAML file and have added some variables inside the YAML. You can provide or change the values of these variables as per your requirement.
Users need to have Admin role or above to configure a chart. However, super-admins can lock keys in base deployment template to prevent non-super-admins from modifying them. Refer Lock Deployment Configuration to know more.
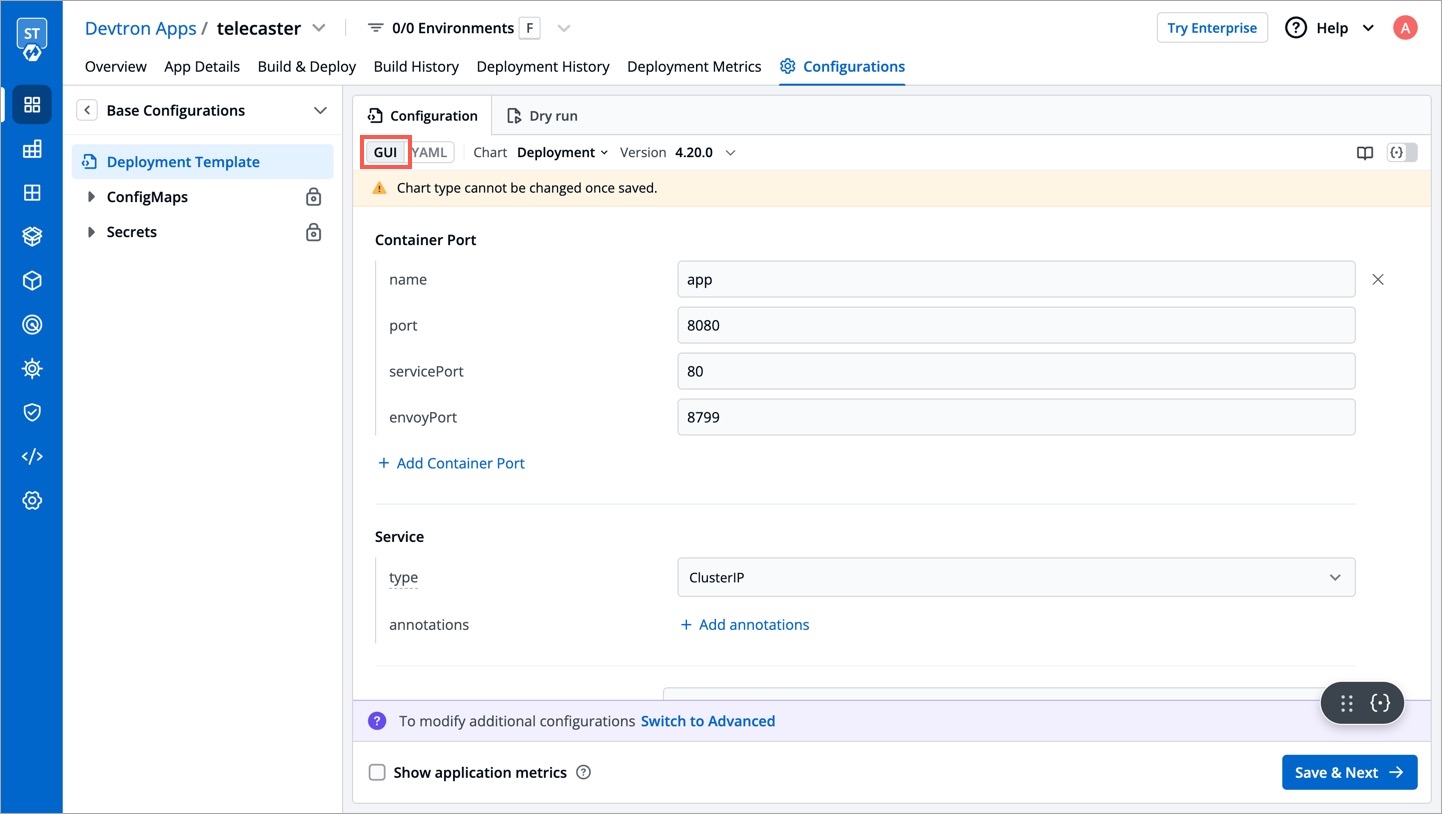
If you are not an advanced user, you may use the Basic (GUI) section to configure your chosen chart.
By default, the following fields are available for you to modify in the Basic (GUI) section:
Arguments
Enable the Arguments to pass one or more argument values. By default, it is in the disabled state.
Command
Enable the Command to pass one or more command values. By default, it is in the disabled state.
HTTP Request Routes
Enable the HTTP Request Routes to define Host, and Path. By default, it is in the disabled state.
Host: Domain name of the server.
Path: Path of the specific component in the host that the HTTP wants to access.
You can define multiple paths as required by clicking Add path.
Resources
Here, you can tweak the requests and limits of the CPU resource and RAM resource as per the application.
Autoscaling
Define the autoscaling parameters to automatically scale your application's deployment based on resource utilization.
Maximum Replicas: The maximum number of replicas your application can scale up to.
Minimum Replicas: The minimum number of replicas your application should run at any time.
Target CPU Utilization Percentage: The average CPU utilization across all pods that will trigger scaling.
Target Memory Utilization Percentage: The average memory utilization across all pods that will trigger scaling.
Environment Variables (Key/Value)
Define key/value by clicking Add variable.
Key: Define the key of the environment.
Value: Define the value of the environment.
You can define multiple env variables by clicking Add EnvironmentVariables.
Container Port
The internal port on which the container listens for HTTP requests. Specify the container port and optionally the service port that maps to it.
Service
Configure the service that exposes your application to the network.
Type: Specify the type of service (e.g., ClusterIP, NodePort, LoadBalancer).
Annotations: Add custom annotations to the service for additional configuration.
Readiness Probe
Define the readiness probe to determine when a container is ready to start accepting traffic.
Path: The HTTP path that the readiness probe will access.
Port: The port on which the readiness probe will access the application.
Liveness Probe
Define the liveness probe to check if the container is still running and to restart it if it is not.
Path: The HTTP path that the liveness probe will access.
Port: The port on which the liveness probe will access the application.
Tolerations
Define tolerations to allow the pods to be scheduled on nodes with matching taints.
Key: The key of the taint to tolerate.
Operator: The relationship between the key and the value (e.g., Exists, Equal).
Value: The value of the taint to match.
Effect: The effect of the taint to tolerate (e.g., NoSchedule, NoExecute).
ServiceAccount
Specify the service account for the deployment to use, allowing it to access Kubernetes API resources.
Create: Toggle to create a new service account.
Name: The name of the service account to use.
Click Save Changes. If you want to do additional configurations, then click the Switch to Advanced button or Advanced (YAML) button for modifications.
If you change any values in the 'Basic (GUI)', then the corresponding values will change in 'Advanced (YAML)' too.
Users who are not super-admins will land on 'Basic (GUI)' section when they visit Base Deployment Template page; whereas super-admins will land on 'Advanced (YAML)' section. This is just a default behavior; therefore, they can still navigate to the other section if needed.
By default, the Basic (GUI) section comes with multiple predefined fields as seen earlier in the table. However, if you wish to display a different set of fields to your team, you can modify the whole section as per your requirement.
This is useful in scenarios where:
Your team members find it difficult to understand and edit the Advanced (YAML) section.
You frequently edit certain fields in Advanced (YAML), which you expect to remain easily accessible in Basic (GUI) section.
You don't require some fields in Basic (GUI) section.
You need the autonomy to keep the Basic (GUI) unique for applications/clusters/environments/charts, or display the same Basic (GUI) everywhere.
There are two ways you can customize the Basic GUI, use any one of the following:
From Deployment Charts section
Using APIs (explained below)
You can pass a custom JSON (deployment schema) of your choice through the following API. You may need to run the API with the POST method if you are doing it for the first time.
In the name field, give a name to your schema, e.g., schema-1
Enter the type as JSON.
The schema field is for entering your custom deployment schema. Perform the following steps:
To create a custom schema of your choice, you may use RJSF JSON Schema Tool.
Copy the final JSON and stringify it using any free online tool.
Paste the stringified JSON in the schema field of the API request body.
Send the API request. If your schema already exists, use the PUT method instead of POST in the API call.
The attributeSelector object helps you choose the scope at which your custom deployment schema will take effect.
1 (High)
APP_ENV
Specific to an application and its environment
2
APP
Applies at the application level if no specific environment is defined
3
ENV
Applies to specific deployment environment
4
CHART_REF
Applies to all applications using a specific chart type and version
5
CLUSTER
Applies across all applications and environments within a specific cluster
6
GLOBAL
Universally applies if no other more specific schemas are defined
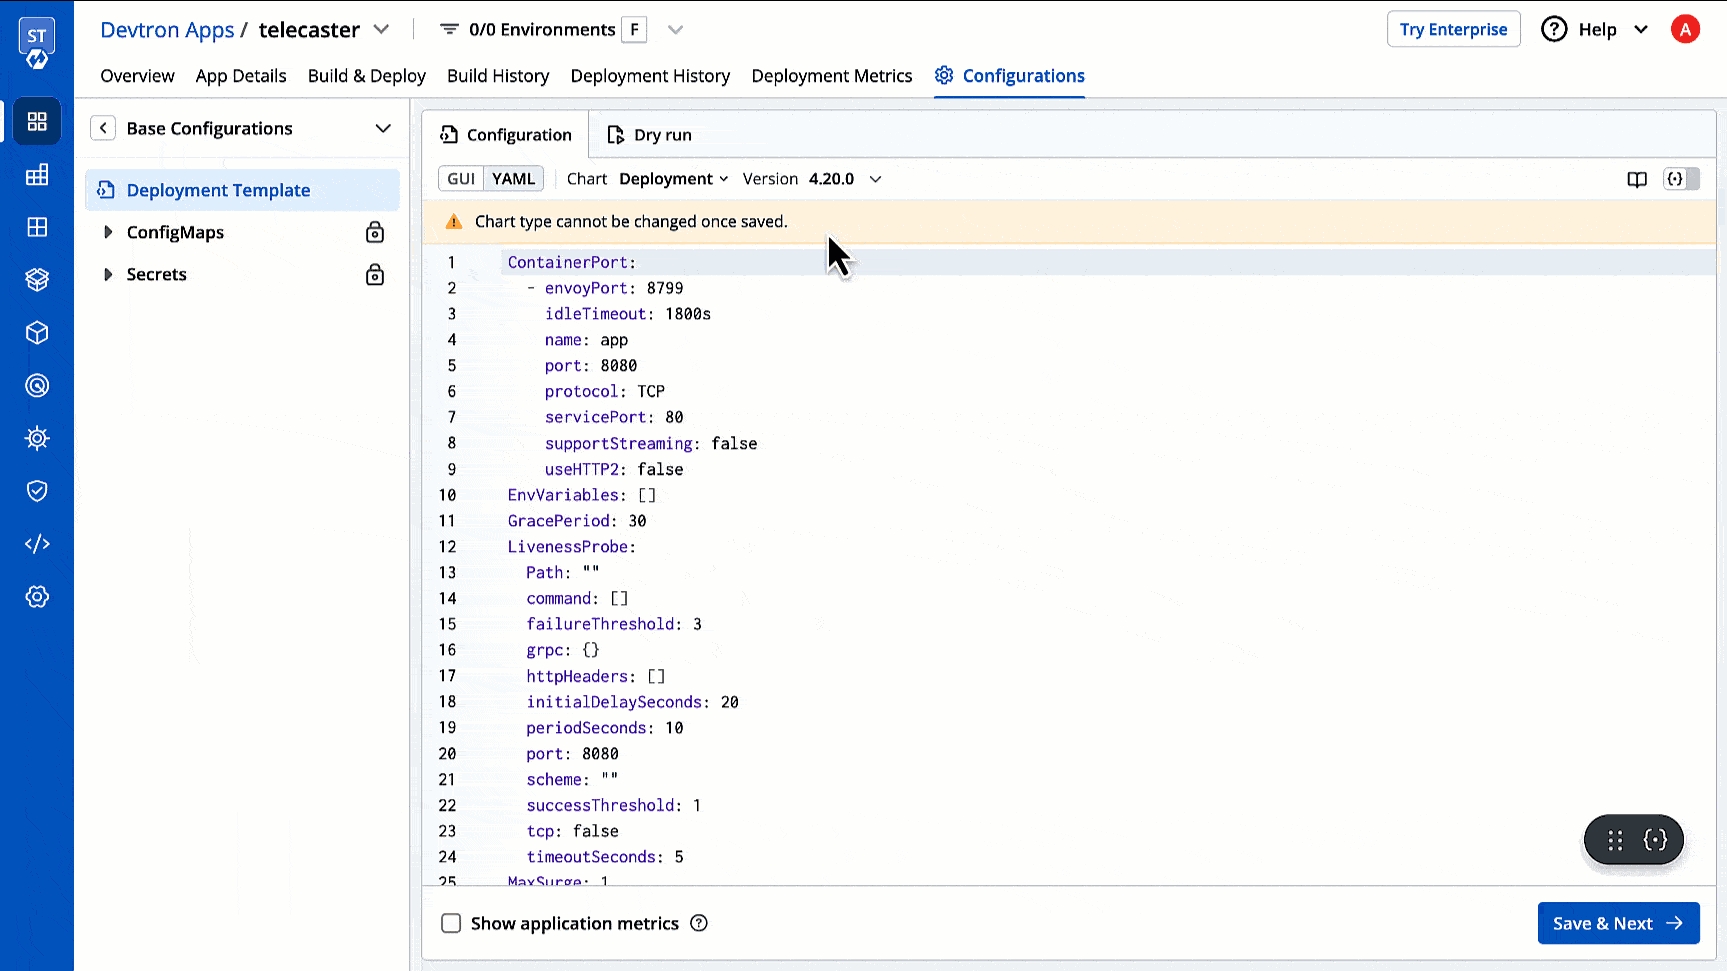
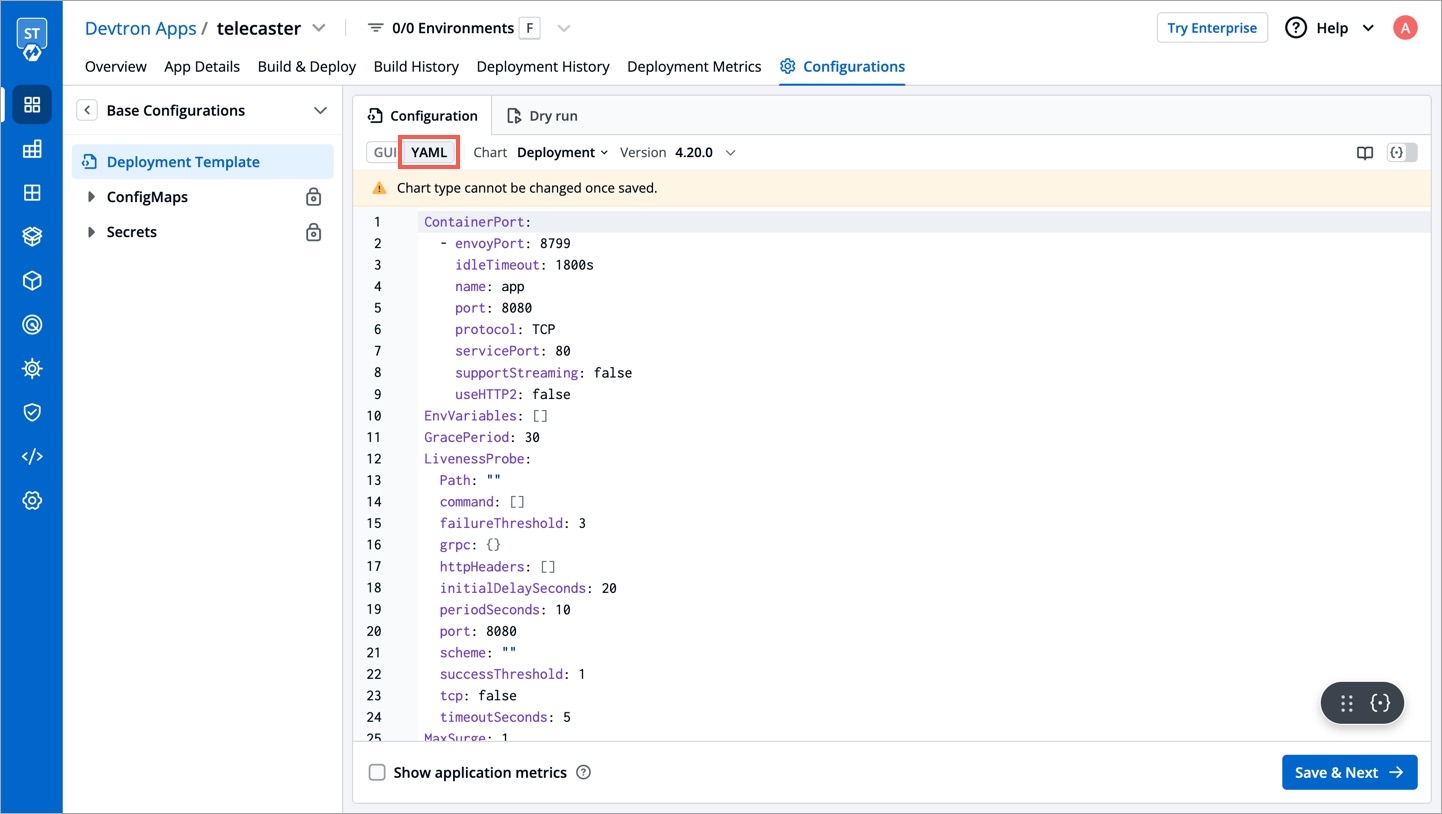
If you are an advanced user wishing to perform additional configurations, you may switch to Advanced (YAML) for modifications.
Refer the respective templates to view the YAML details.
Depending on the chart type and version you select, application metrics of your application may be viewed. This includes:
Status codes 2xx, 3xx, 5xx
Throughput
Latency ...and many more
Enable Show application metrics toggle to view the application metrics on the App Details page.
IMPORTANT: Enabling application metrics introduces a sidecar container to your main container which may require some additional configuration adjustments. We recommend you to do load test after enabling it in a non-production environment before enabling it in production environment.
Select Save & Next to save your configurations.