
Keycloak
Last updated
Last updated
Install and configure Keycloak on your server or cloud environment.
Create a new realm in Keycloak for your application.
Here, we will add Devtron as a client for using Keycloak SSO.
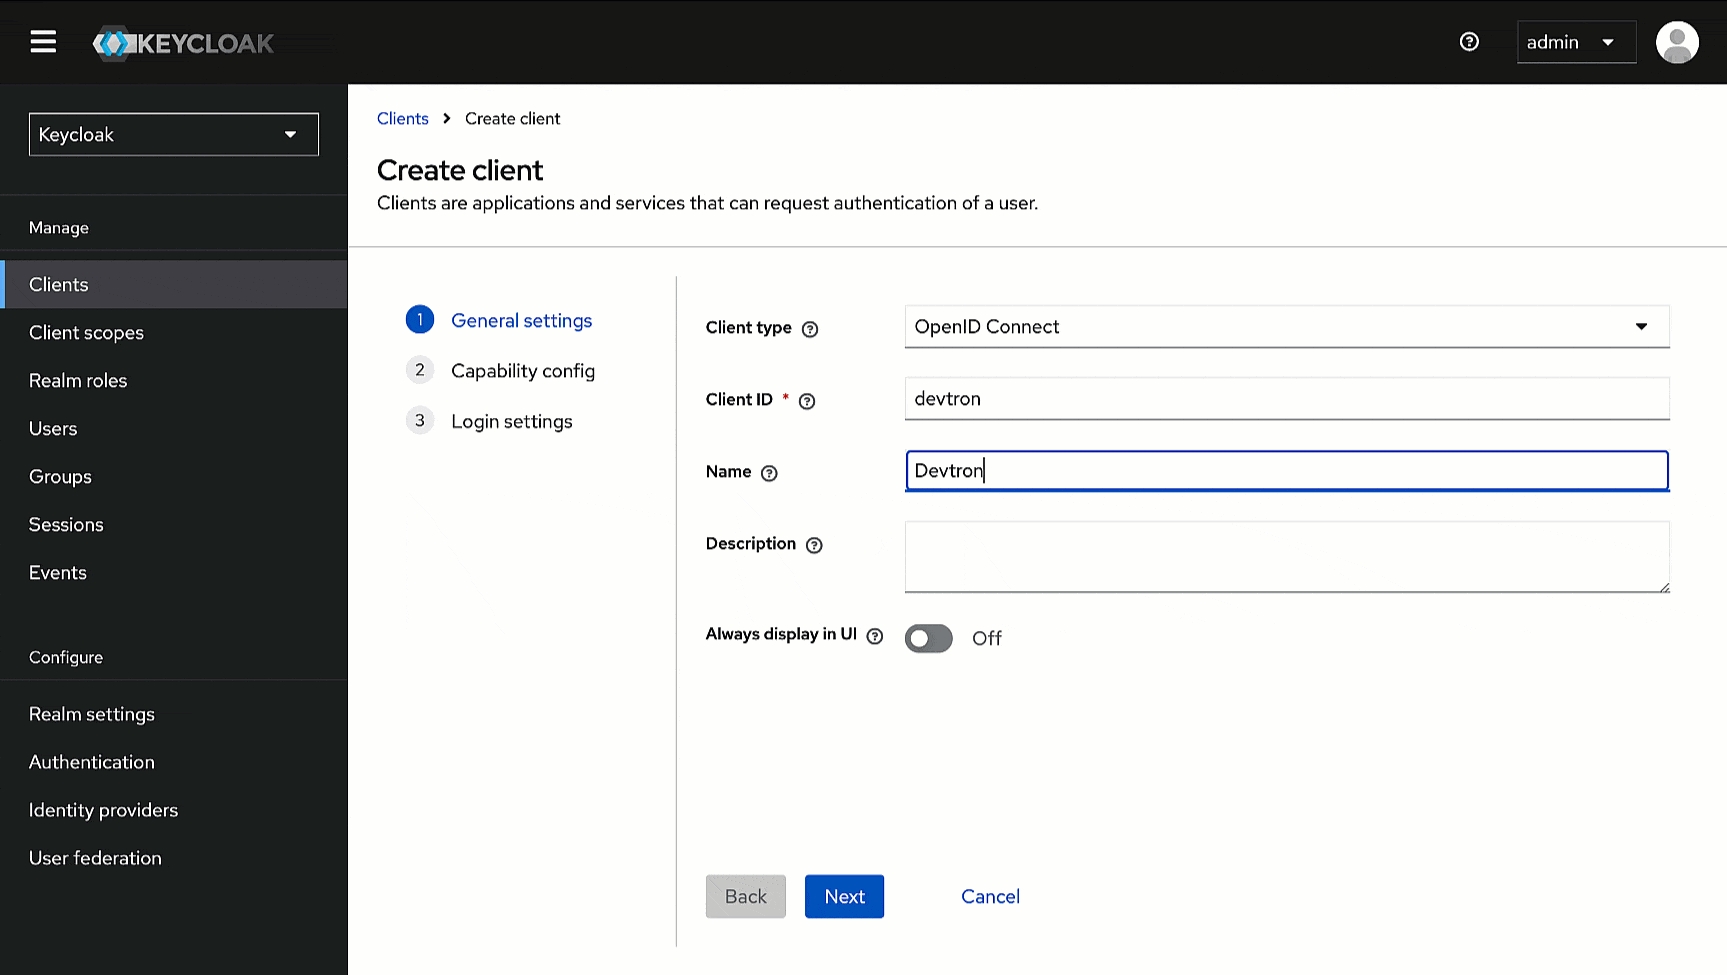
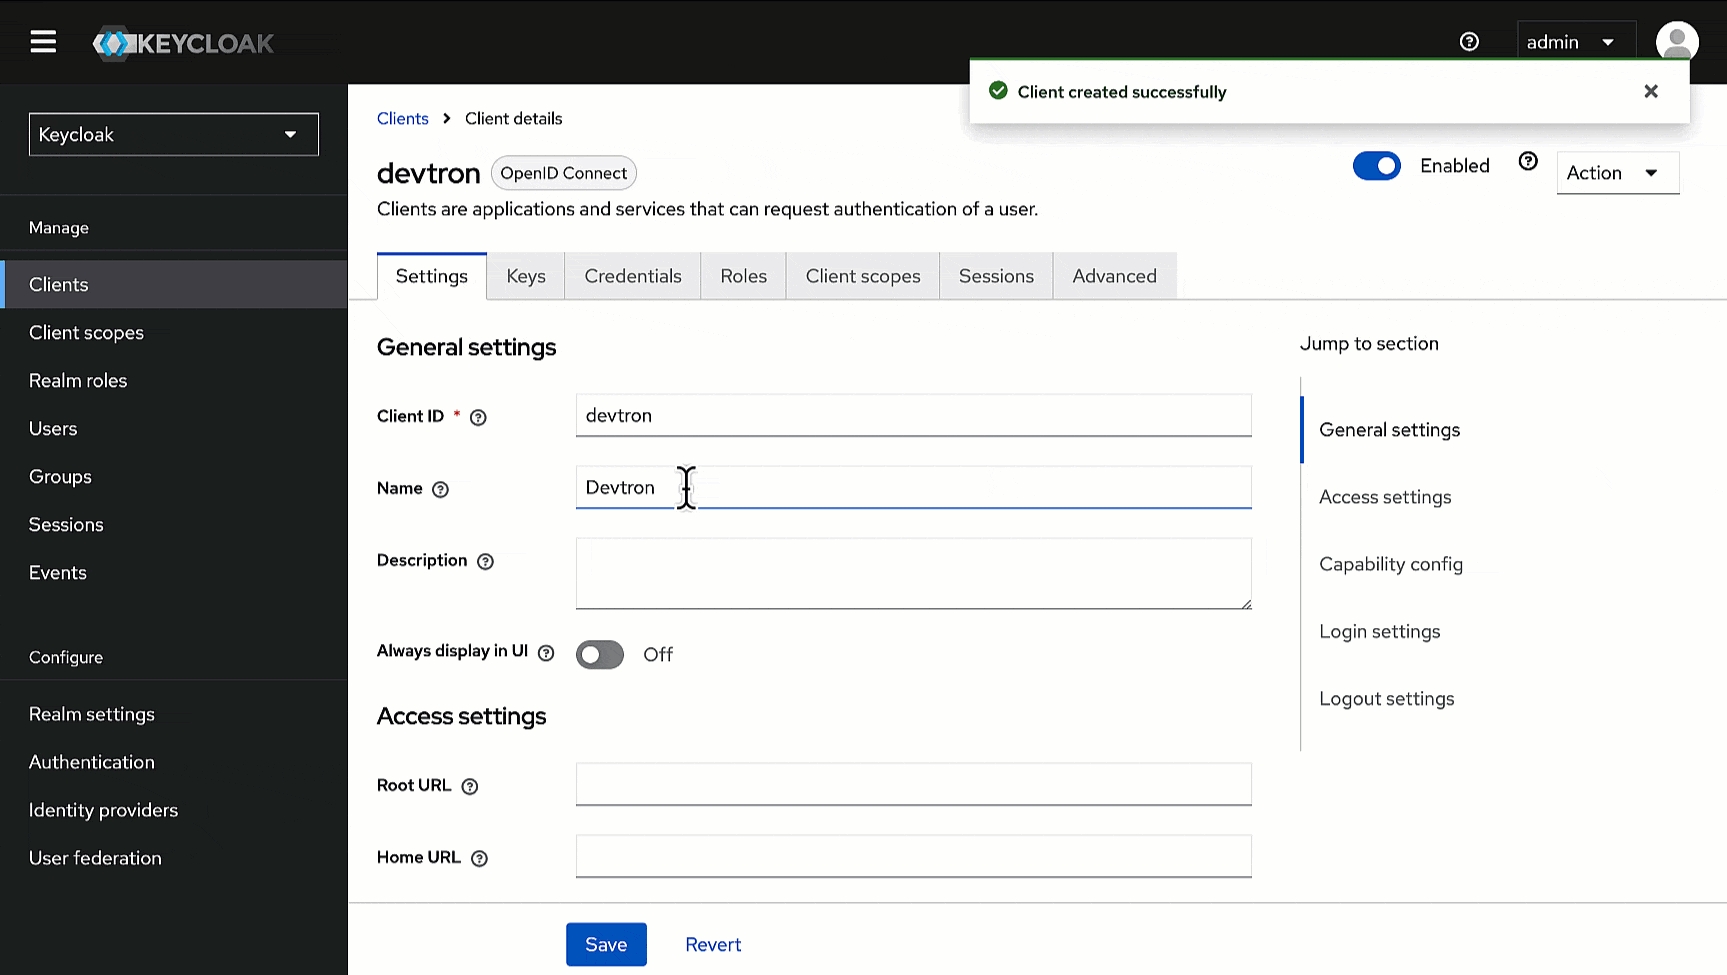
In the Admin Console, go to Clients and click Create client.
Within General Settings:
Enter devtron in the Client ID field. We will use this ID while configuring SSO later in Devtron.
Enter Devtron in the Name field.
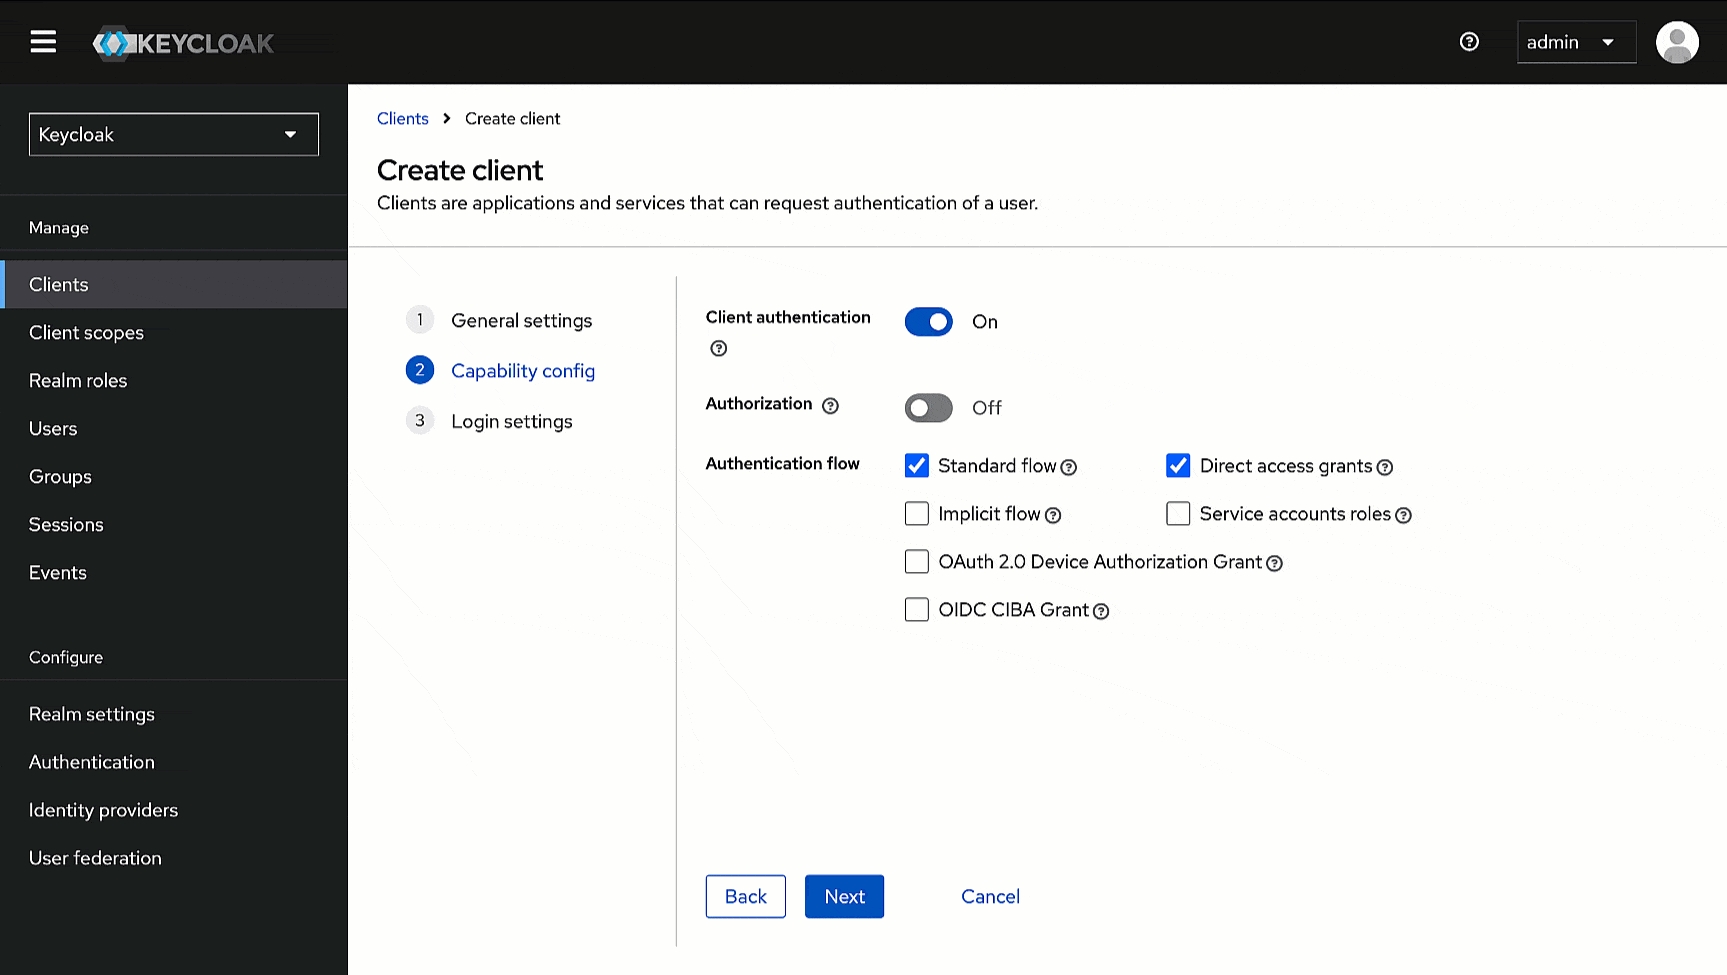
Within Capability config, turn on Client Authentication.
Within Login settings, enter https://<DEVTRON_BASE_URL>/orchestrator/api/dex/callback in the following fields.
Valid redirect URIs
Valid post logout redirect URIs
Web origins
Click here to know where to find DEVTRON_BASE_URL.
Click Save.
Here, we will obtain the secret we need while configuring SSO in Devtron.
Go to the Credentials tab of the client you created.
Use the copy button next to the Client Secret field and paste it somewhere for future reference.
Here, we will create a user that can log in to Devtron via SSO. We will assign a username and password that the user can enter while logging in to Devtron via Keycloak SSO.
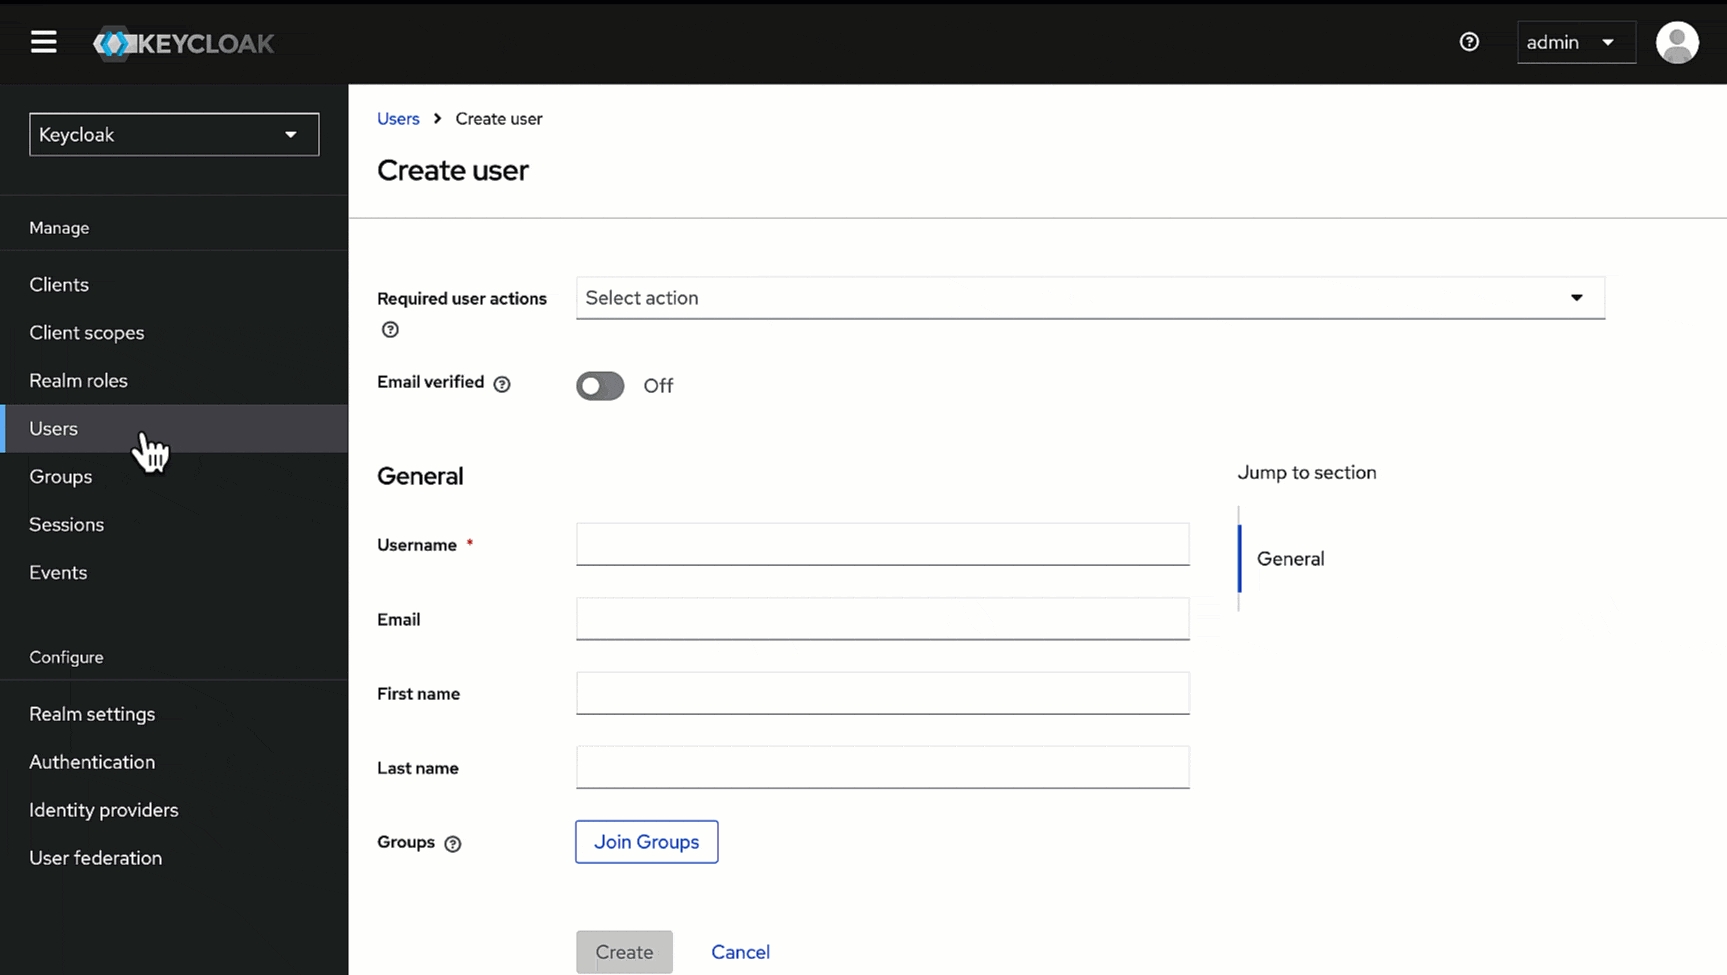
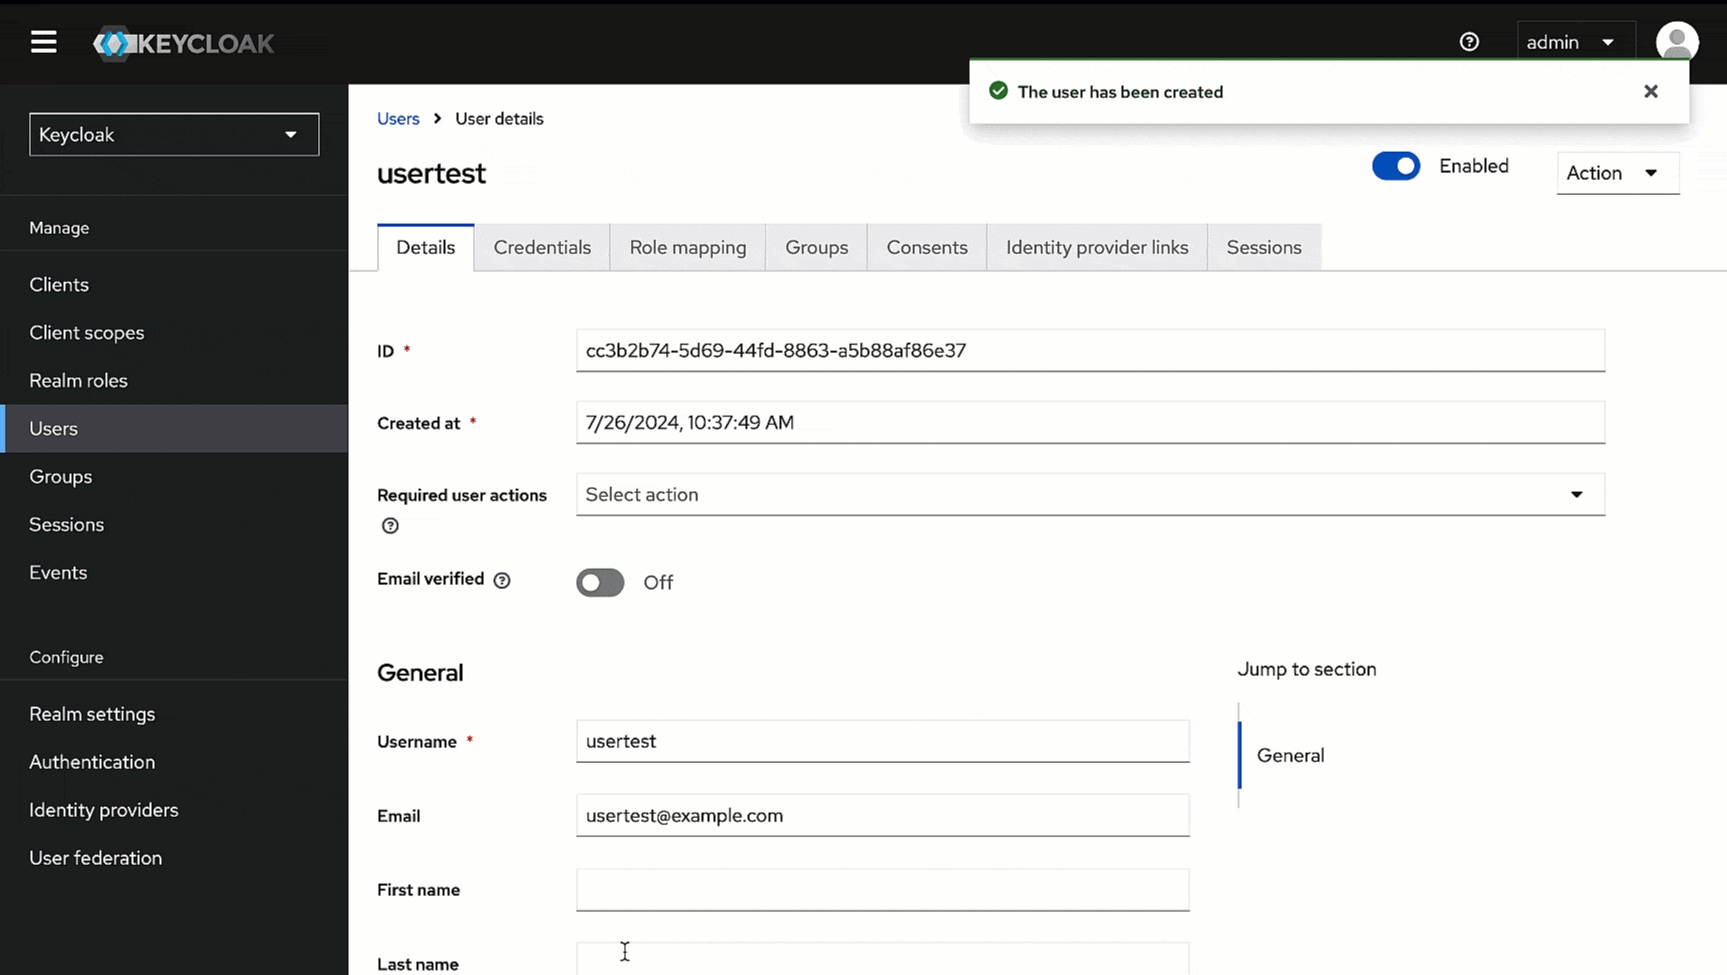
In the Admin Console, go to Users and click Add user.
Give a username (e.g., usertest) in the Username field and enter the user's email address (e.g., usertest@example.com) in the Email field.
Click Create. Your user creation will be successful.
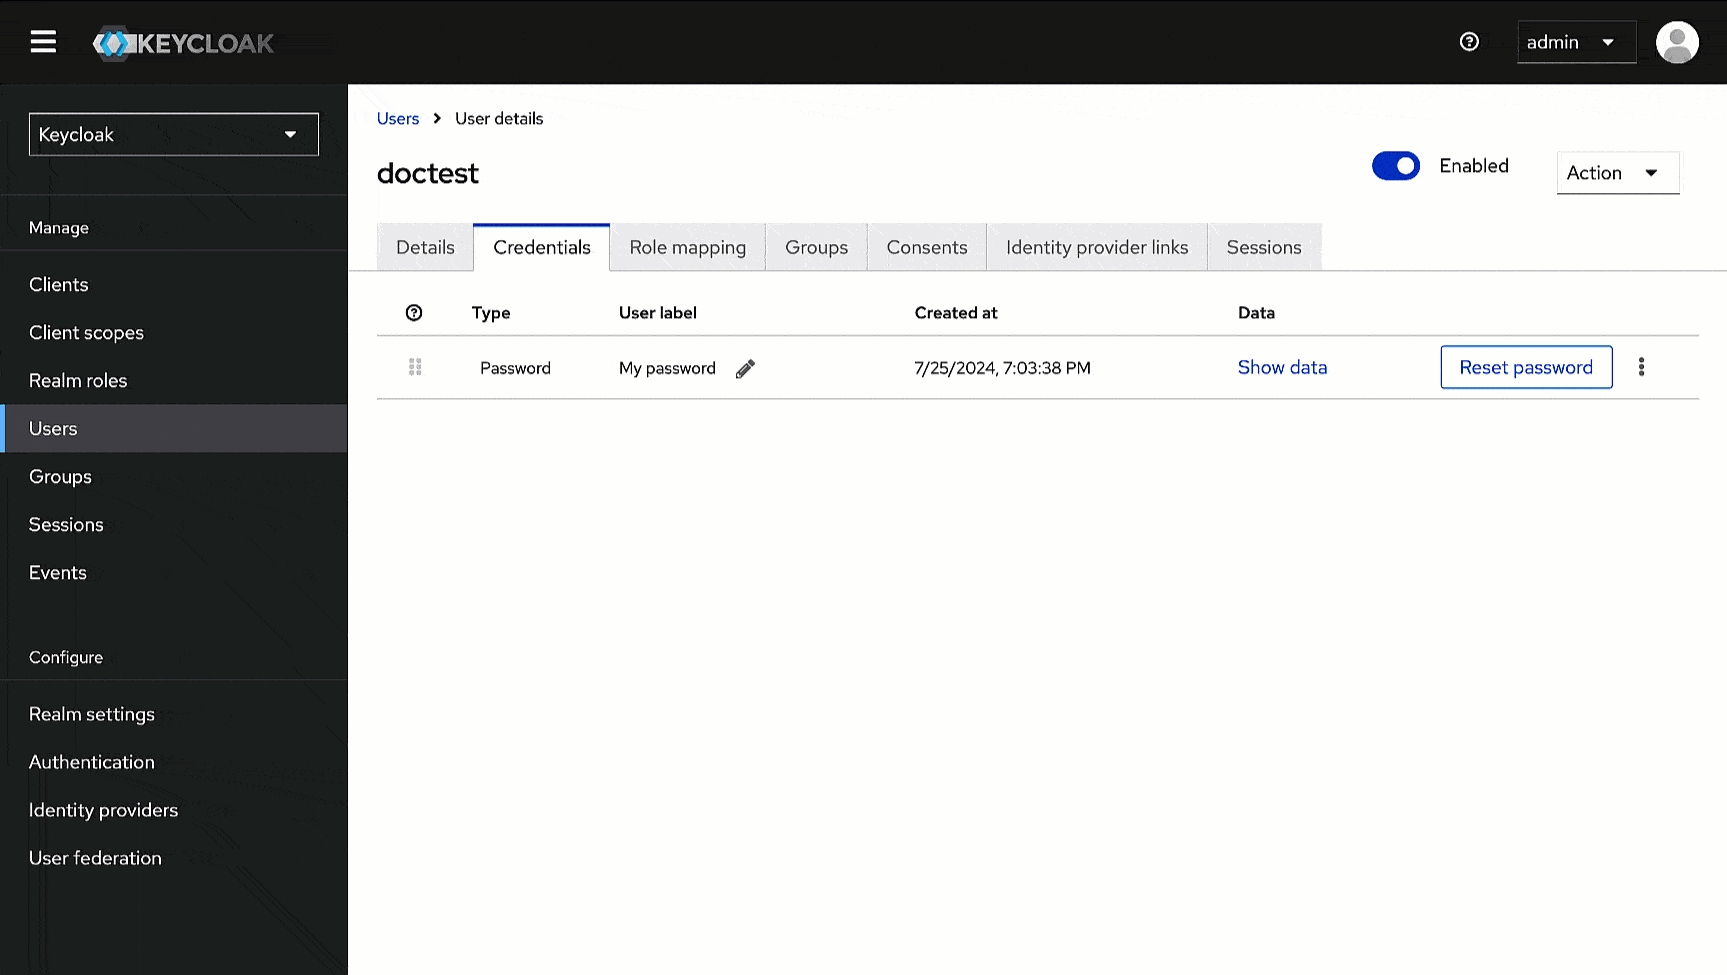
Go to the Credentials tab of the user you created.
Click Set password.
Enter the password and confirm it.
Click Save.
Here, we will obtain the Issuer URL we need while configuring SSO in Devtron.
In the Admin Console, go to Realm settings.
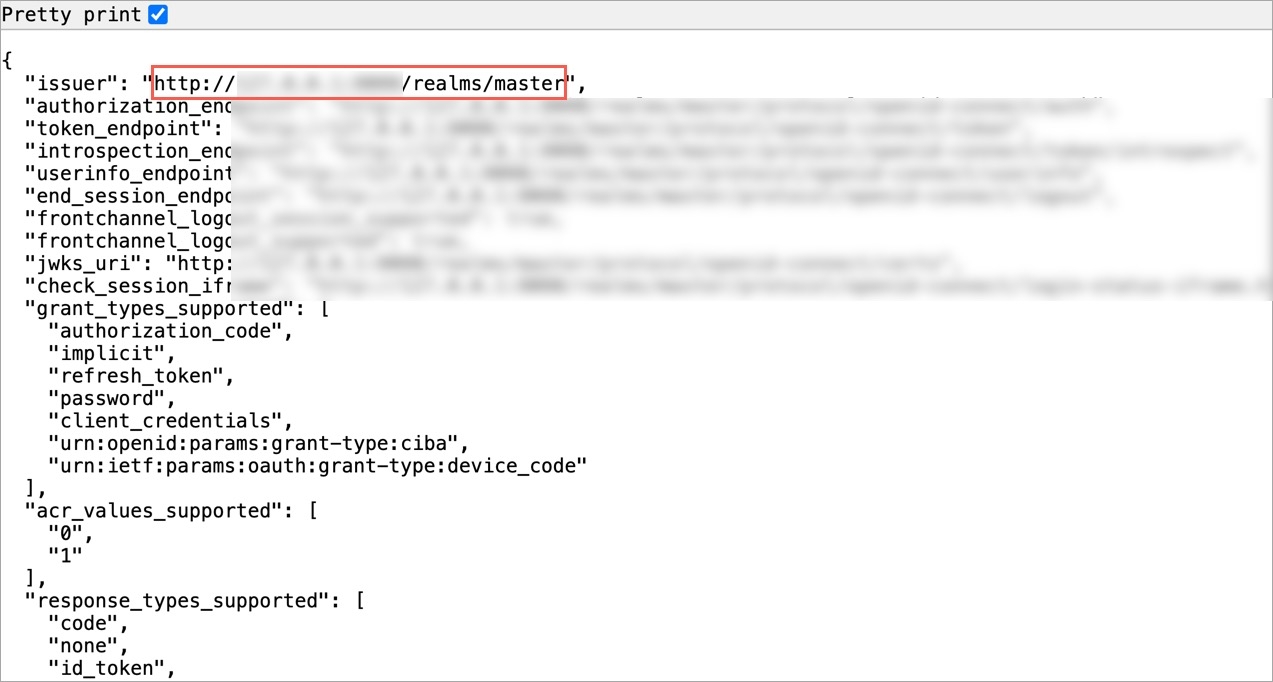
In the General tab, scroll down to the Endpoints field, and click the OpenID Endpoint Configuration link.
This will open a new page, copy the value of the key named issuer, and paste it somewhere for future reference.
Here, we will set up an OIDC SSO and enter the values we obtained in the previous section.
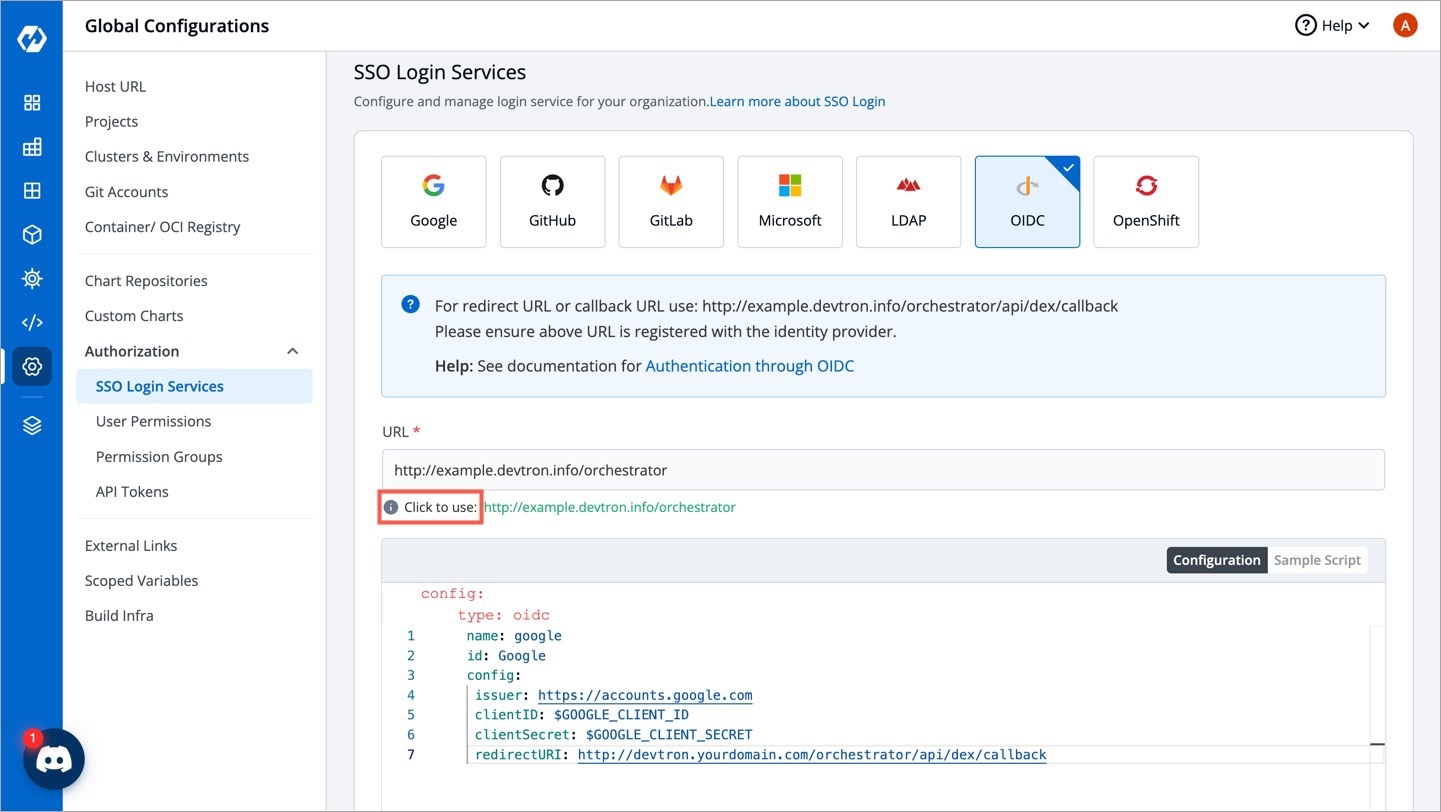
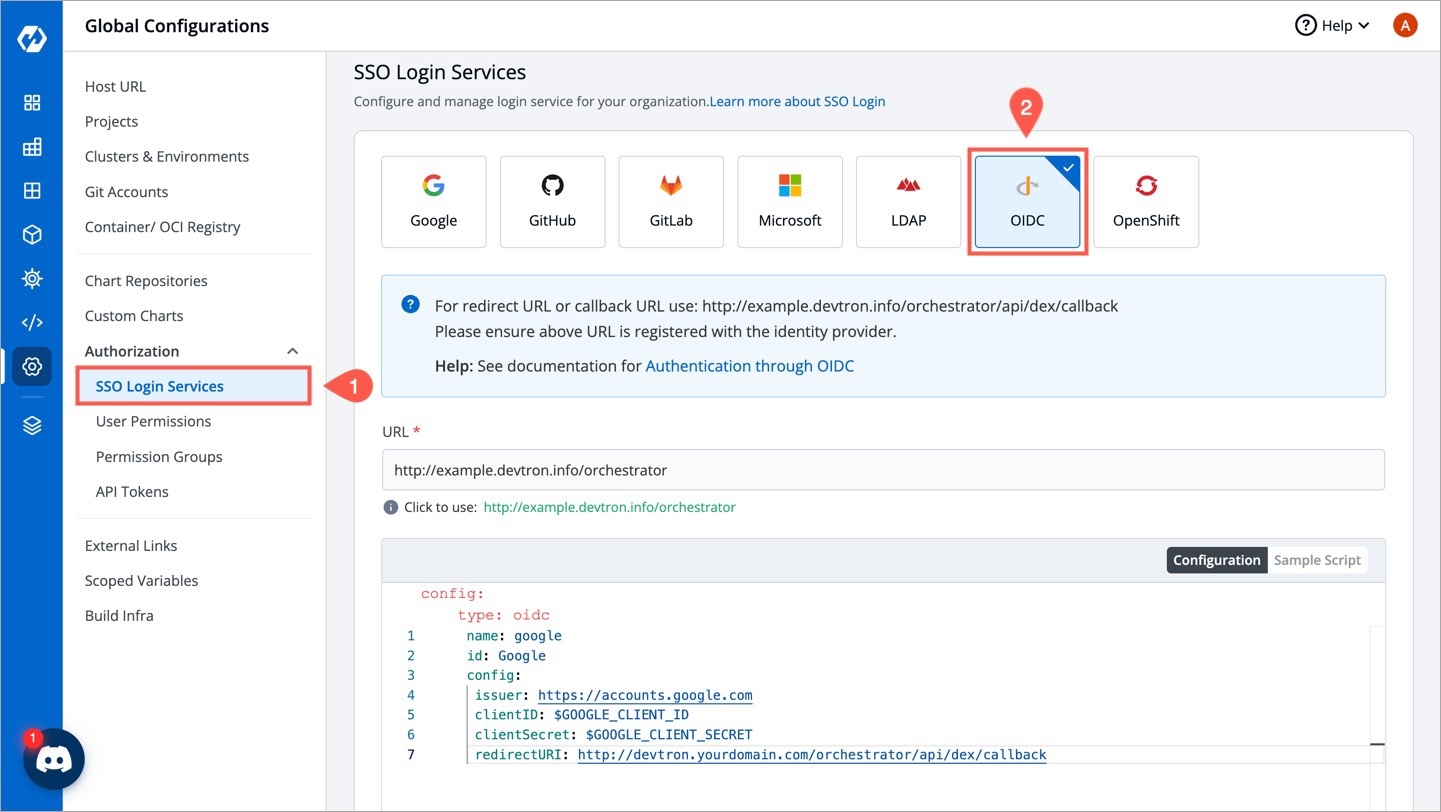
Go to Global Configurations → SSO Login Services → OIDC.
Below the URL field, take the help of the Click to use option to populate the exact URL if the displayed one is incorrect.
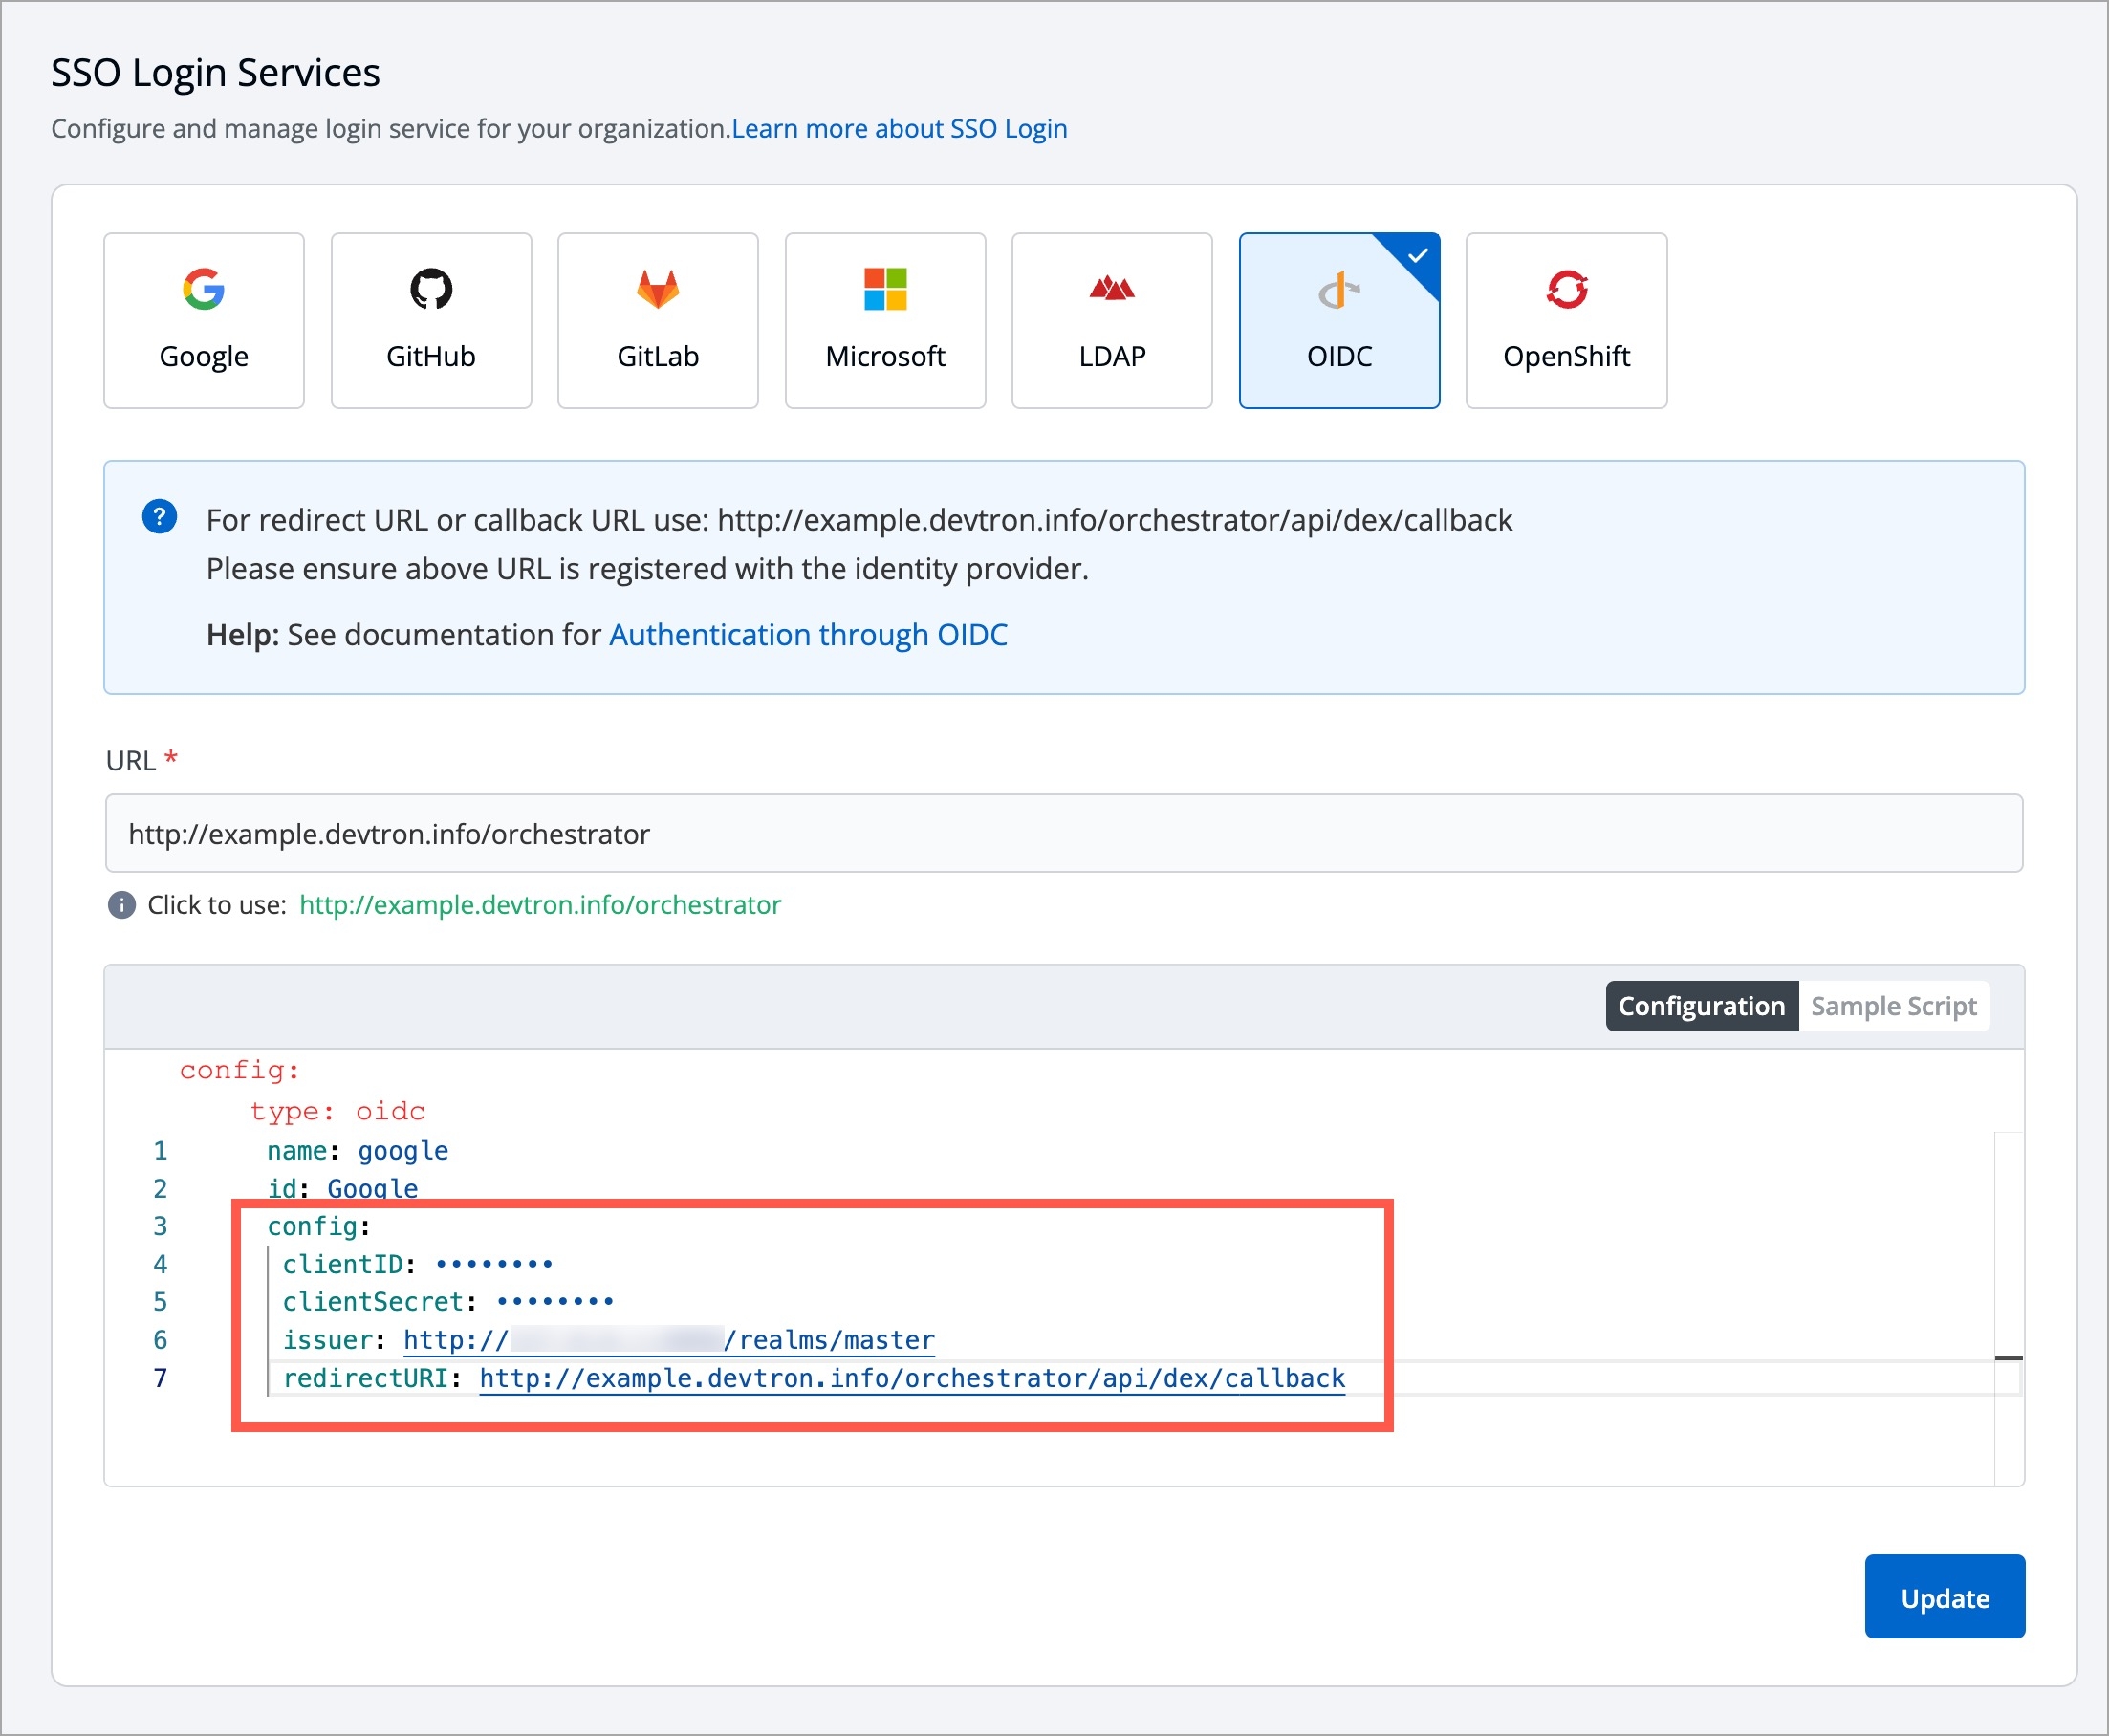
In the Configuration editor, do the following:
In the issuer field, paste the URL you got while retrieving issuer URL.
In the clientID field, paste the ID you entered while creating the client.
In the clientSecret field, paste the secret you got under client credentials tab.
In the redirectURI field, make sure to enter the same redirect URI you gave in step 4 of client creation.
Click Save or Update to activate Keycloak SSO login.
Here, we will add the user we created in the Keycloak Admin Console. If this step is skipped, the user might not be able to log in to Devtron via Keycloak.
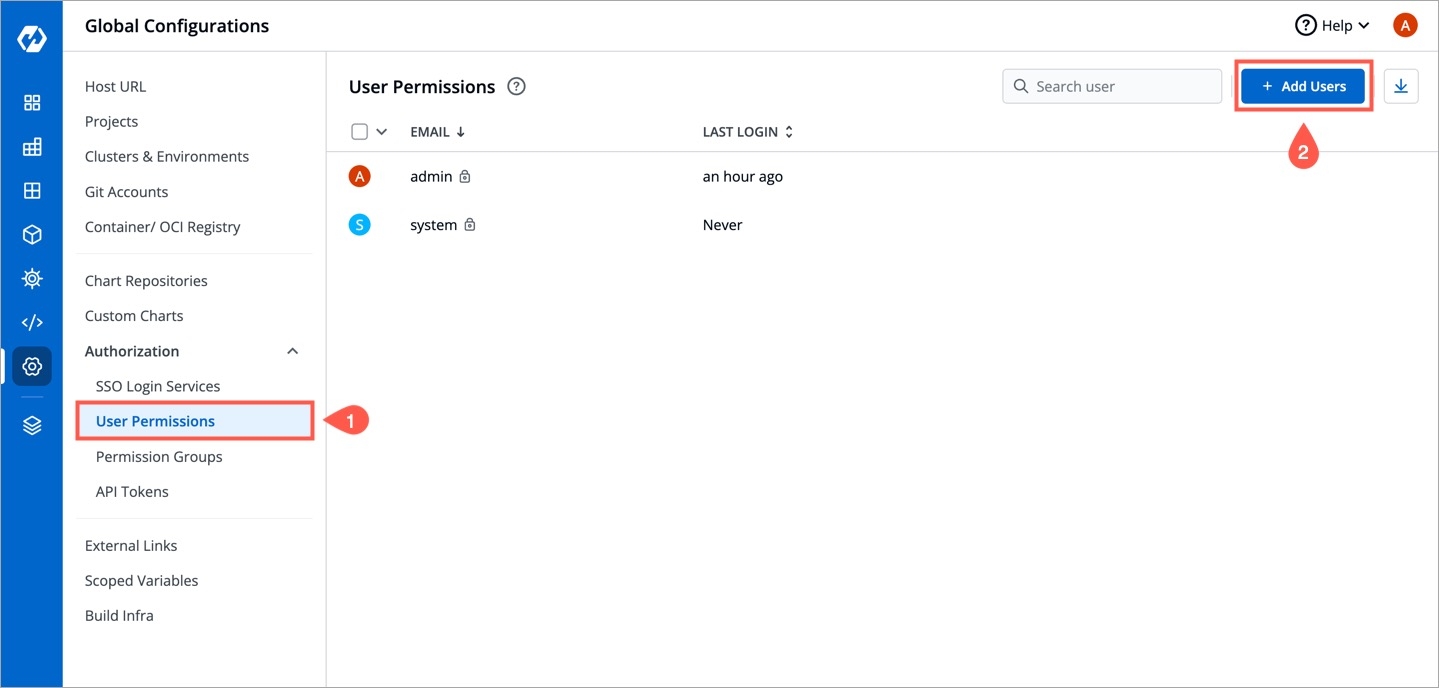
Go to Global Configurations → Authorization → User Permissions.
Click + Add Users.
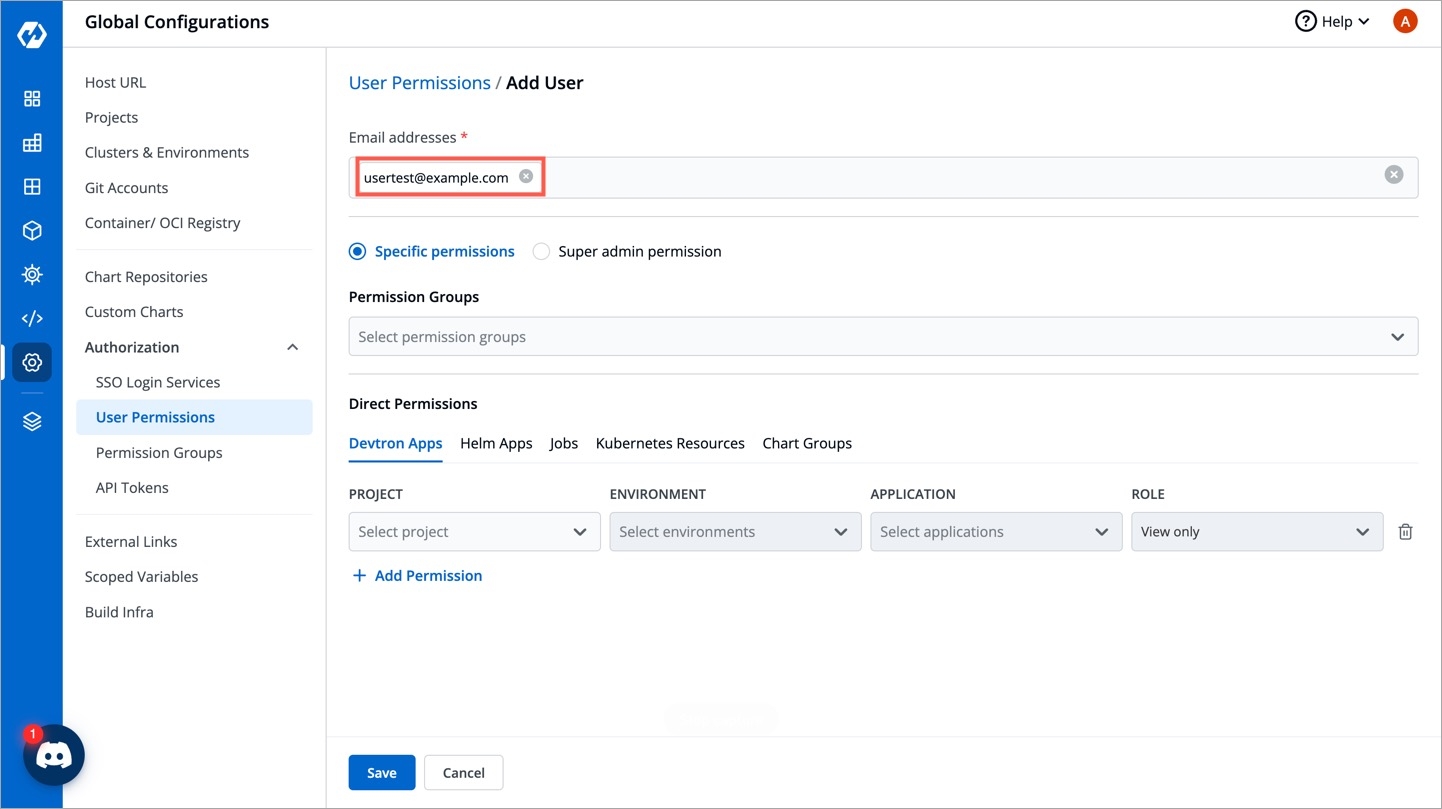
In the Email addresses field, enter the email address of the user you created in Keycloak.
Assign necessary permissions to this new user. Refer user permissions to know more.
Click Save.
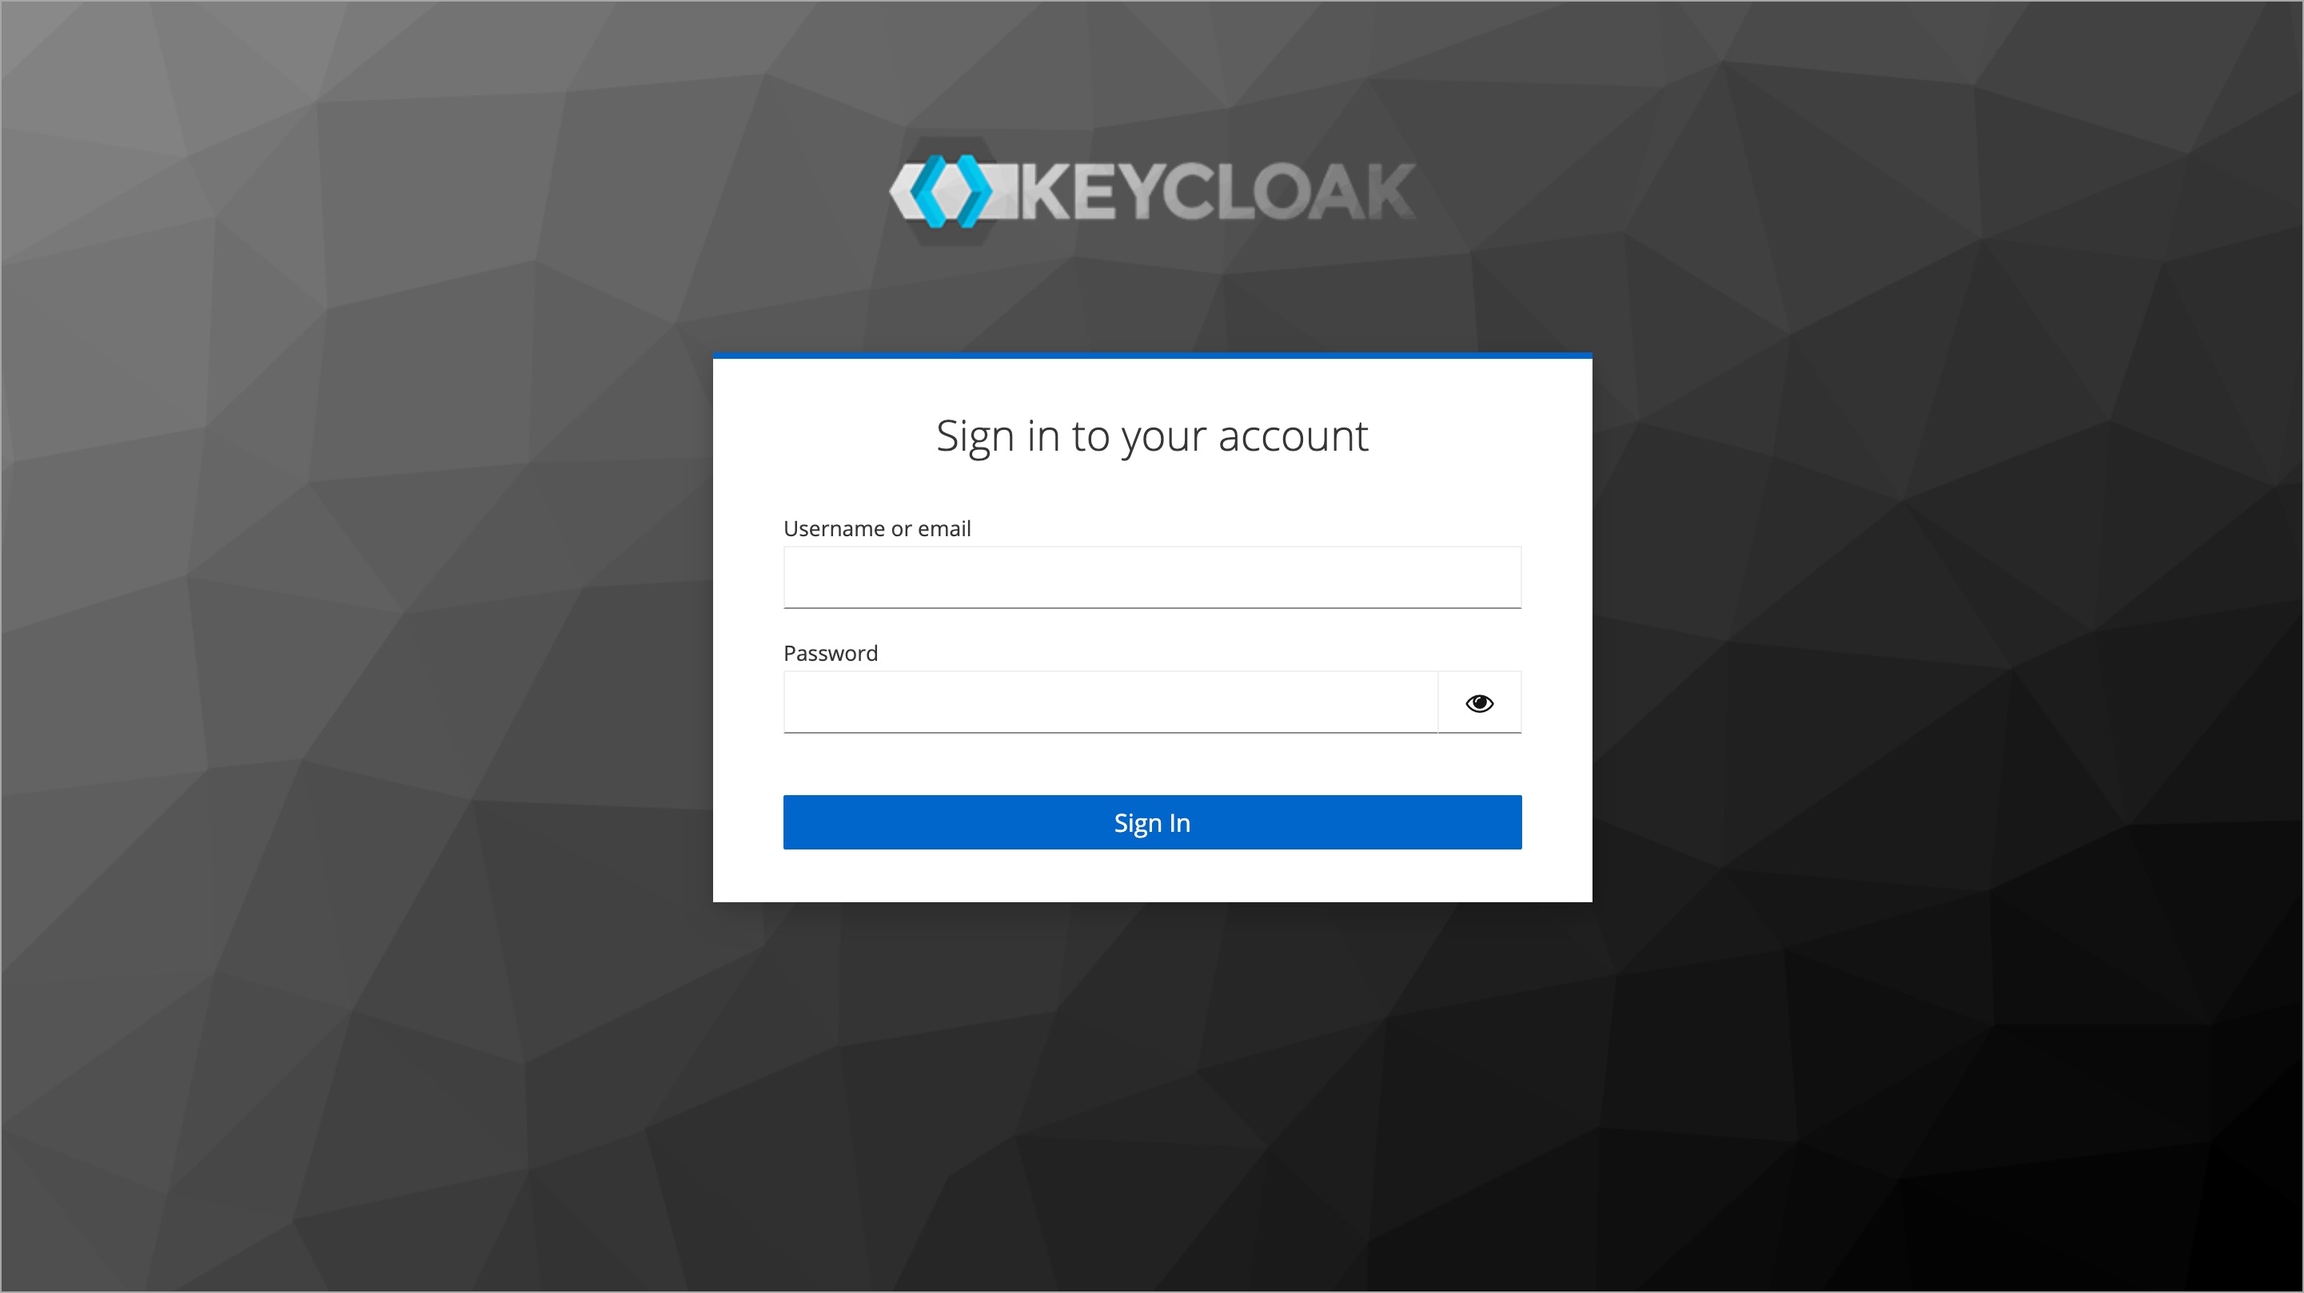
Now, you may log out and test the Keycloak OIDC login method using the user credentials. Clicking the Login with Oidc button will land you on Keycloak's login page.

