Clusters & Environments
You can add your existing Kubernetes clusters and environments on the Clusters and Environments section. You must have a super admin access to add a cluster.
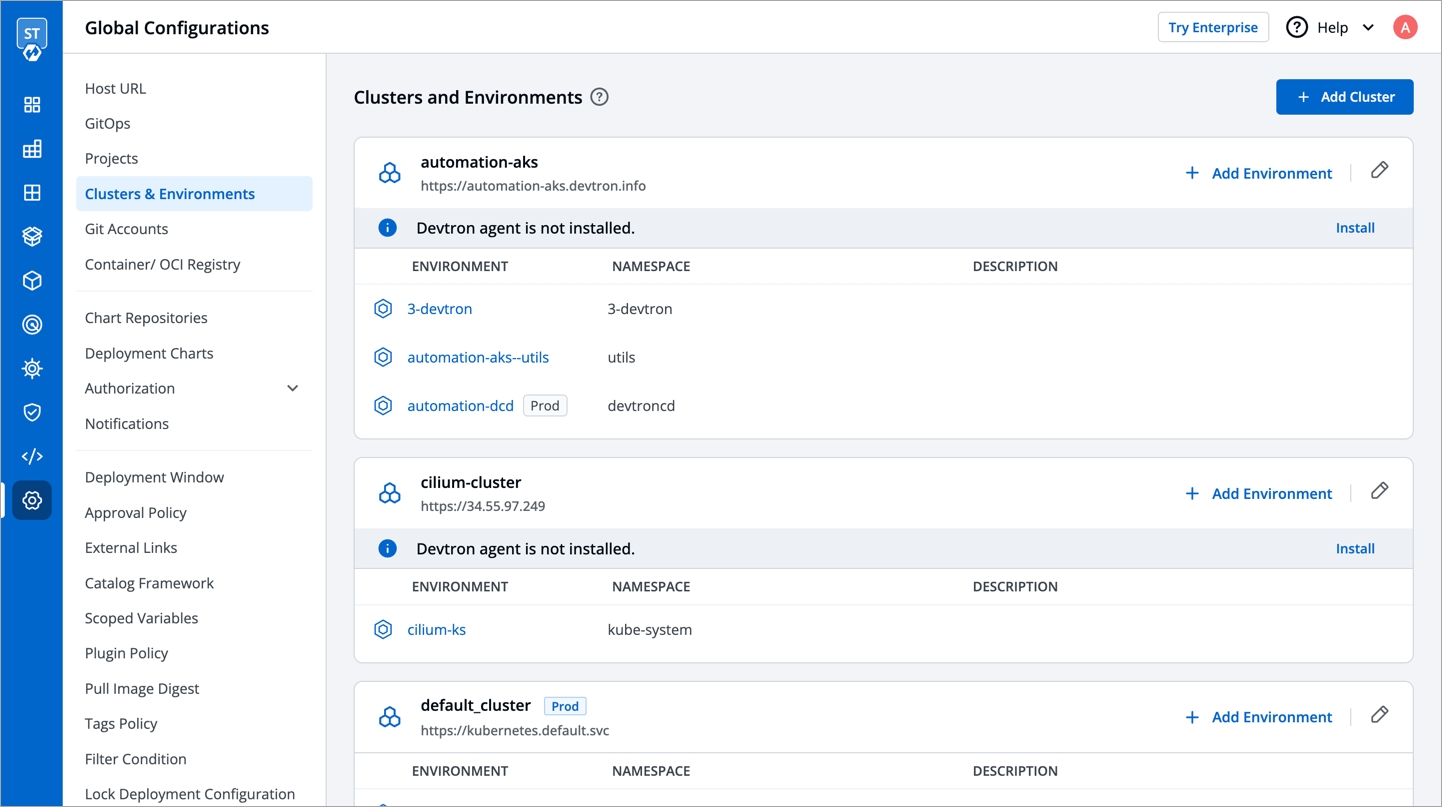
Add Cluster:
To add cluster, go to the Clusters & Environments section of Global Configurations. Click Add cluster.
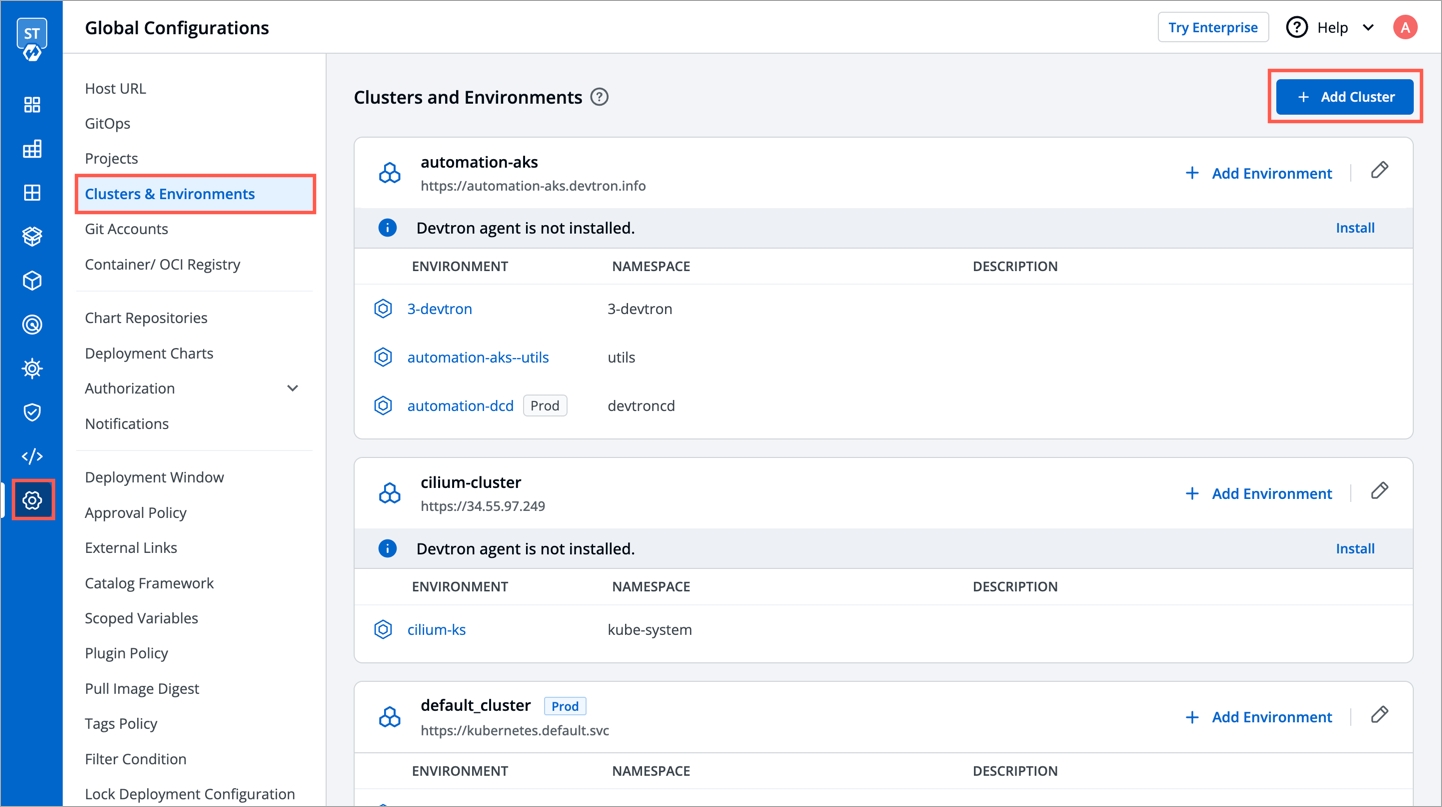
Add Clusters Using Server URL & Bearer Token
To add a Kubernetes cluster on Devtron using server url and the bearer token, provide the information in the following fields:
Name
Enter a name of your cluster.
Server URL
Server URL of a cluster. Note: We recommended to use a self-hosted URL instead of cloud hosted URL.
Bearer Token
Bearer token of a cluster.
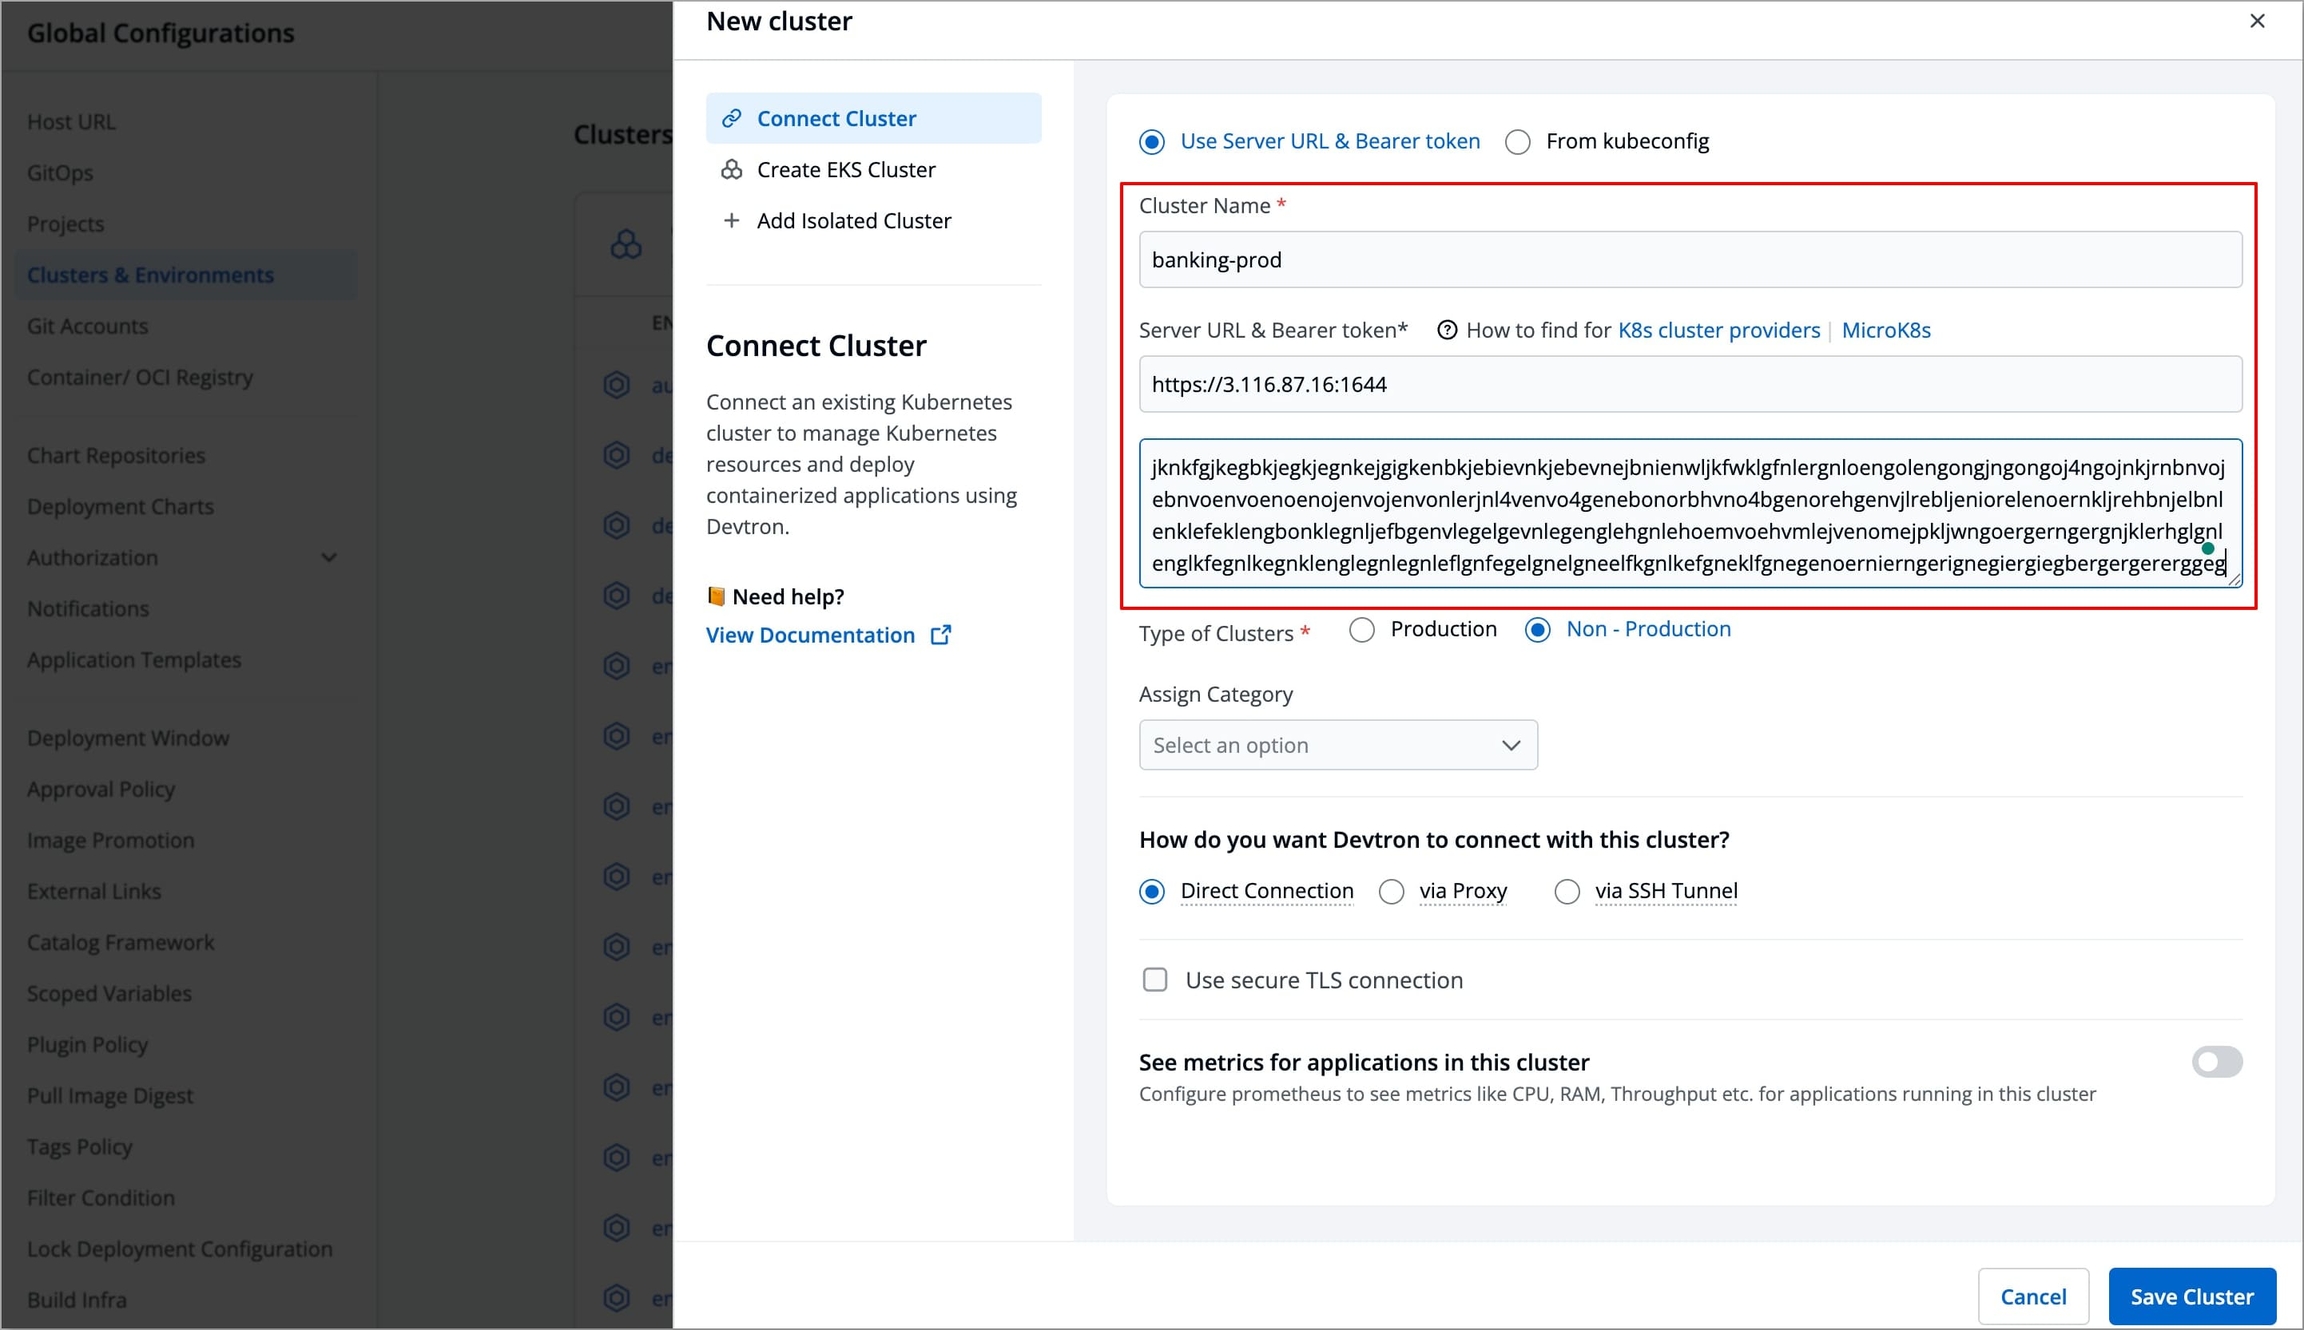
Get Cluster Credentials
Prerequisites:
kubectlmust be installed on the bastion.
Note: We recommend to use a self-hosted URL instead of cloud hosted URL. Refer the benefits of self-hosted URL.
You can get the Server URL & Bearer Token by running the following command depending on the cluster provider:
If you are using EKS, AKS, GKE, Kops, Digital Ocean managed Kubernetes, run the following command to generate the server URL and bearer token:
curl -O https://raw.githubusercontent.com/devtron-labs/utilities/main/kubeconfig-exporter/kubernetes_export_sa.sh && bash kubernetes_export_sa.sh cd-user devtroncdIf you are using a microk8s cluster, run the following command to generate the server URL and bearer token:
curl -O https://raw.githubusercontent.com/devtron-labs/utilities/main/kubeconfig-exporter/kubernetes_export_sa.sh && sed -i 's/kubectl/microk8s kubectl/g' \
kubernetes_export_sa.sh && bash kubernetes_export_sa.sh cd-user \
devtroncd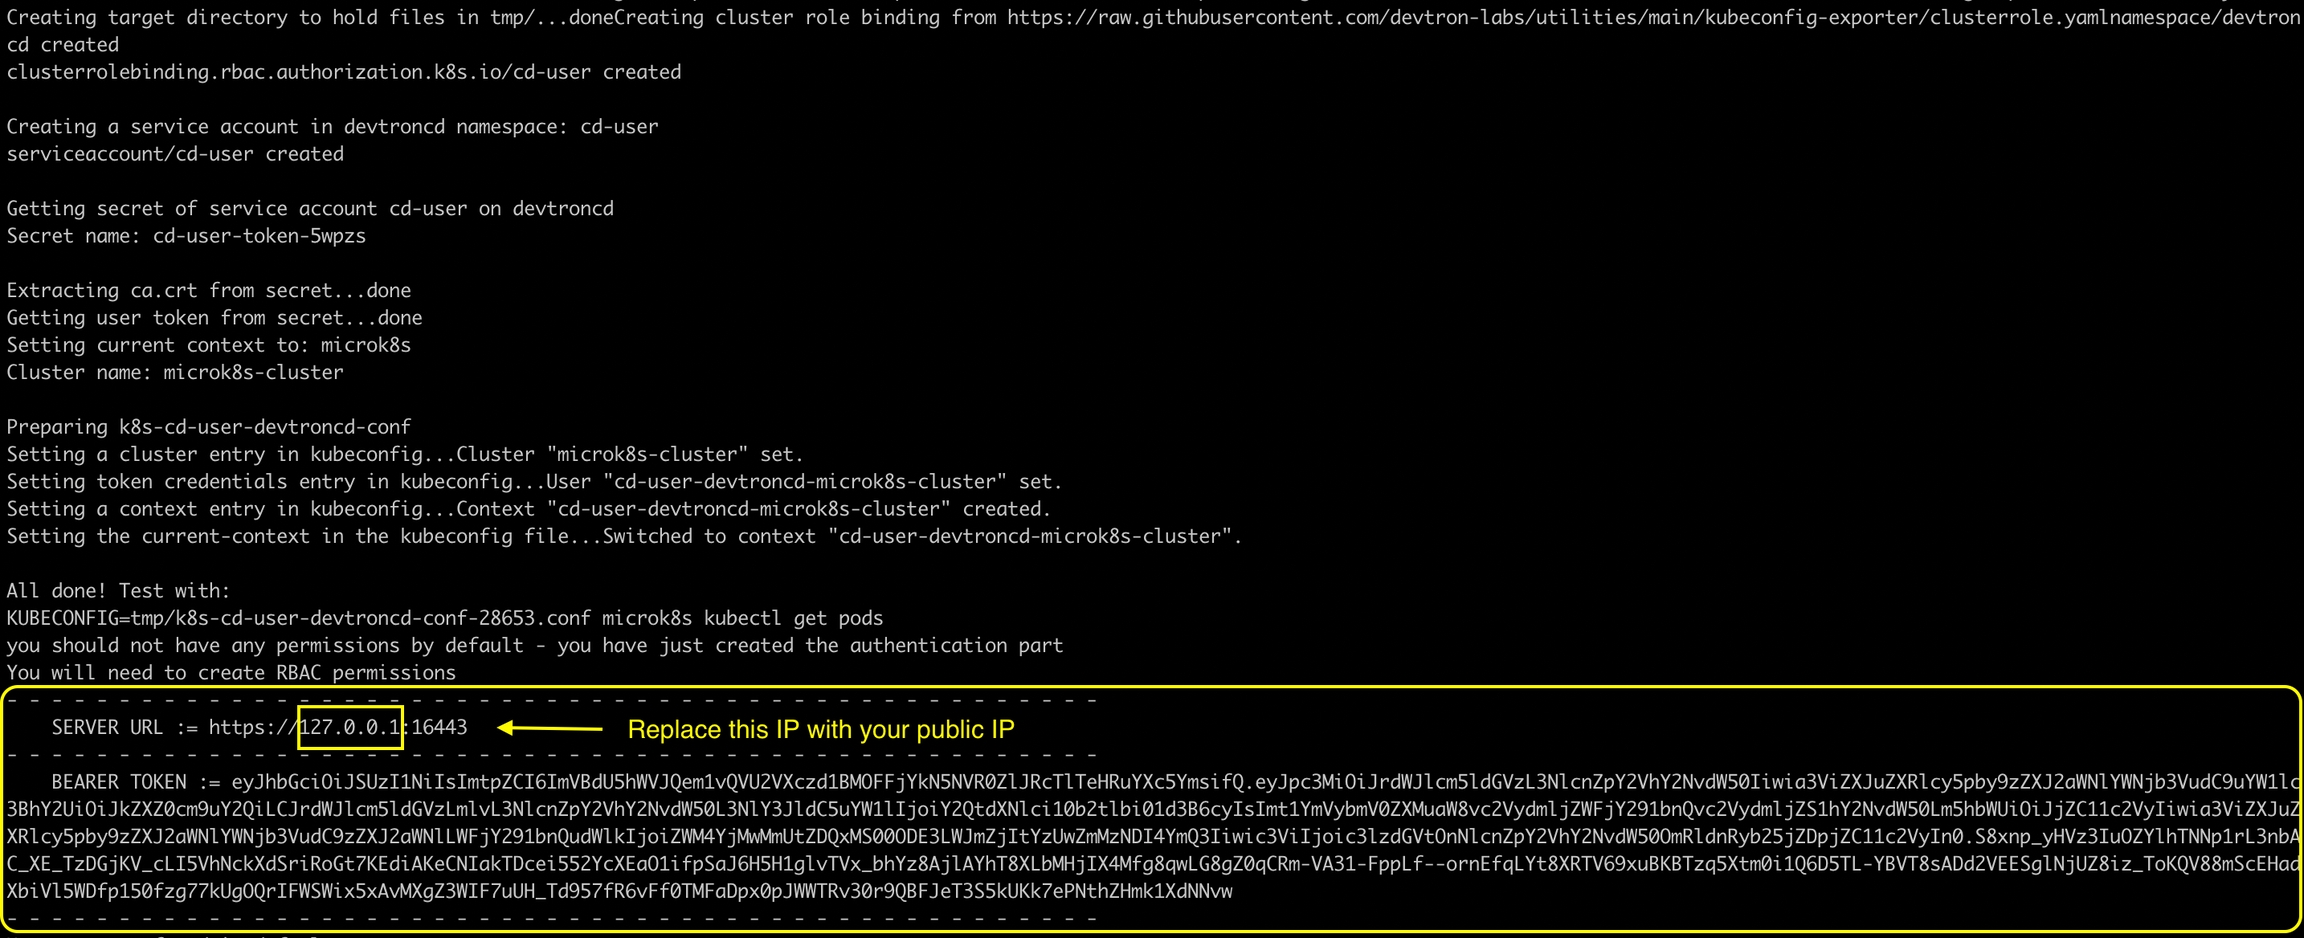
Benefits of Self-hosted URL
Disaster Recovery:
It is not possible to edit the server URL of a cloud specific provider. If you're using an EKS URL (e.g.
*****.eu-west-1.elb.amazonaws.com), it will be a tedious task to add a new cluster and migrate all the services one by one.But in case of using a self-hosted URL (e.g.
clear.example.com), you can just point to the new cluster's server URL in DNS manager and update the new cluster token and sync all the deployments.
Easy Cluster Migrations:
In case of managed Kubernetes clusters (like EKS, AKS, GKE etc) which is a cloud provider specific, migrating your cluster from one provider to another will result in waste of time and effort.
On the other hand, migration for a self-hosted URL is easy as the URL is of single hosted domain independent of the cloud provider.
Add Clusters Using Kubeconfig
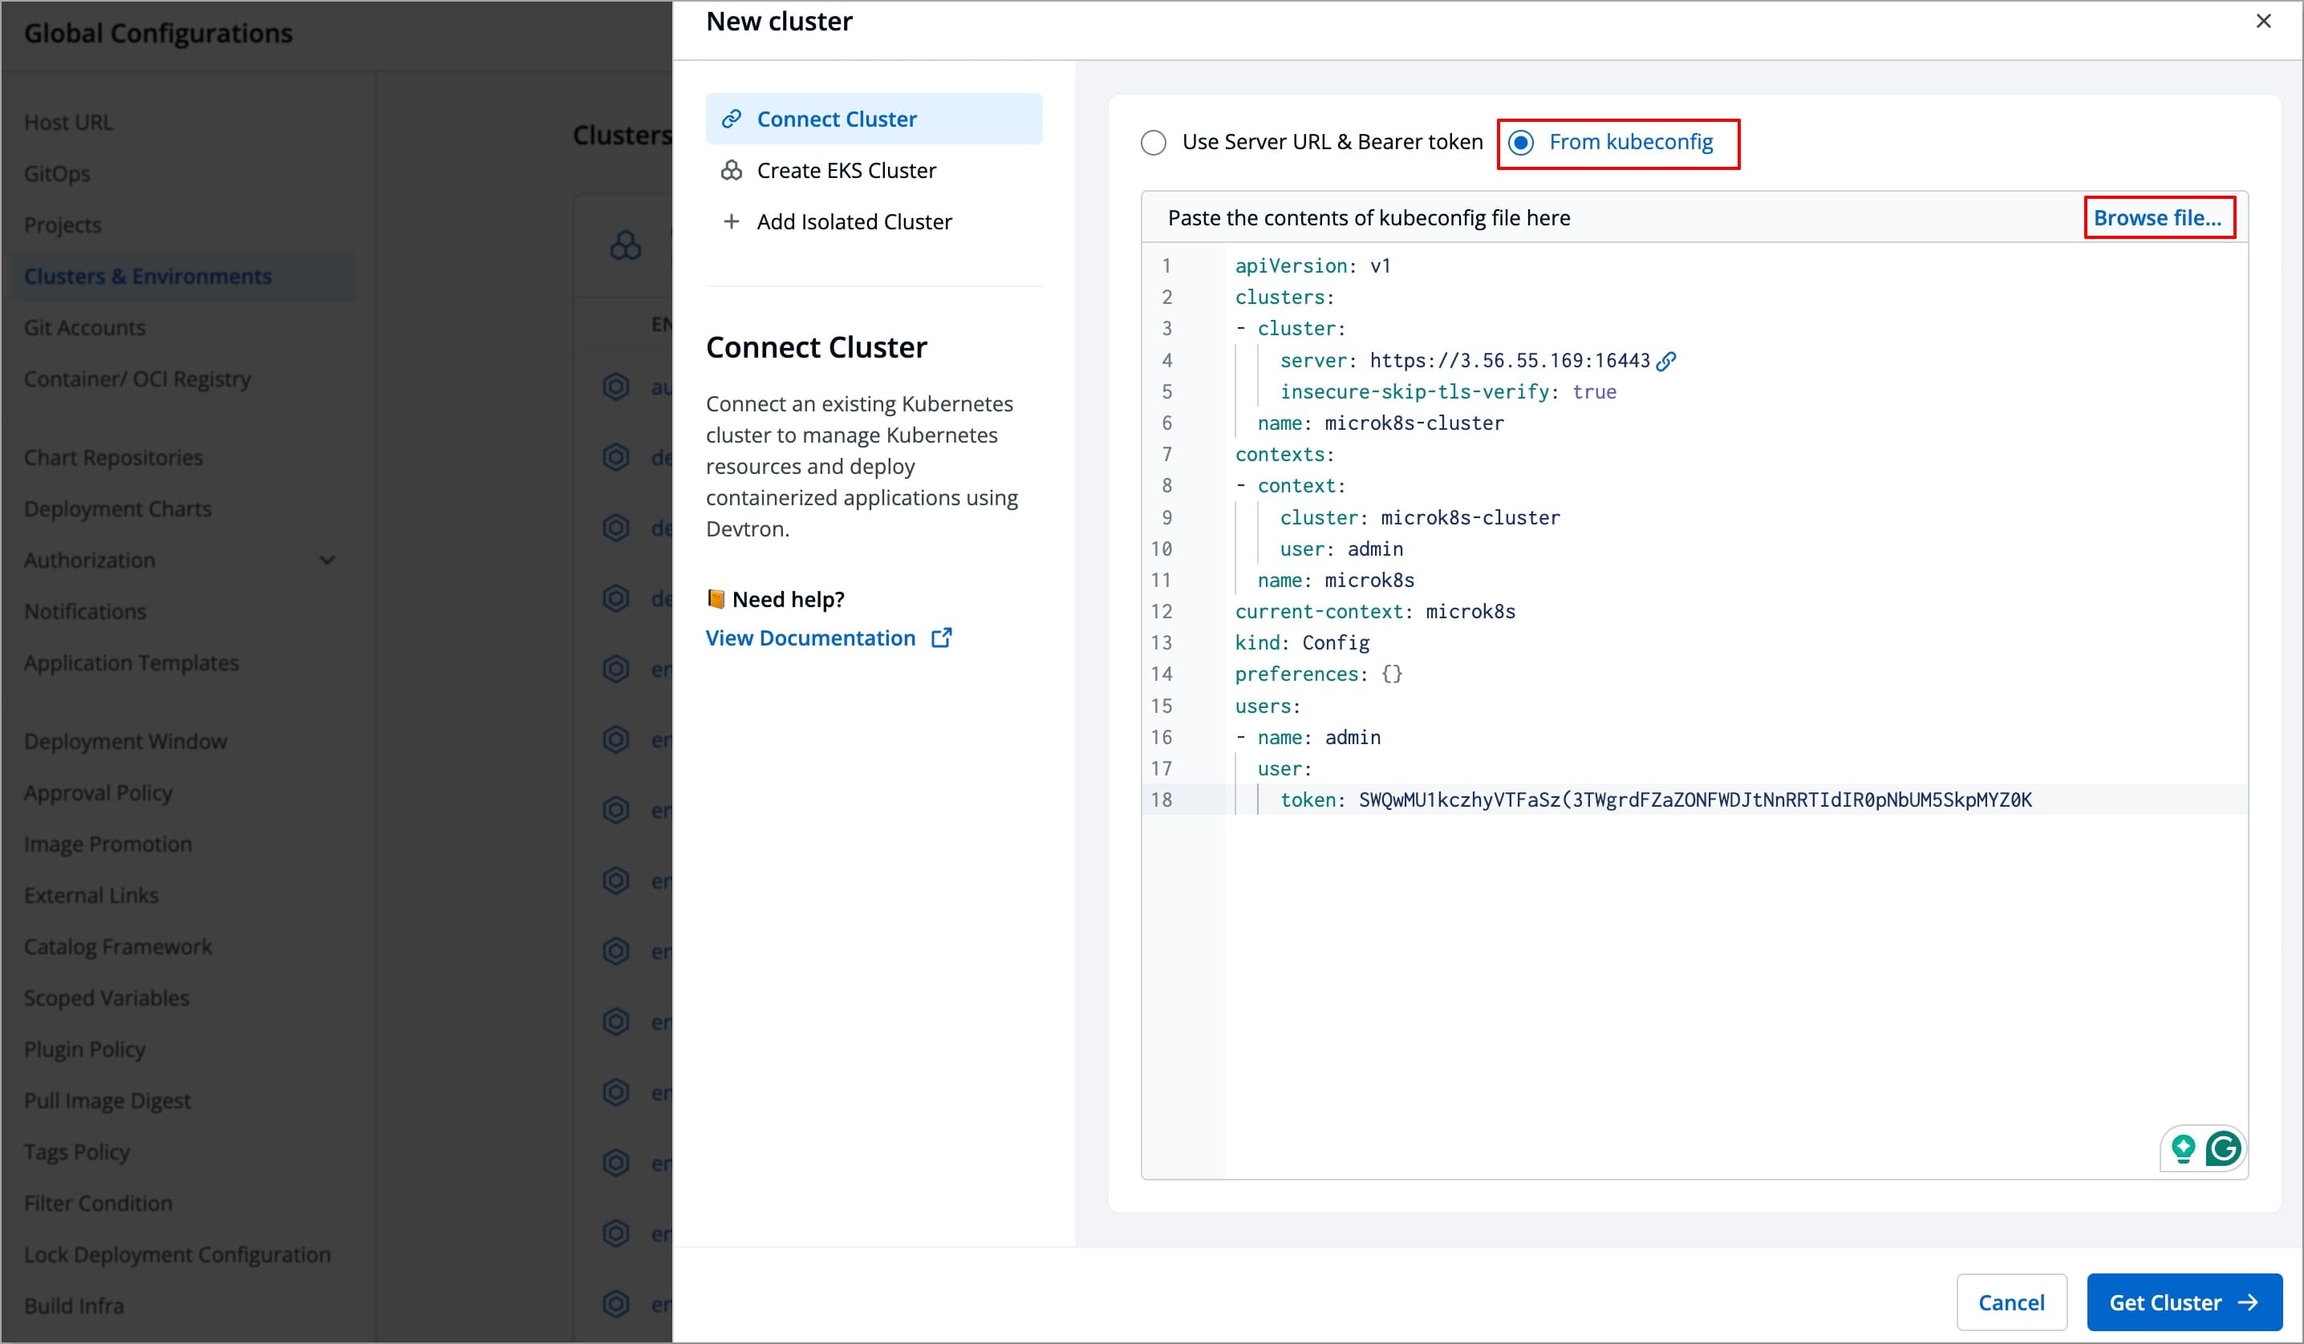
To add clusters using kubeconfig, follow these steps:
First, navigate to the global configurations menu, and then go to "clusters and environment" section.
Click on the
Add clusterbutton. In the options provided, choose theFrom kubeconfigoption.Next, either paste the kubeconfig file or browse for it and select the appropriate file.
Afterward, click on the
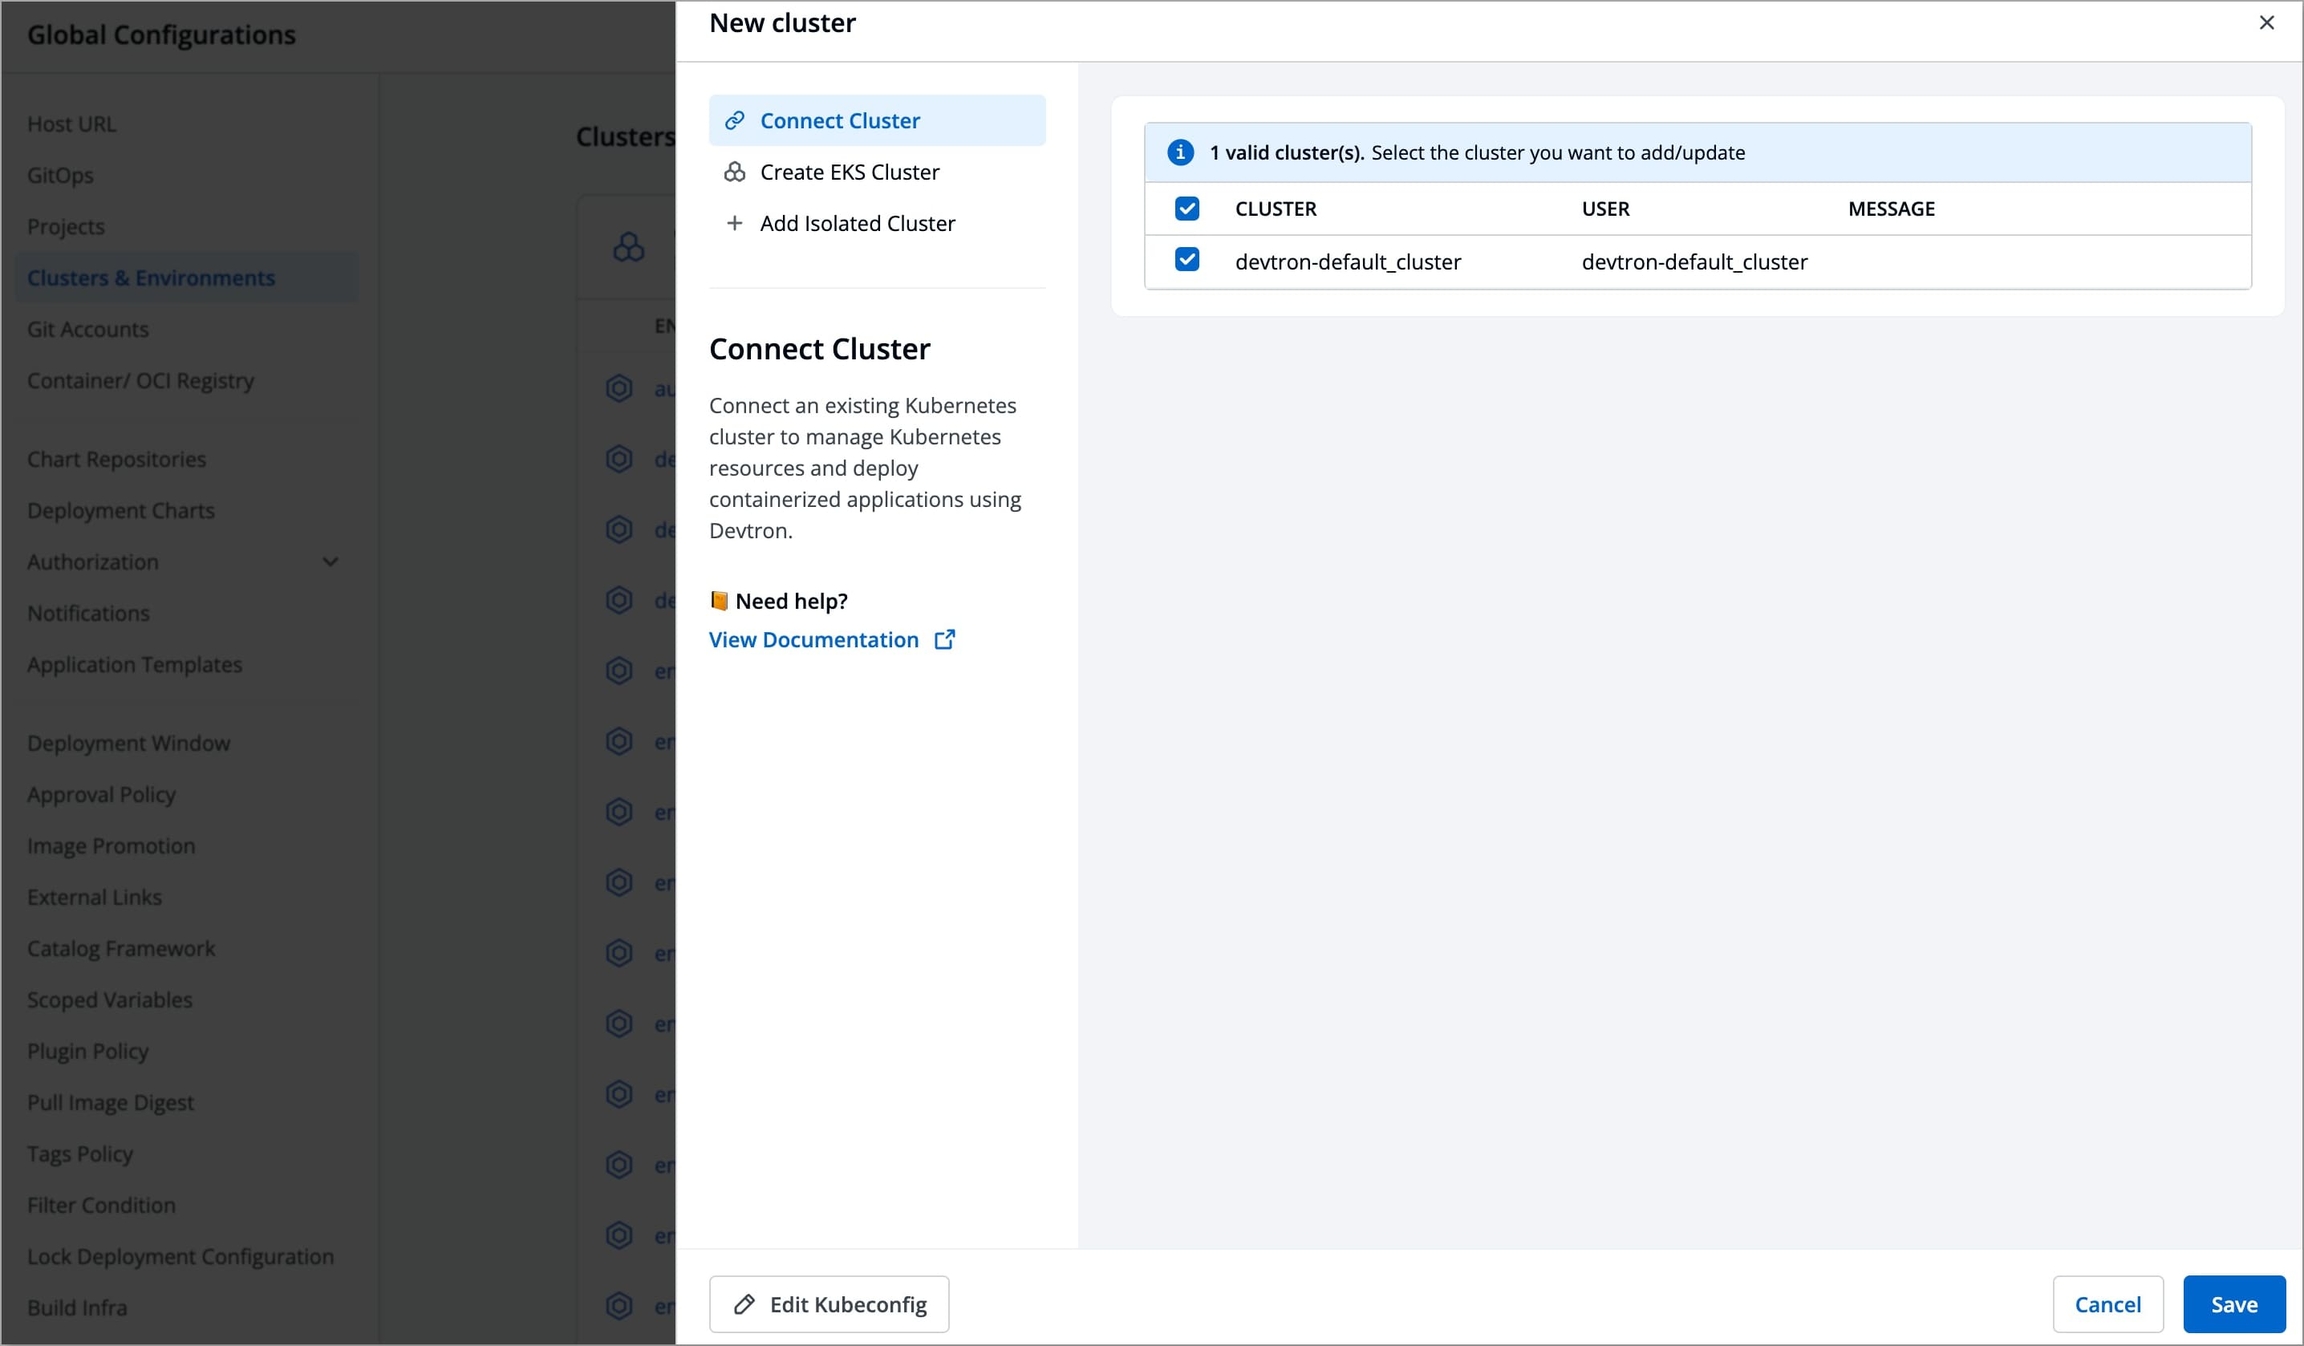
Get clusterbutton. This action will display the cluster details alongside the kubeconfig.
Select the desired cluster and click on
Saveto successfully add the cluster to Devtron.
Note: Please ensure that the kubeconfig file you use has admin permissions. It is crucial for Devtron to have the necessary administrative privileges; otherwise, it may encounter failures or disruptions during deployments and other operations. Admin permission is essential to ensure the smooth functioning of Devtron and to prevent any potential issues that may arise due to insufficient privileges.
Configure Prometheus (Enable Applications Metrics)
If you want to see application metrics against the applications deployed in the cluster, Prometheus must be deployed in the cluster. Prometheus is a powerful tool to provide graphical insight into your application behavior.
Note: Make sure that you install
Monitoring (Grafana)from theDevtron Stack Managerto configure prometheus. If you do not installMonitoring (Grafana), then the option to configure prometheus will not be available.
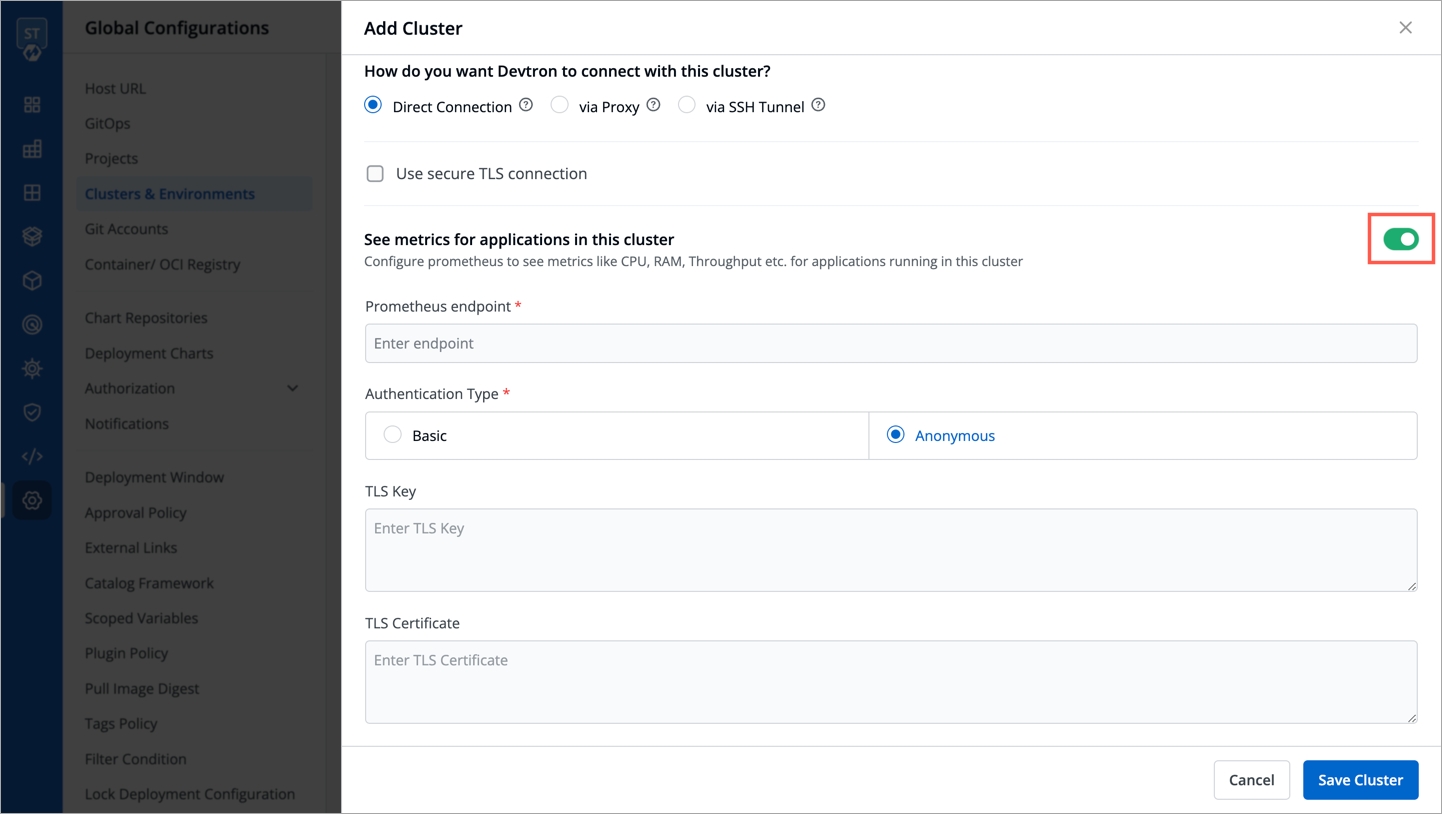
Enable the application metrics to configure prometheus and provide the information in the following fields:
Prometheus endpoint
Provide the URL of your prometheus.
Authentication Type
Prometheus supports two authentication types:
Basic: If you select the
Basicauthentication type, then you must provide theUsernameandPasswordof prometheus for authentication.
Anonymous: If you select the
Anonymousauthentication type, then you do not need to provide theUsernameandPassword. Note: The fieldsUsernameandPasswordwill not be available by default.
TLS Key & TLS Certificate
TLS Key and TLS Certificate are optional, these options are used when you use a customized URL.
Now, click Save Cluster to save your cluster on Devtron.
Installing Devtron Agent
Your Kubernetes cluster gets mapped with Devtron when you save the cluster configurations. Now, the Devtron agent must be installed on the added cluster so that you can deploy your applications on that cluster.

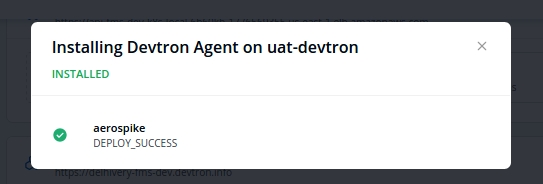
When the Devtron agent starts installing, click Details to check the installation status.

A new window pops up displaying all the details about the Devtron agent.
Add Environment
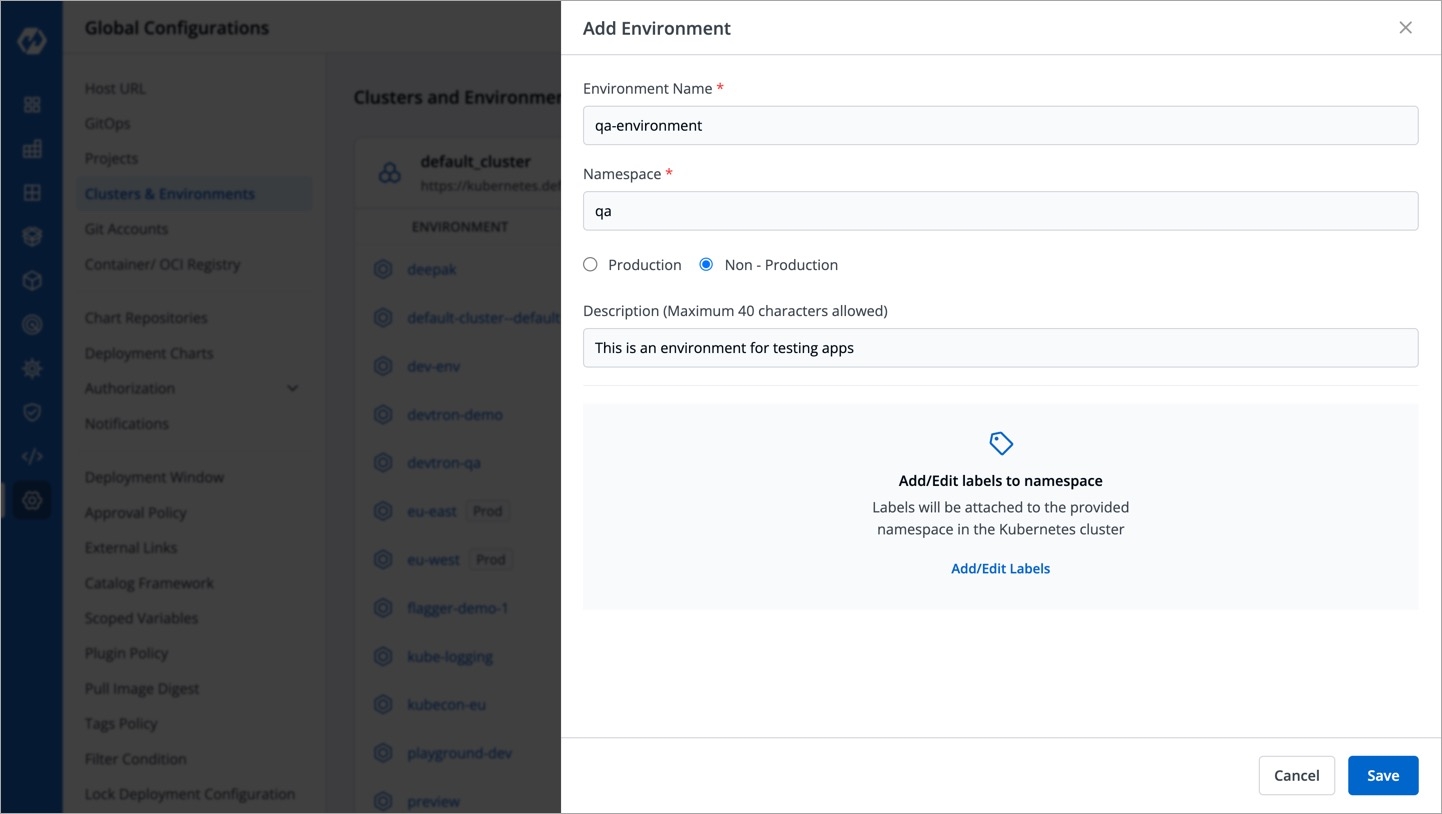
Once you have added your cluster in the Clusters & Environments, you can add the environment by clicking Add environment.
A new environment window pops up.
Environment Name
Enter a name of your environment.
Enter Namespace
Enter a namespace corresponding to your environment. Note: If this namespace does not already exist in your cluster, Devtron will create it. If it exists already, Devtron will map the environment to the existing namespace.
Environment Type
Select your environment type:
Production
Non-production
Note: Devtron shows deployment metrics (DORA metrics) for environments tagged as Production only.
Click Save and your environment will be created.
Update Environment
You can also update an environment by clicking the environment.
You can change
ProductionandNon-Productionoptions only.You cannot change the
Environment NameandNamespace Name.Make sure to click Update to update your environment.
Last updated
Was this helpful?

