Manage Environments
Environments allow you to structure your deployment stages inside Devtron by mapping logical stages like dev, QA, staging, or production to actual namespaces within your clusters. Once a cluster is added, you can create environments, define their type, attach labels, and assign categories for cleaner filtering. This page explains how to add, edit, and delete environments.
Add Environment to a Cluster
Users need to have super-admin permission to add an environment to a cluster.
After adding a cluster to Devtron (existing Kubernetes cluster, Isolated cluster, or a newly created cluster), initially it has no environments.
- Select the cluster to which you want to add an Environment and click Add Environment. Alternatively you can also hover over the cluster and click
+icon (Add Environment icon); an Add Environment modal window appears.
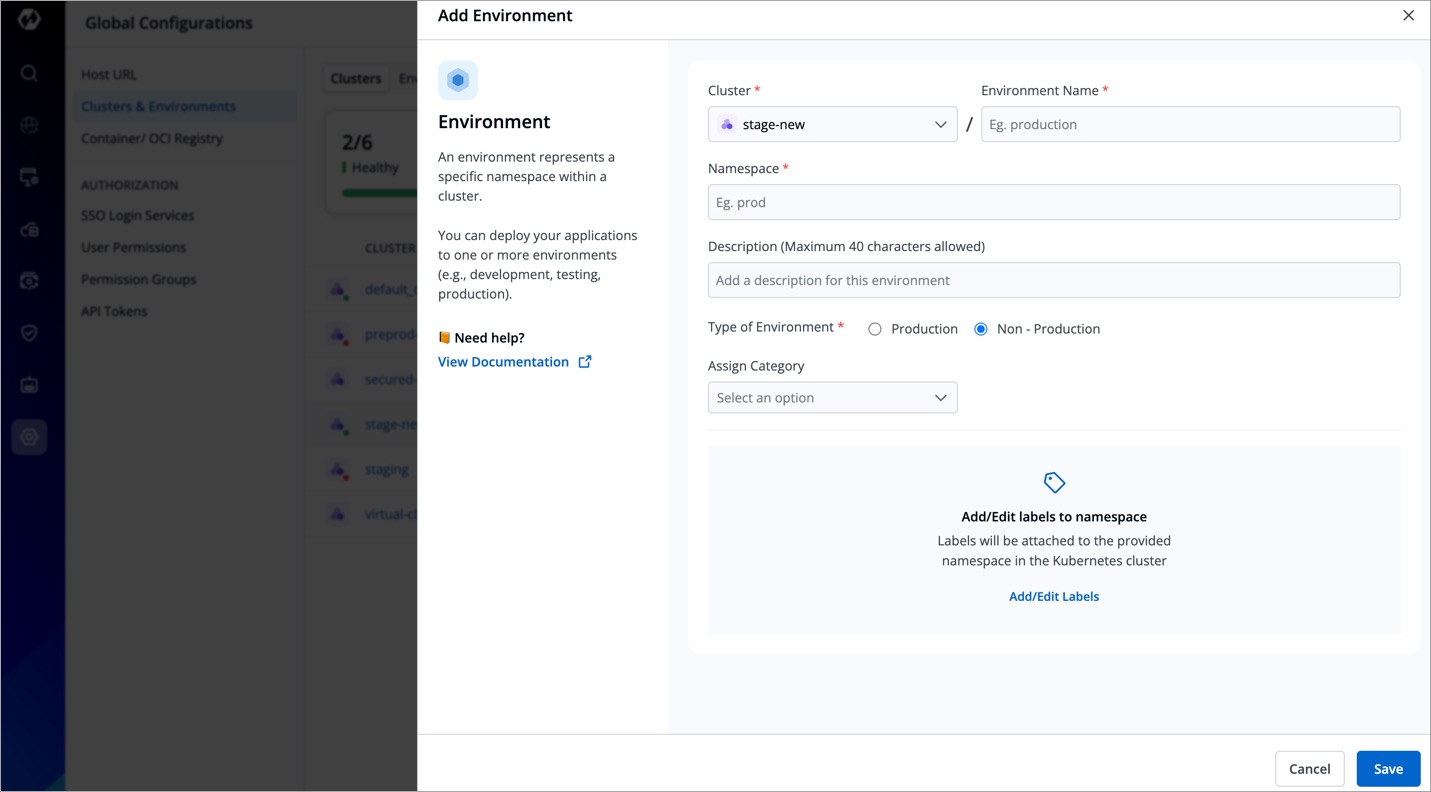
- Fill the following details within the Add Environment modal window.
| Field | Description |
|---|---|
| Environment Name | Enter a name for your environment. |
| Enter Namespace | Enter a namespace corresponding to your environment. Note: If this namespace does not exist in your cluster, Devtron will create it. If it already exists, Devtron will map the environment to it. |
| Environment Type | Select your environment type:
Production only. |
-
Assign a Category to environment
 - Devtron allows you to assign a category (for e.g. Prod, QA, Dev, or Stage) to your environments. This enables category-based filtering in the UI, allowing you to determine whether an application is deployed to Prod, QA, Dev, or Stage environment.
To assign a category to your environment, follow the steps below:- Select a category from the dropdown under Assign Category and click Update.
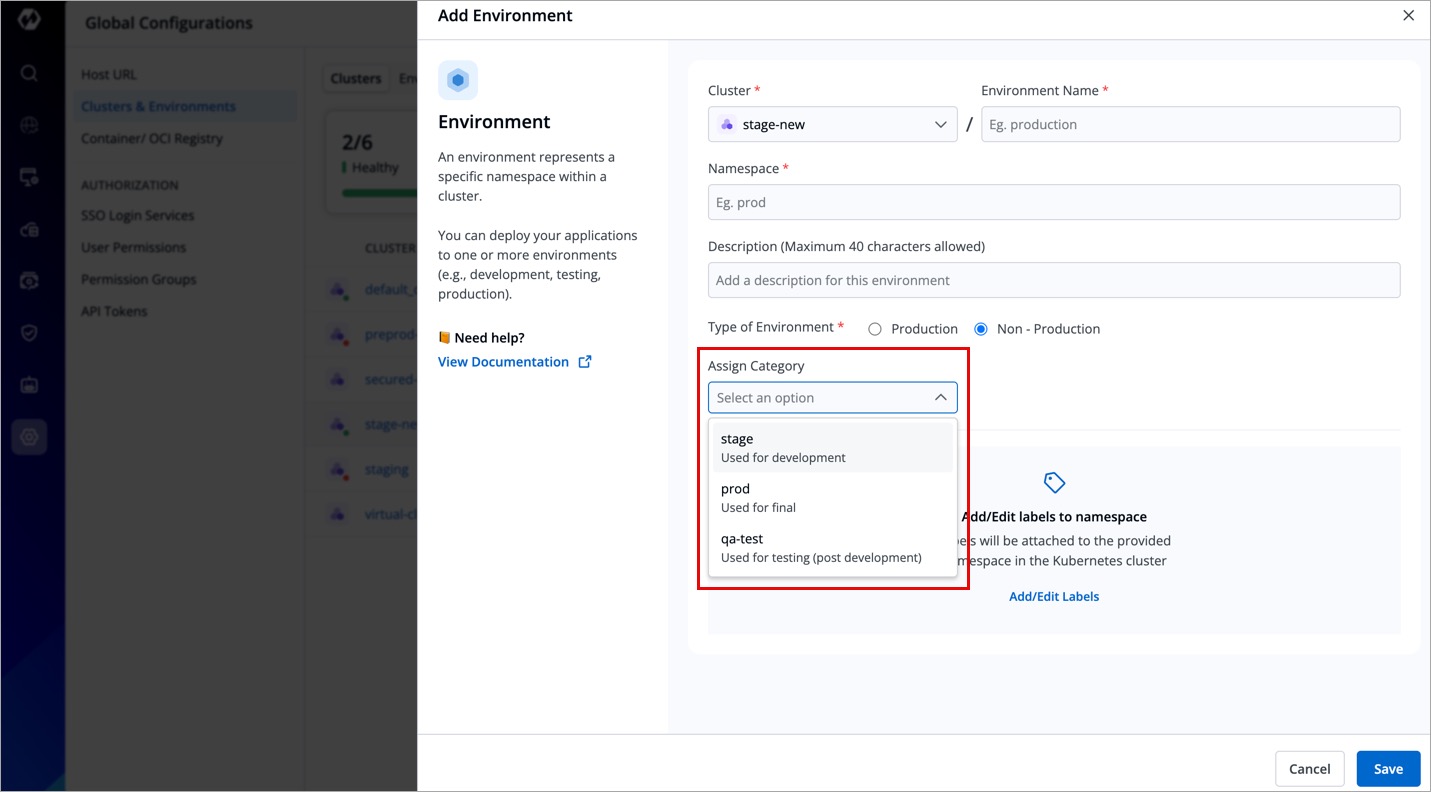
Figure 3: Assigning Category - The selected category will be assigned to the environment.
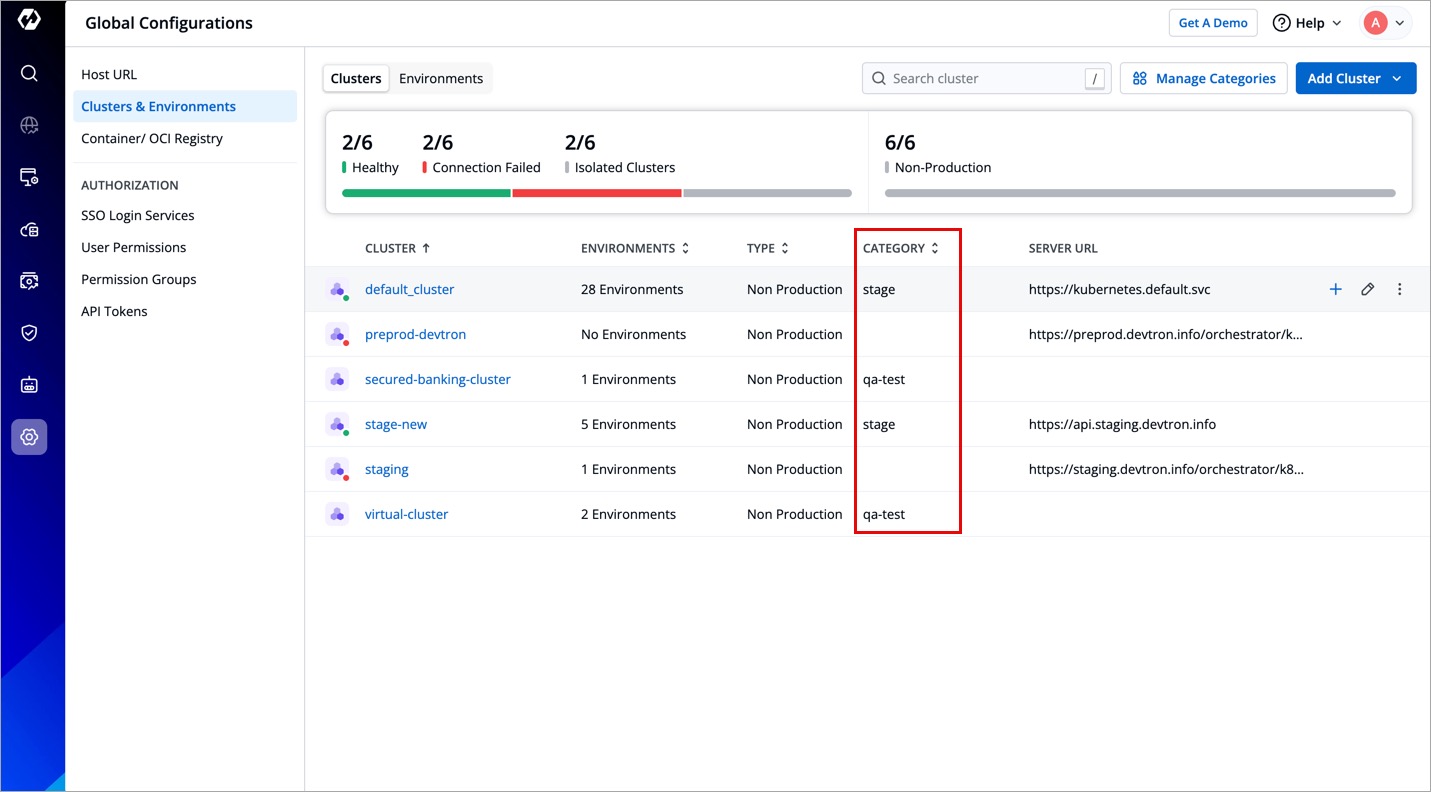
Figure 4: Category Assigned
Note: Before assigning a category, you must first add the category. To add a category, refer to Adding a Category section to learn more.
- Add/Edit labels to namespace - You can attach labels to your specified namespace in the Kubernetes cluster. Using labels will help you filter and identify resources via CLI or other Kubernetes tools. Click here to know more about labels.
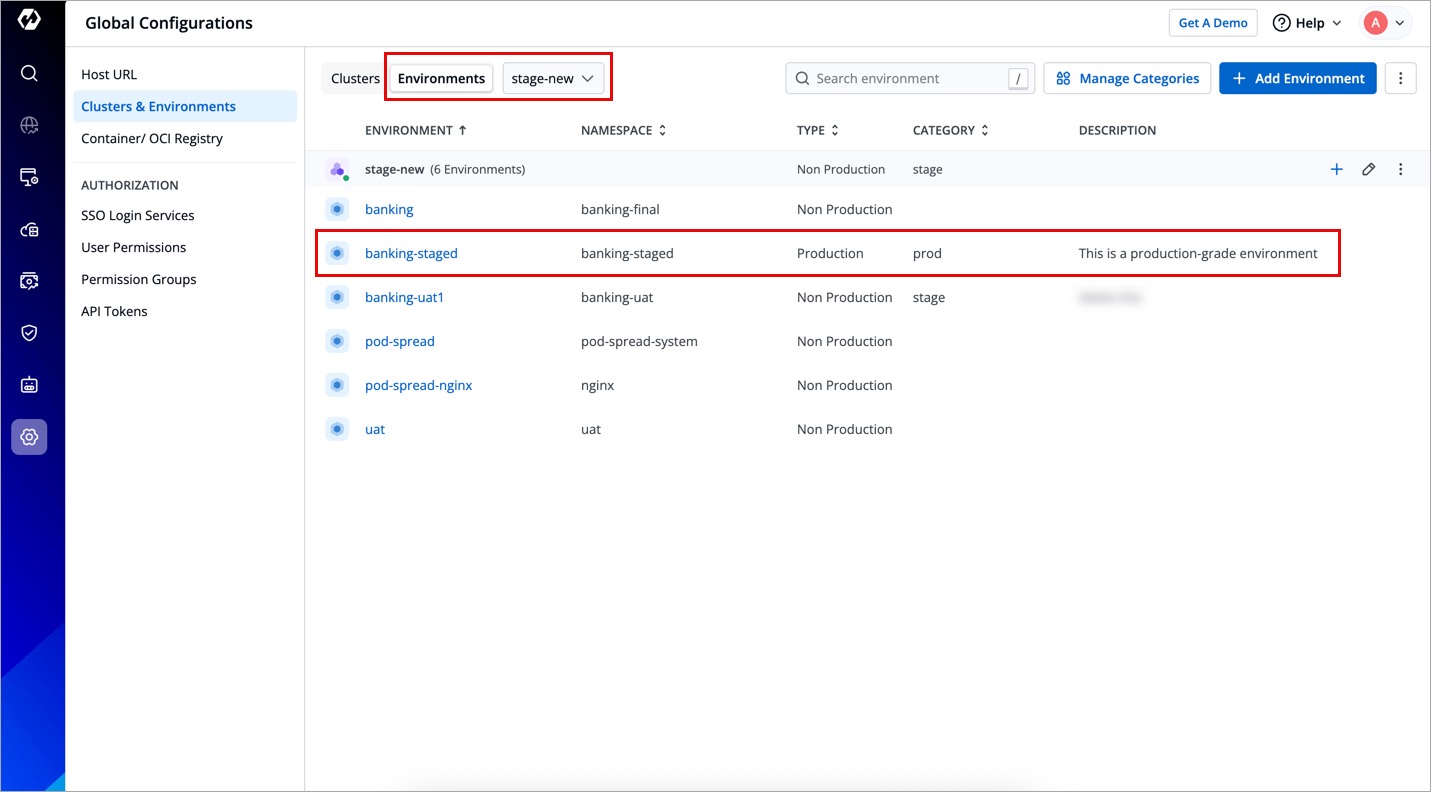
- Click Save. Your new environment will be visible in your cluster as shown below.
Edit Environment
Users need to have super-admin permission to edit an environment in a cluster.
You can also make edits to an existing environment if needed.
-
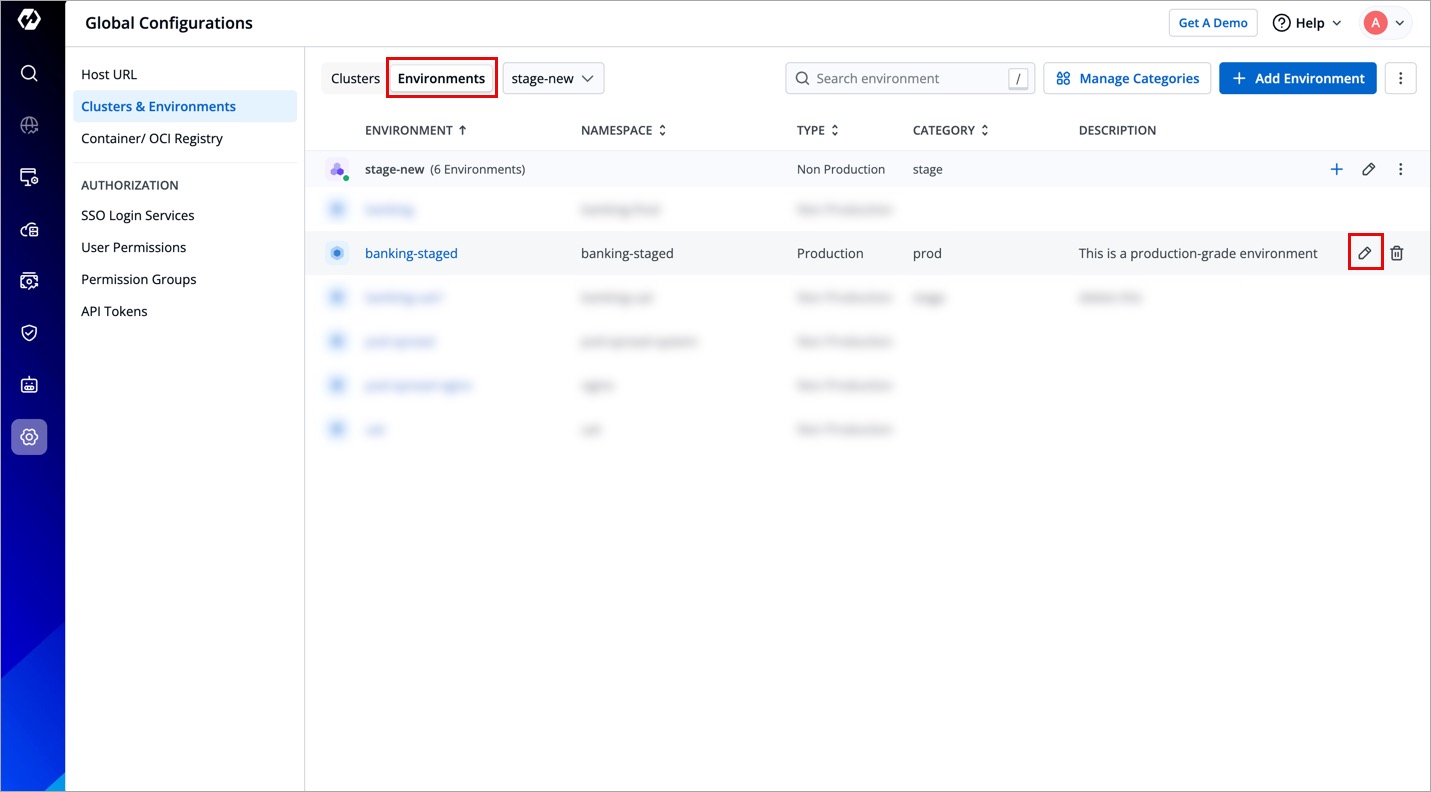
Navigate to Environments tab.
-
Hover over the environment you wish to edit, and click the edit icon.
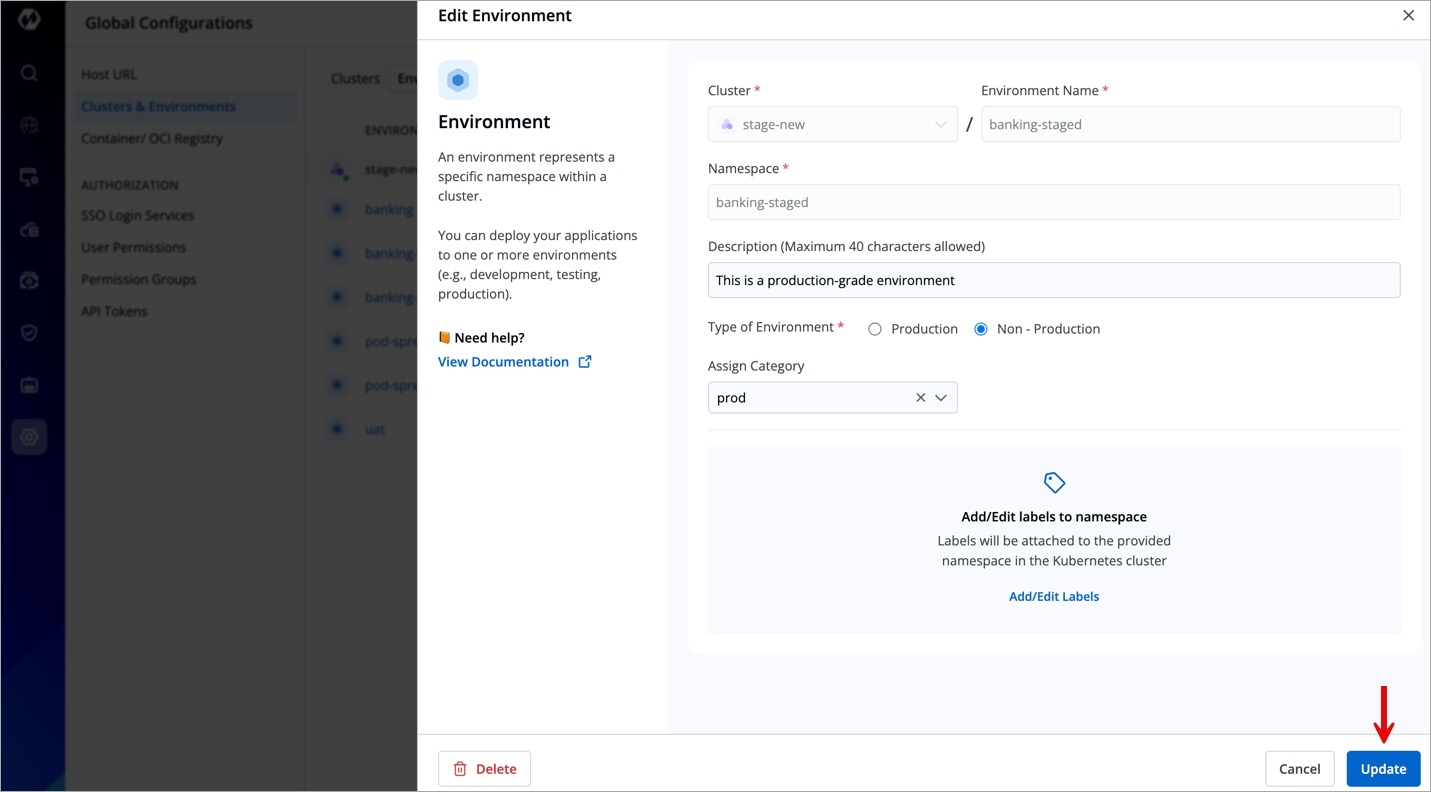
- Edit the environment fields.
| Feature | Editable? |
|---|---|
| Production/Non-Production Option | ✅ Yes |
| Description | ✅ Yes |
| Labels for Namespace | ✅ Yes |
| Assign a category | ✅ Yes |
| Environment Name | ❌ No |
| Namespace Name | ❌ No |
- Click Update to save your changes.
Delete Environment
Users need to have super-admin permission to delete an environment from a cluster.
If an environment is no longer needed, you can delete it by following these steps:
-
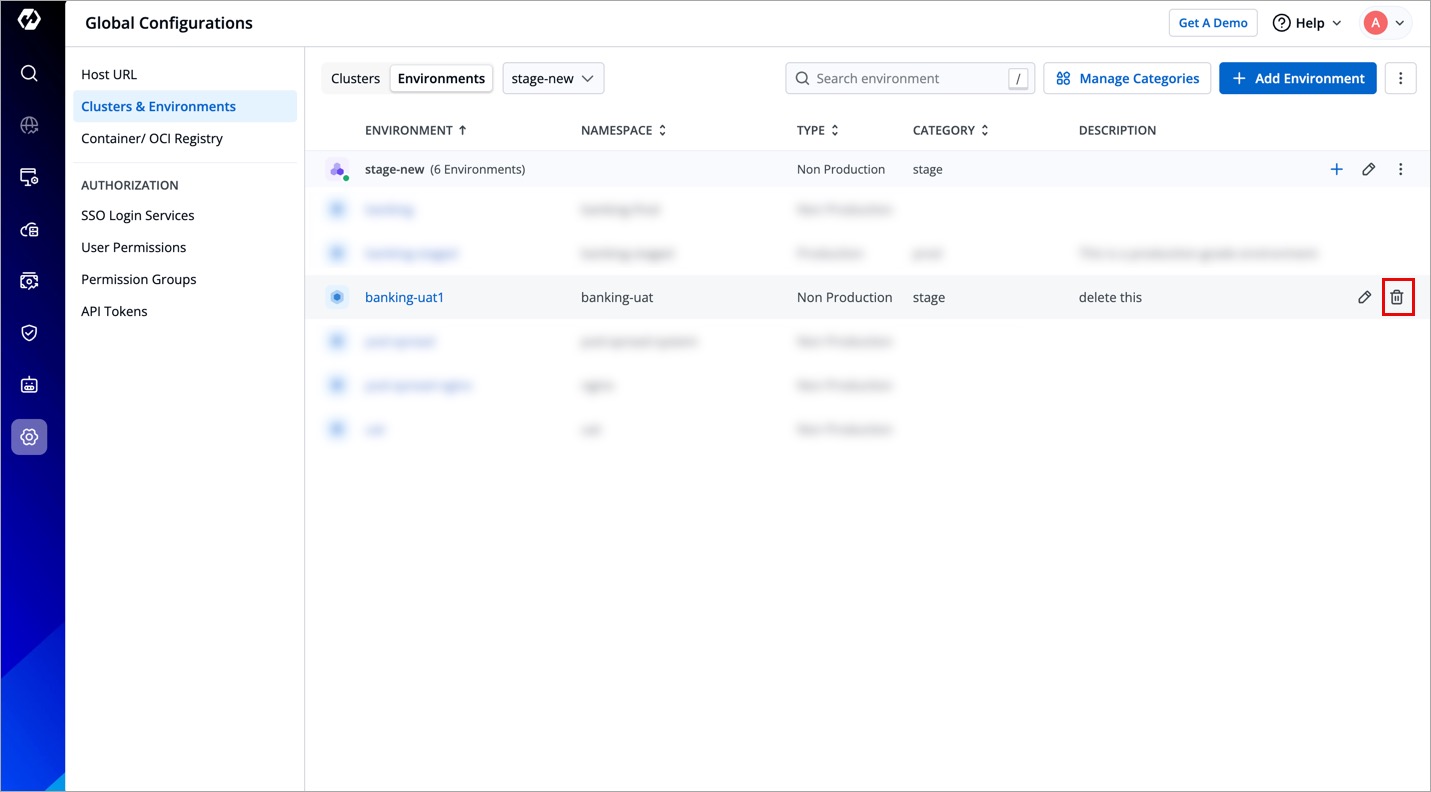
Navigate to Environments tab.
-
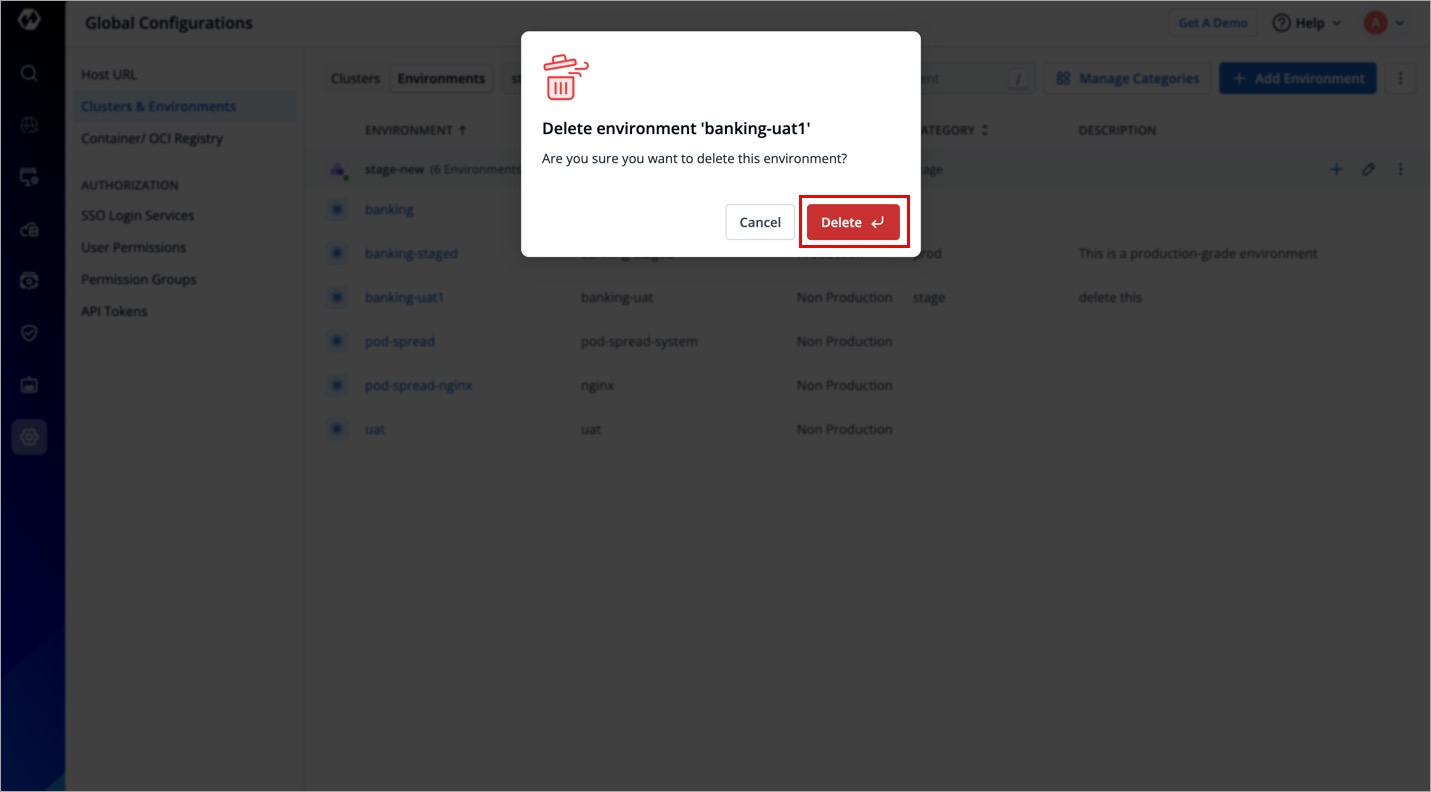
Hover over the environment you wish to remove, and click the delete icon.
Environment deletion is not allowed if any application has a CD pipeline corresponding to the environment. In such a case, go to Workflow Editor and delete the deployment pipeline first, and then return to delete the environment. This action is irreversible, so make sure no critical applications or resources depend on the environment before deleting.
- A confirmation dialog will appear. Click Delete to permanently delete the environment.