Clusters and Environments
The Clusters and Environments section helps you connect Kubernetes clusters to Devtron and set up the environments where your applications will be deployed.
This section provides a clear guide for onboarding clusters, structuring environments, and keeping them all organized.
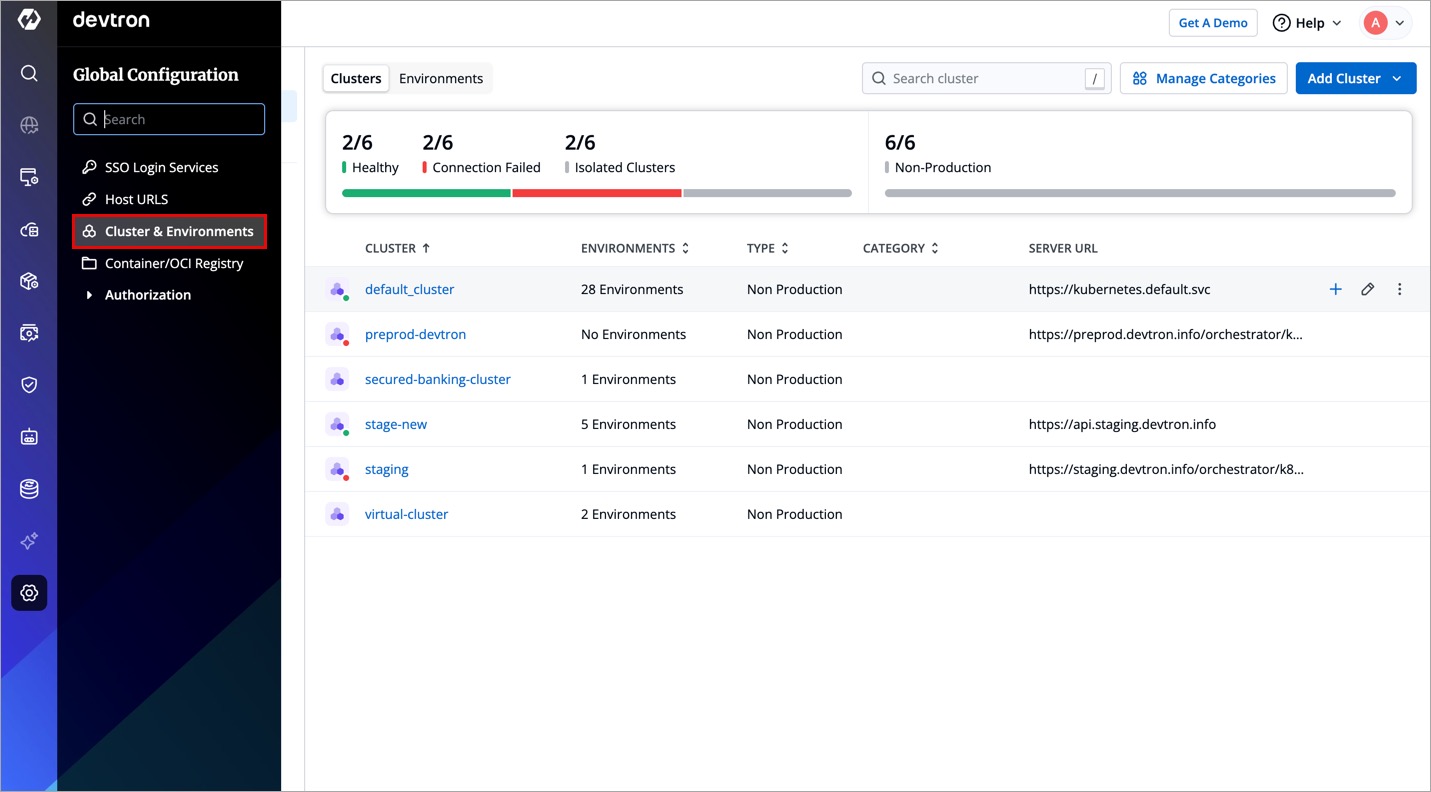
Table of Contents
1. Add Clusters
Learn how to connect an existing Kubernetes cluster, create a new managed cluster, or add an isolated air gapped cluster.
Covers all connection methods, TLS configuration, Prometheus setup, and assigning categories.
2. Manage Environments
Create and manage environments inside your clusters.
Assign namespaces, define environment type, add labels, and update or delete environments when needed.
3. Manage Categories
Create and organize categories like dev, QA, stage, or prod.
Use categories to group clusters and environments for easy filtering in the Devtron UI.