Overview
The Overview page provides a centralized view of a job’s details within Devtron. It allows users to quickly access information about the job, manage tags, and view job pipelines all in a single, organized interface.
The Overview page contains three main sections:
-
About: Contains job's metadata such as name, description, project, project, creator, and it also includes options to manage tags.
-
Job Pipelines: Displays all job pipelines along with their last status and quick access to associated workflows.
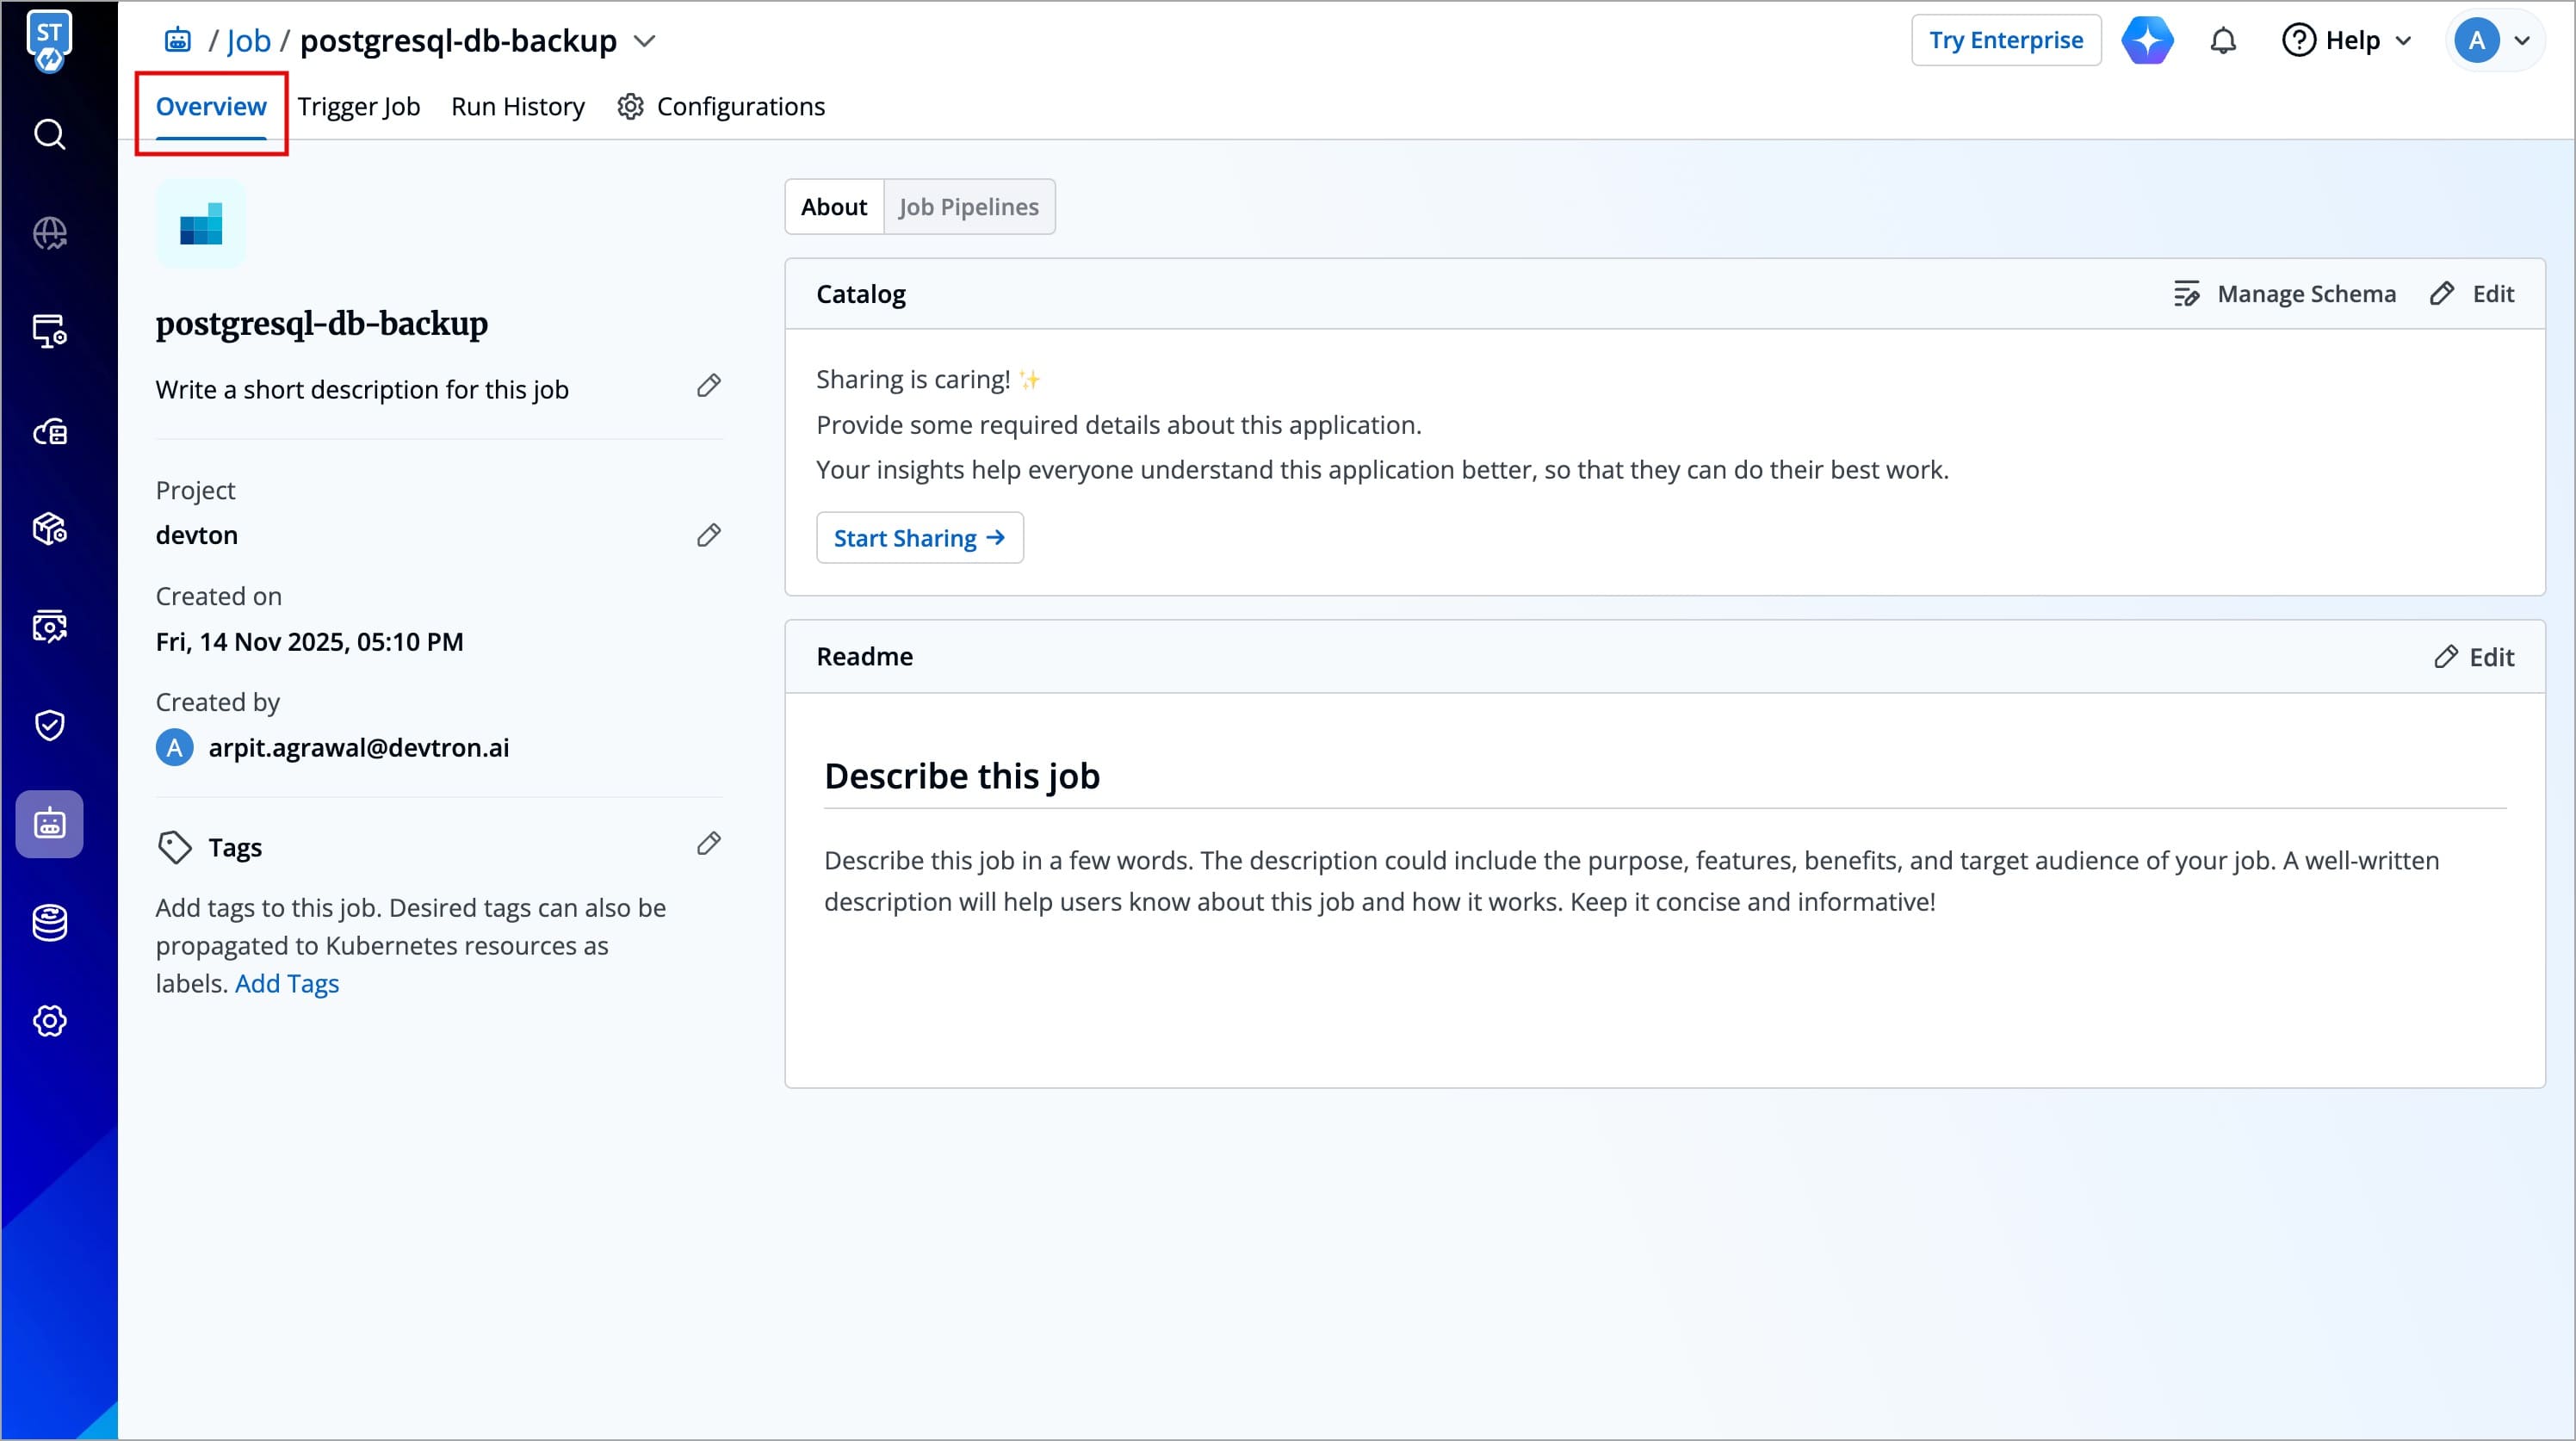
About
The About section allows you to:
- View key job details
- Change the project your application is assigned to
- Manage tags that you may have added during the job’s creation
The left side of the About section displays essential information about the job.
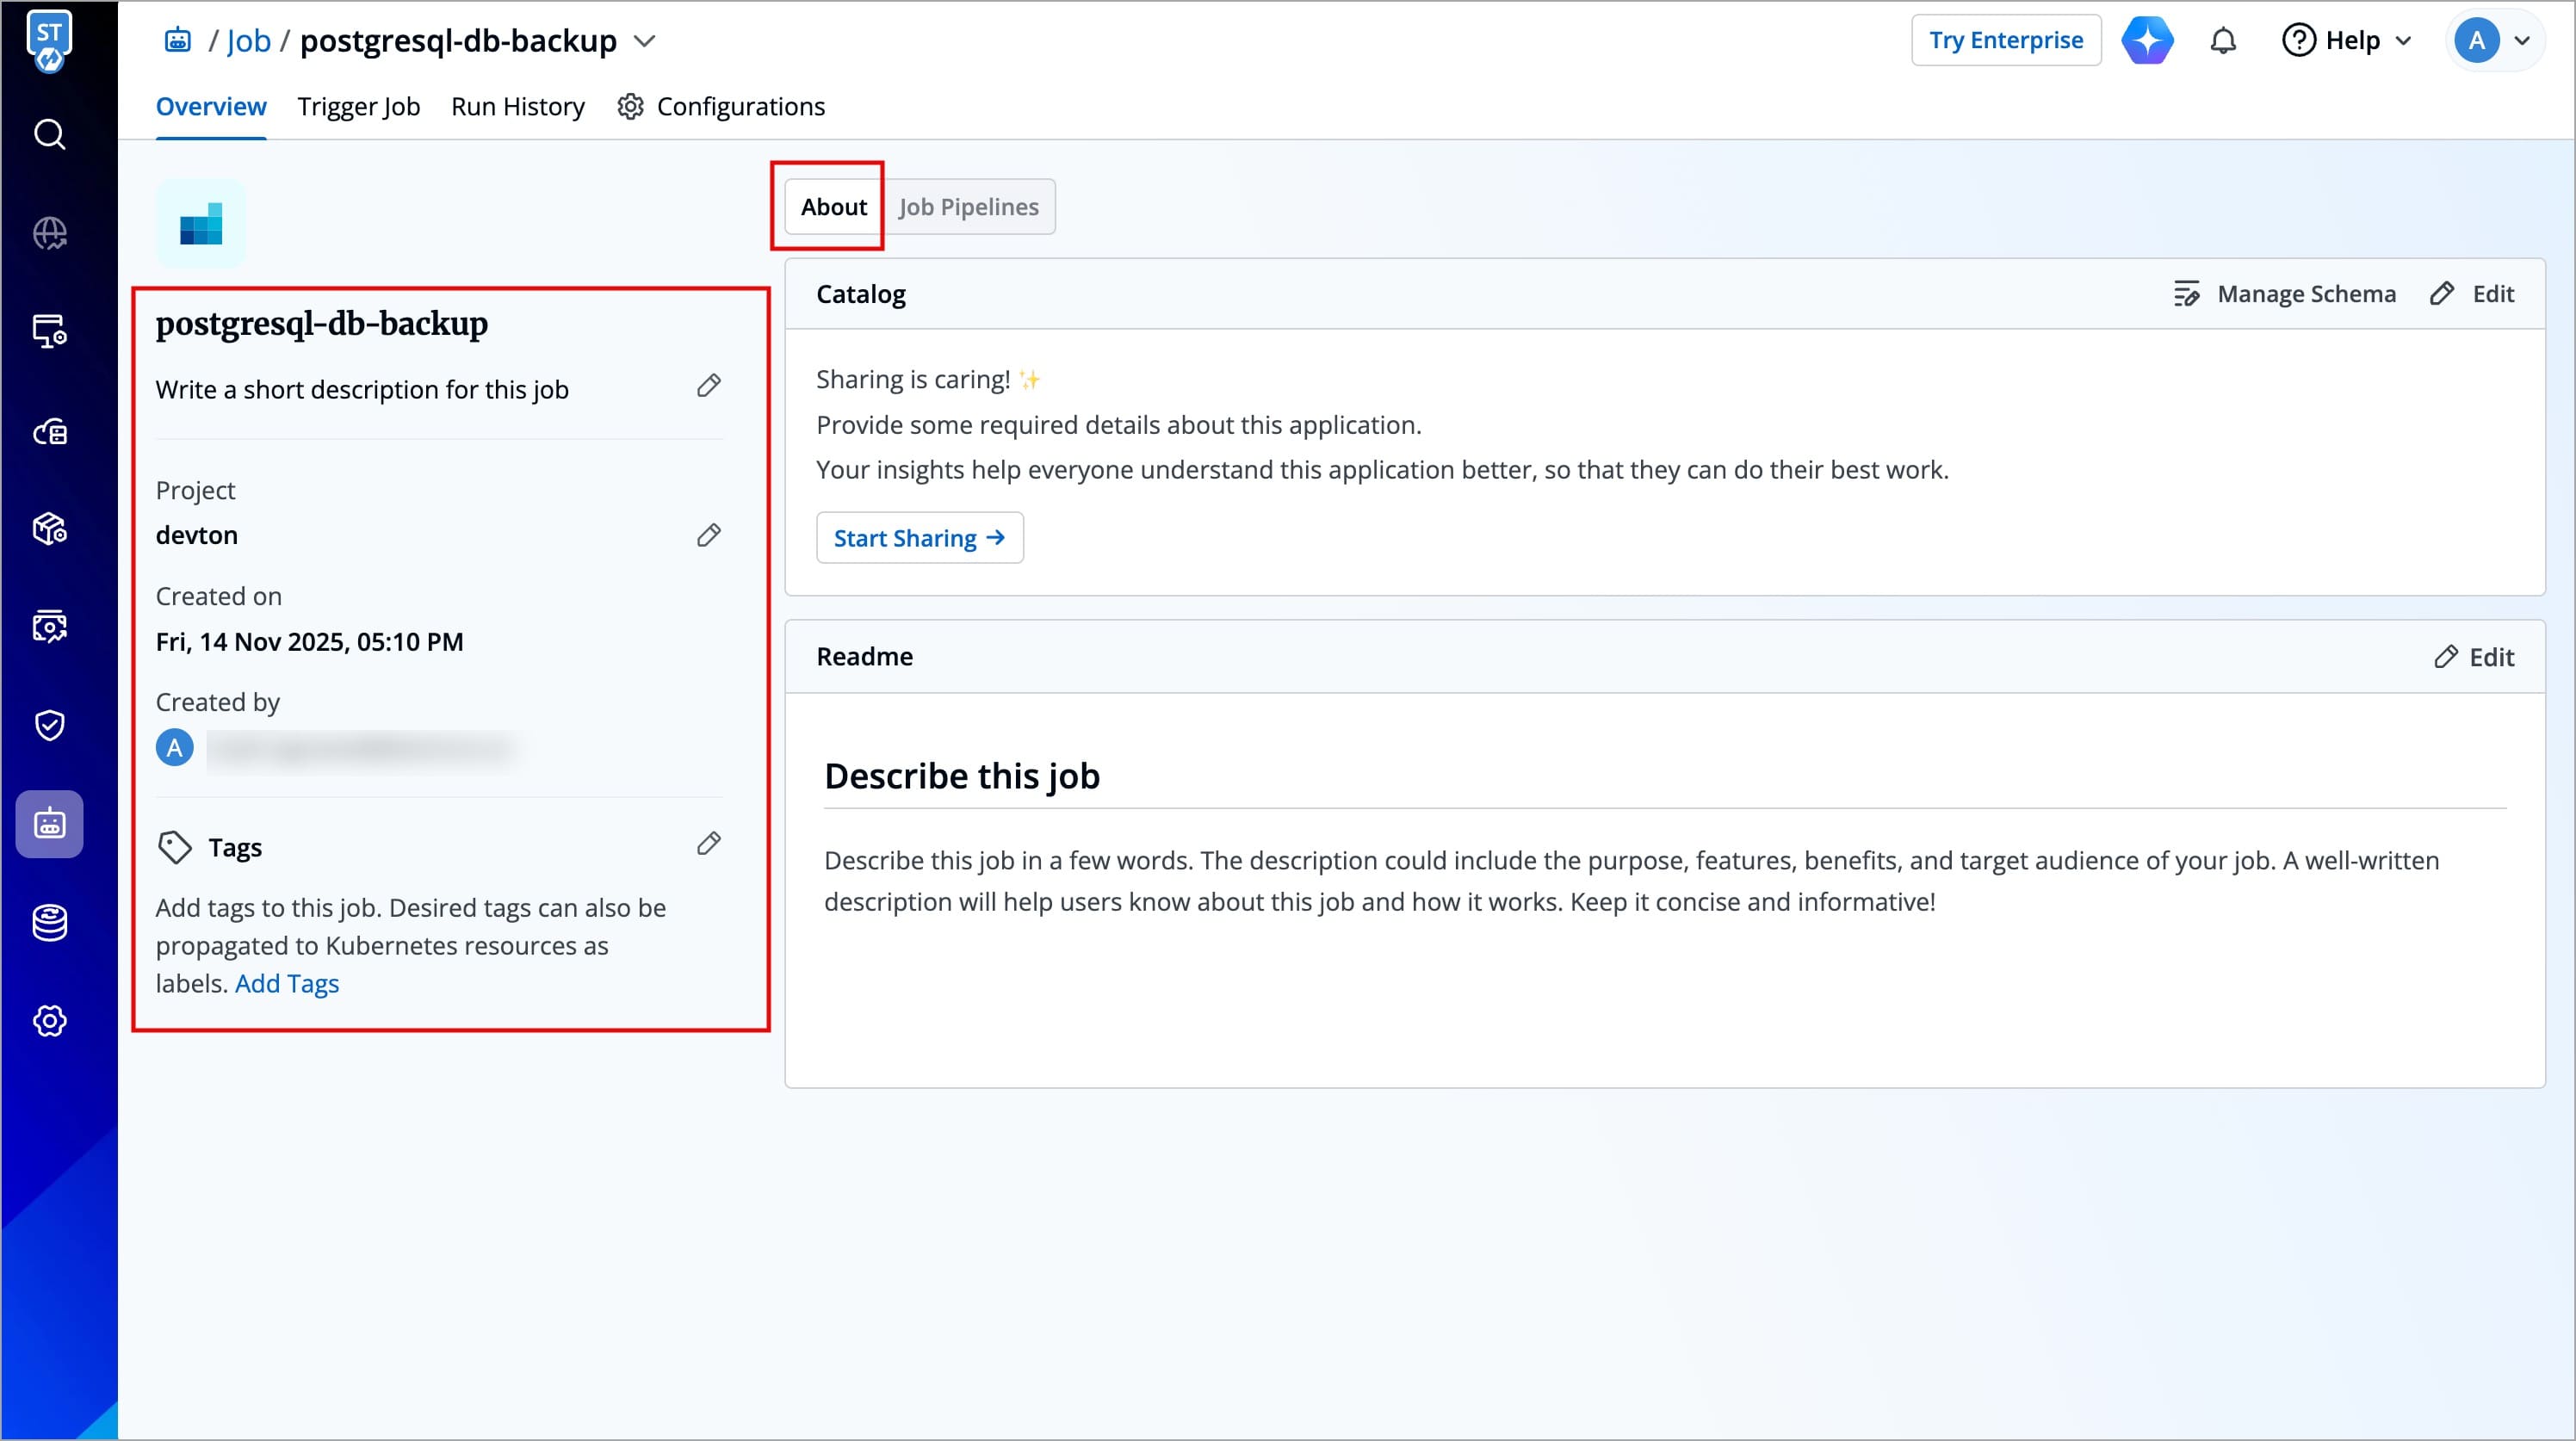
The table below captures all the key elements presented in this section, along with their descriptions and whether they can be edited by the user.
| Field Name | User Editable | Description |
|---|---|---|
Job Name | No | Displays the name of the application (e.g., backend-healthcare-app). |
Short Description | Yes | A short, optional description to summarize the application's purpose. |
Project | Yes | Indicates the current project under which the application is organized. You can change the project directly from this section.
|
Created on | No | Shows the exact date and time when the application was created. |
Created by | No | Displays the email address of the user who created the application. |
Tags | Yes | Key-value pairs used for identifying and organizing the application and can be propagated as Kubernetes labels. To learn more refer Tags section. |
Tags
Tags are Key-value pairs used for identifying and organizing the application. Users can propagate tags as Kubernetes labels to enable filtering, bulk operations, and integrations with Kubernetes tools. To do so, follow the steps below.
-
Click the Edit icon next to Tags.
-
On the Manage Tags page, Click + Add tag to add a new tag.
-
You can click
Xicon to delete an existing tag. -
You can click the propagation icon

propagation icon to propagate a tag (turns dark grey when propagated), click again to remove propagation. -
Click Save, configured Tags will reflect immediately under Tags in About Section
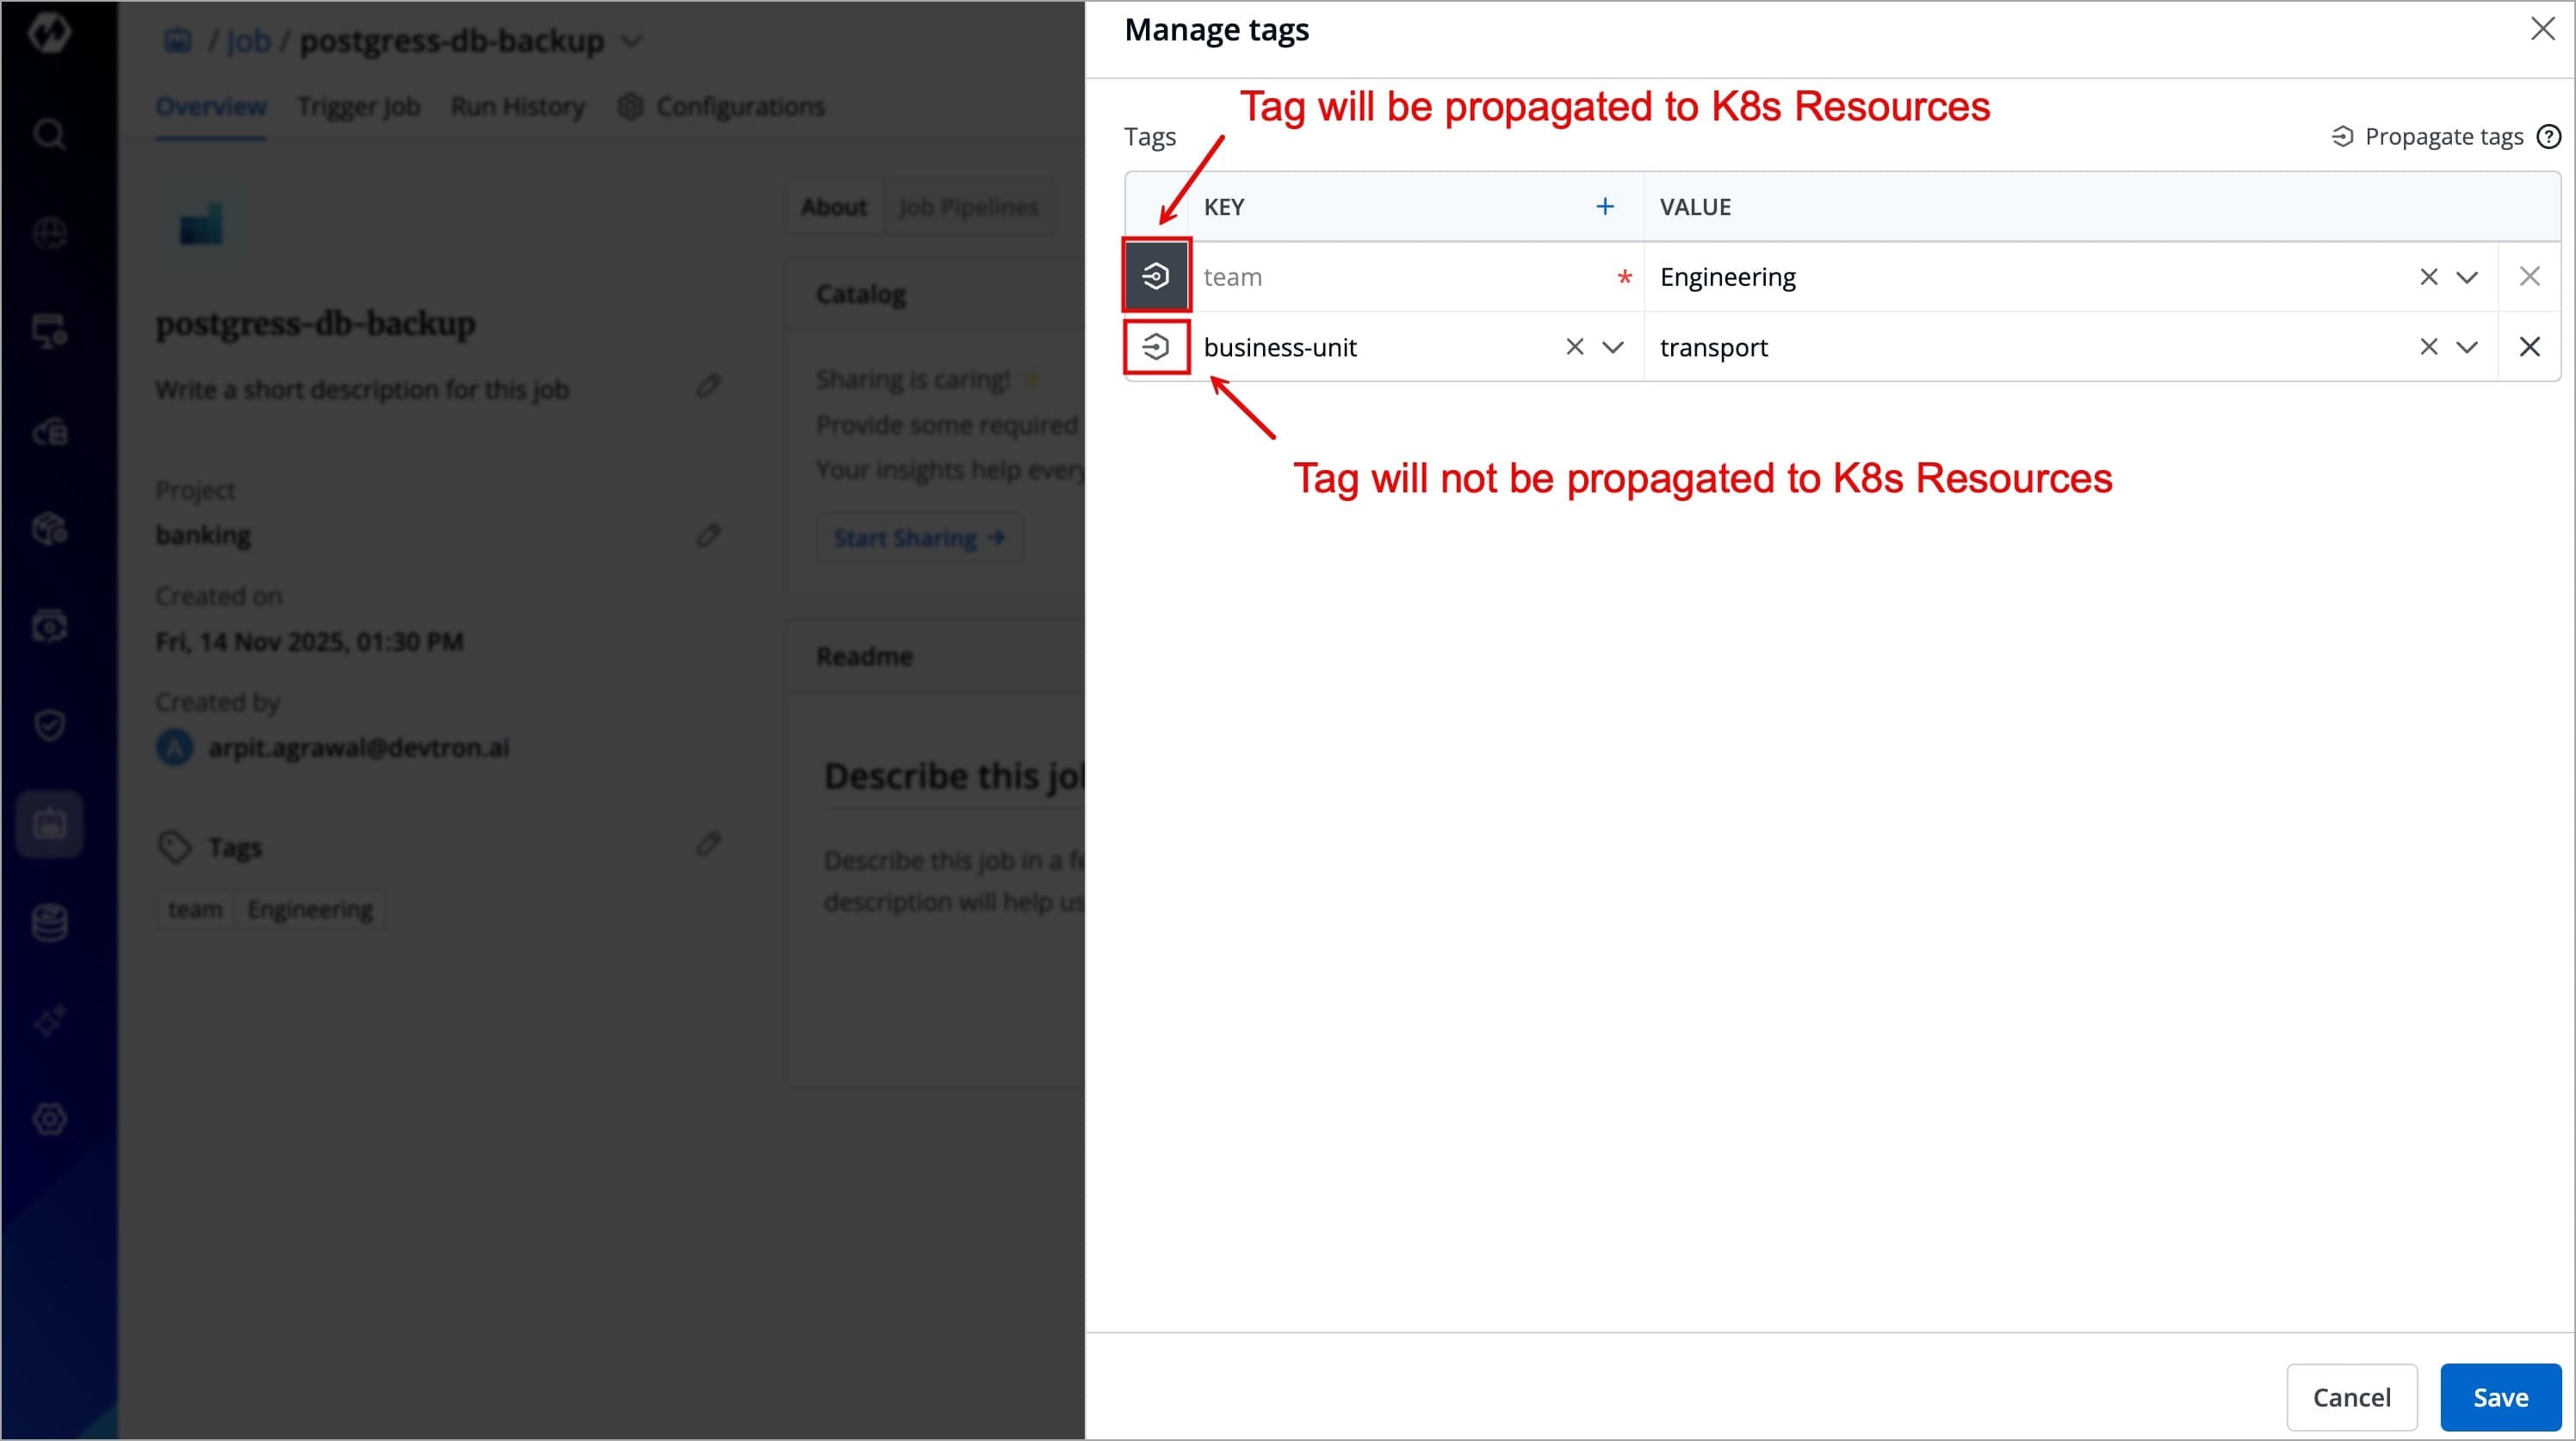
Figure 3: Tags
Configure nodeSelector For Job Workloads
In some cases, you want your job workloads to run only on specific nodes, such as nodes with SSDs, high memory, or isolated workloads.
Devtron allows you to configure a node selector using a special tag devtron.ai/node-selector. This tag acts as an instruction for Devtron to apply the nodeSelector to the Pods created for your job workloads.
Apply nodeSelector for Job Workloads
Before applying the nodeSelector, make sure you know the label assigned to the nodes where you want your CI builds to run as this label is used as the value for the devtron.ai/node-selector tag.
Once you have identified the label, follow the steps below to apply the nodeSelector:
- Navigate to your Automation & Enablement → Jobs.
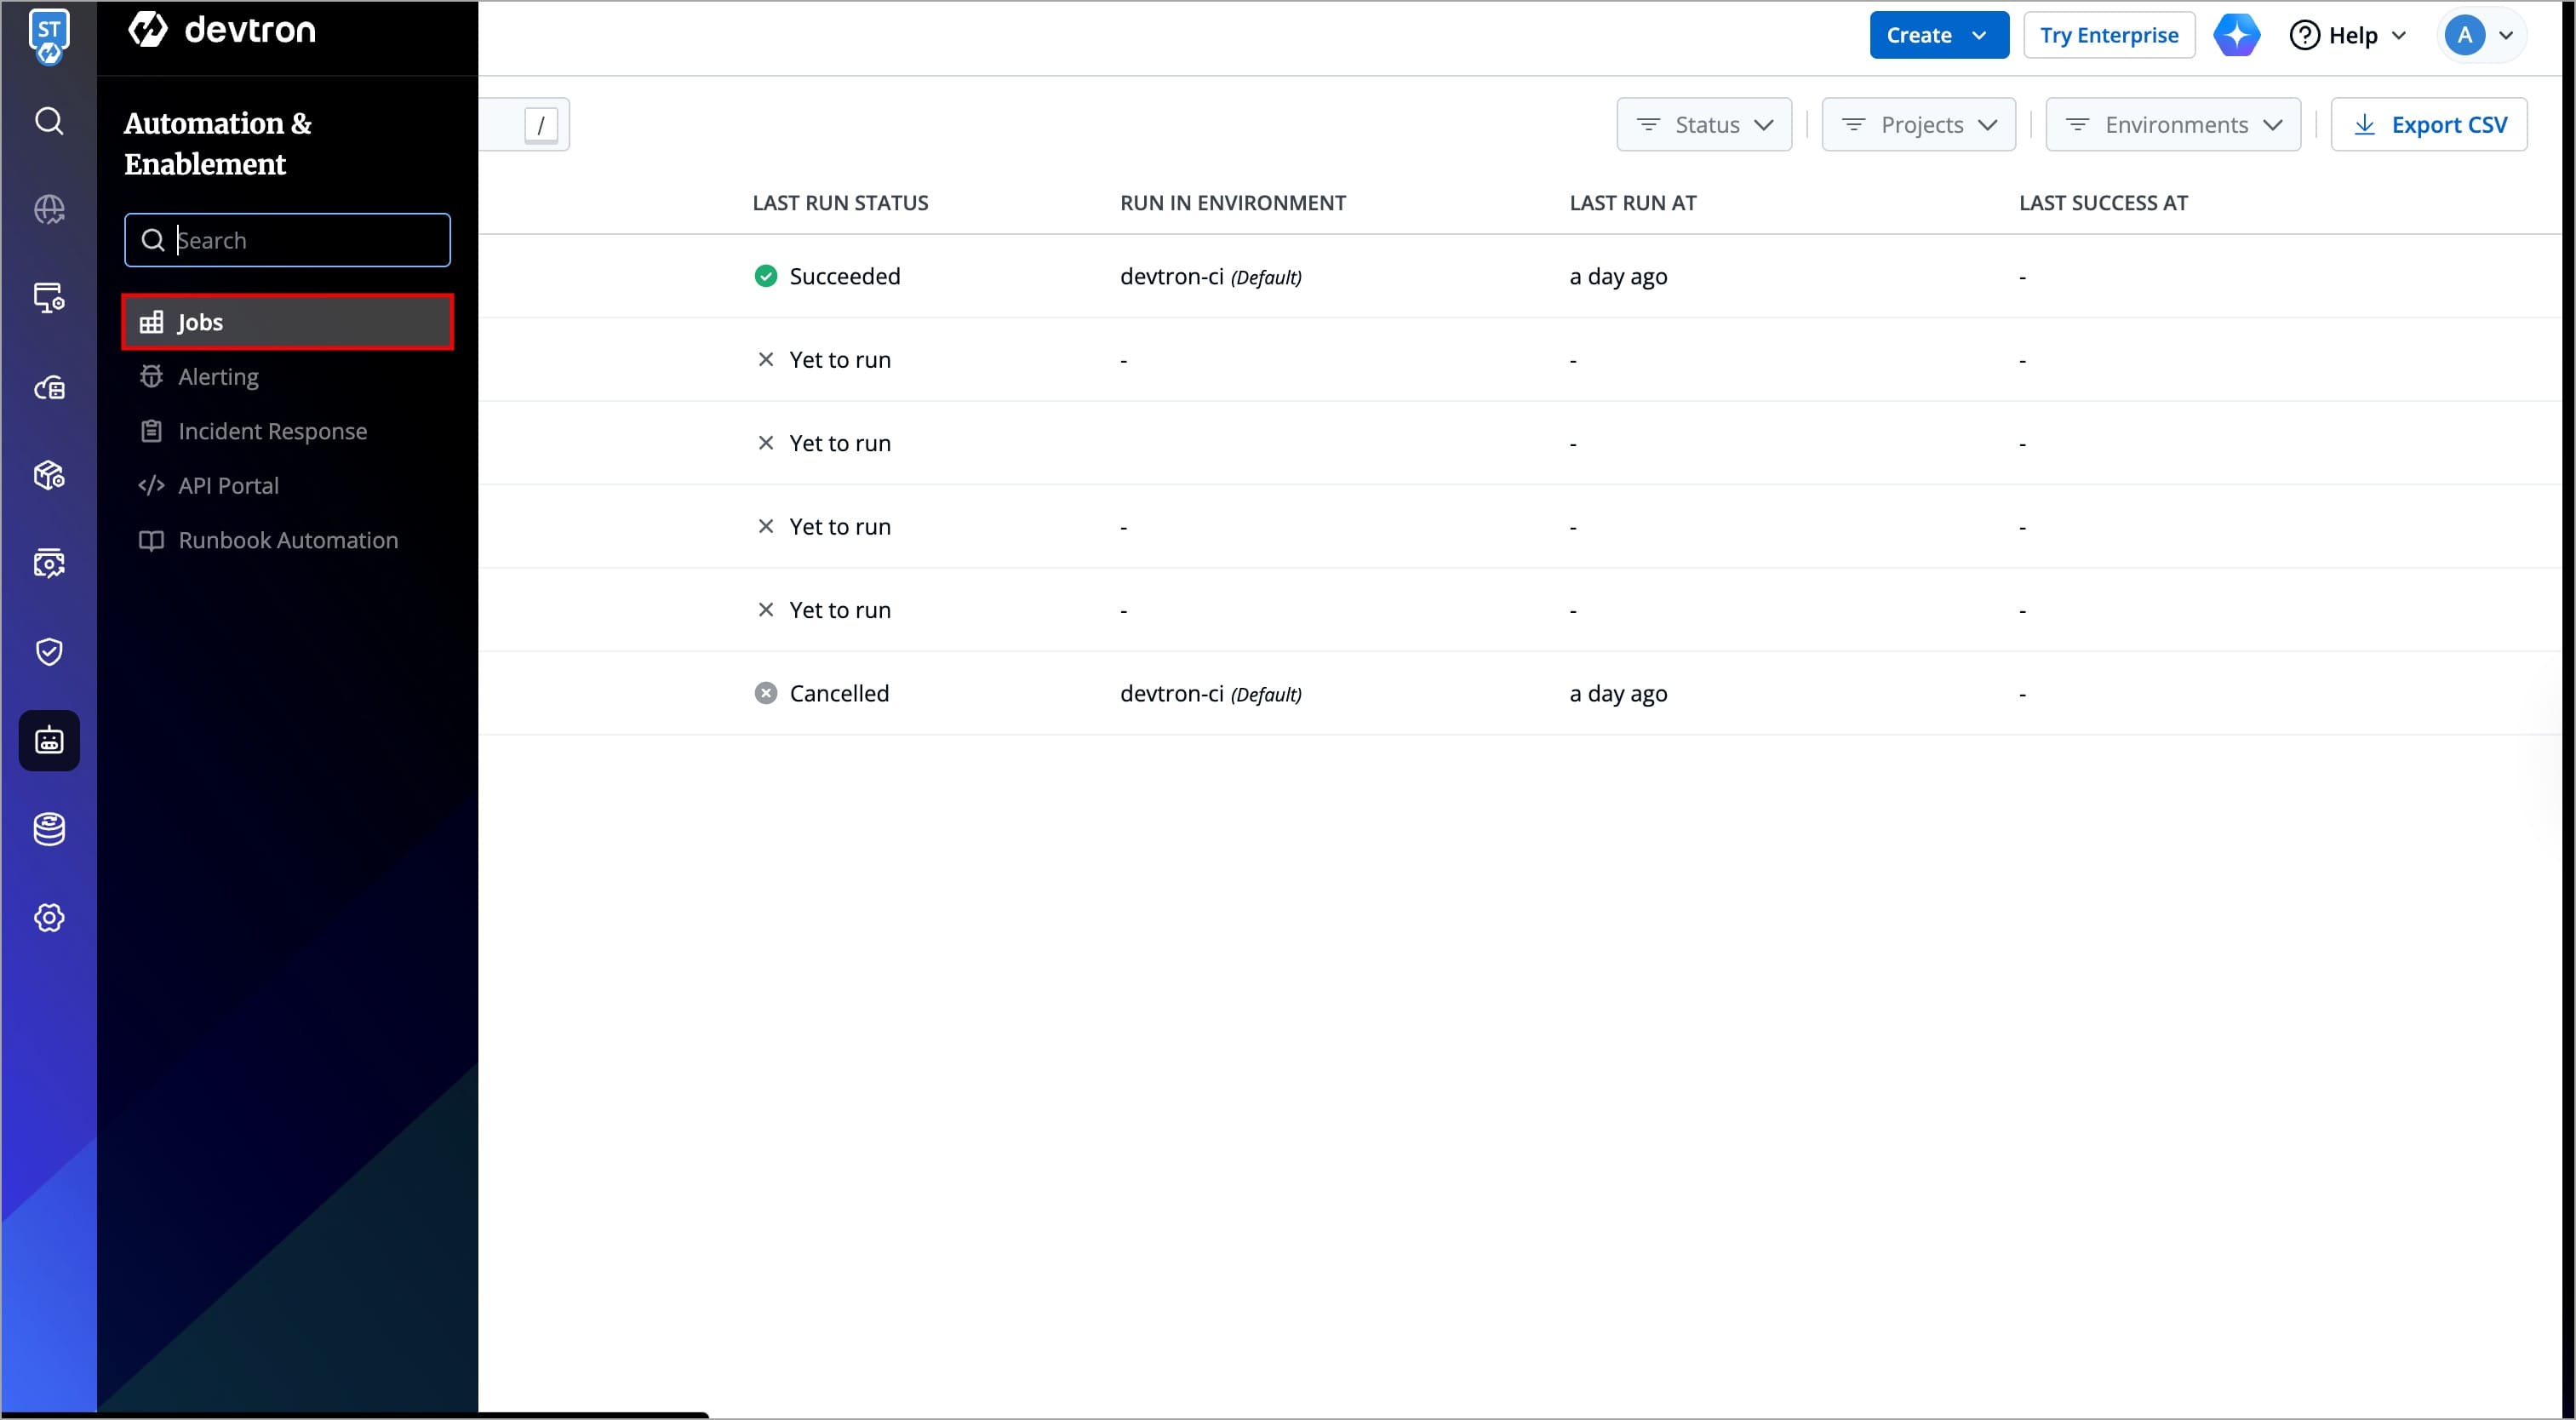
-
Select your preferred job, and navigate to Overview tab.
-
Click the Edit icon next to the Tags section.
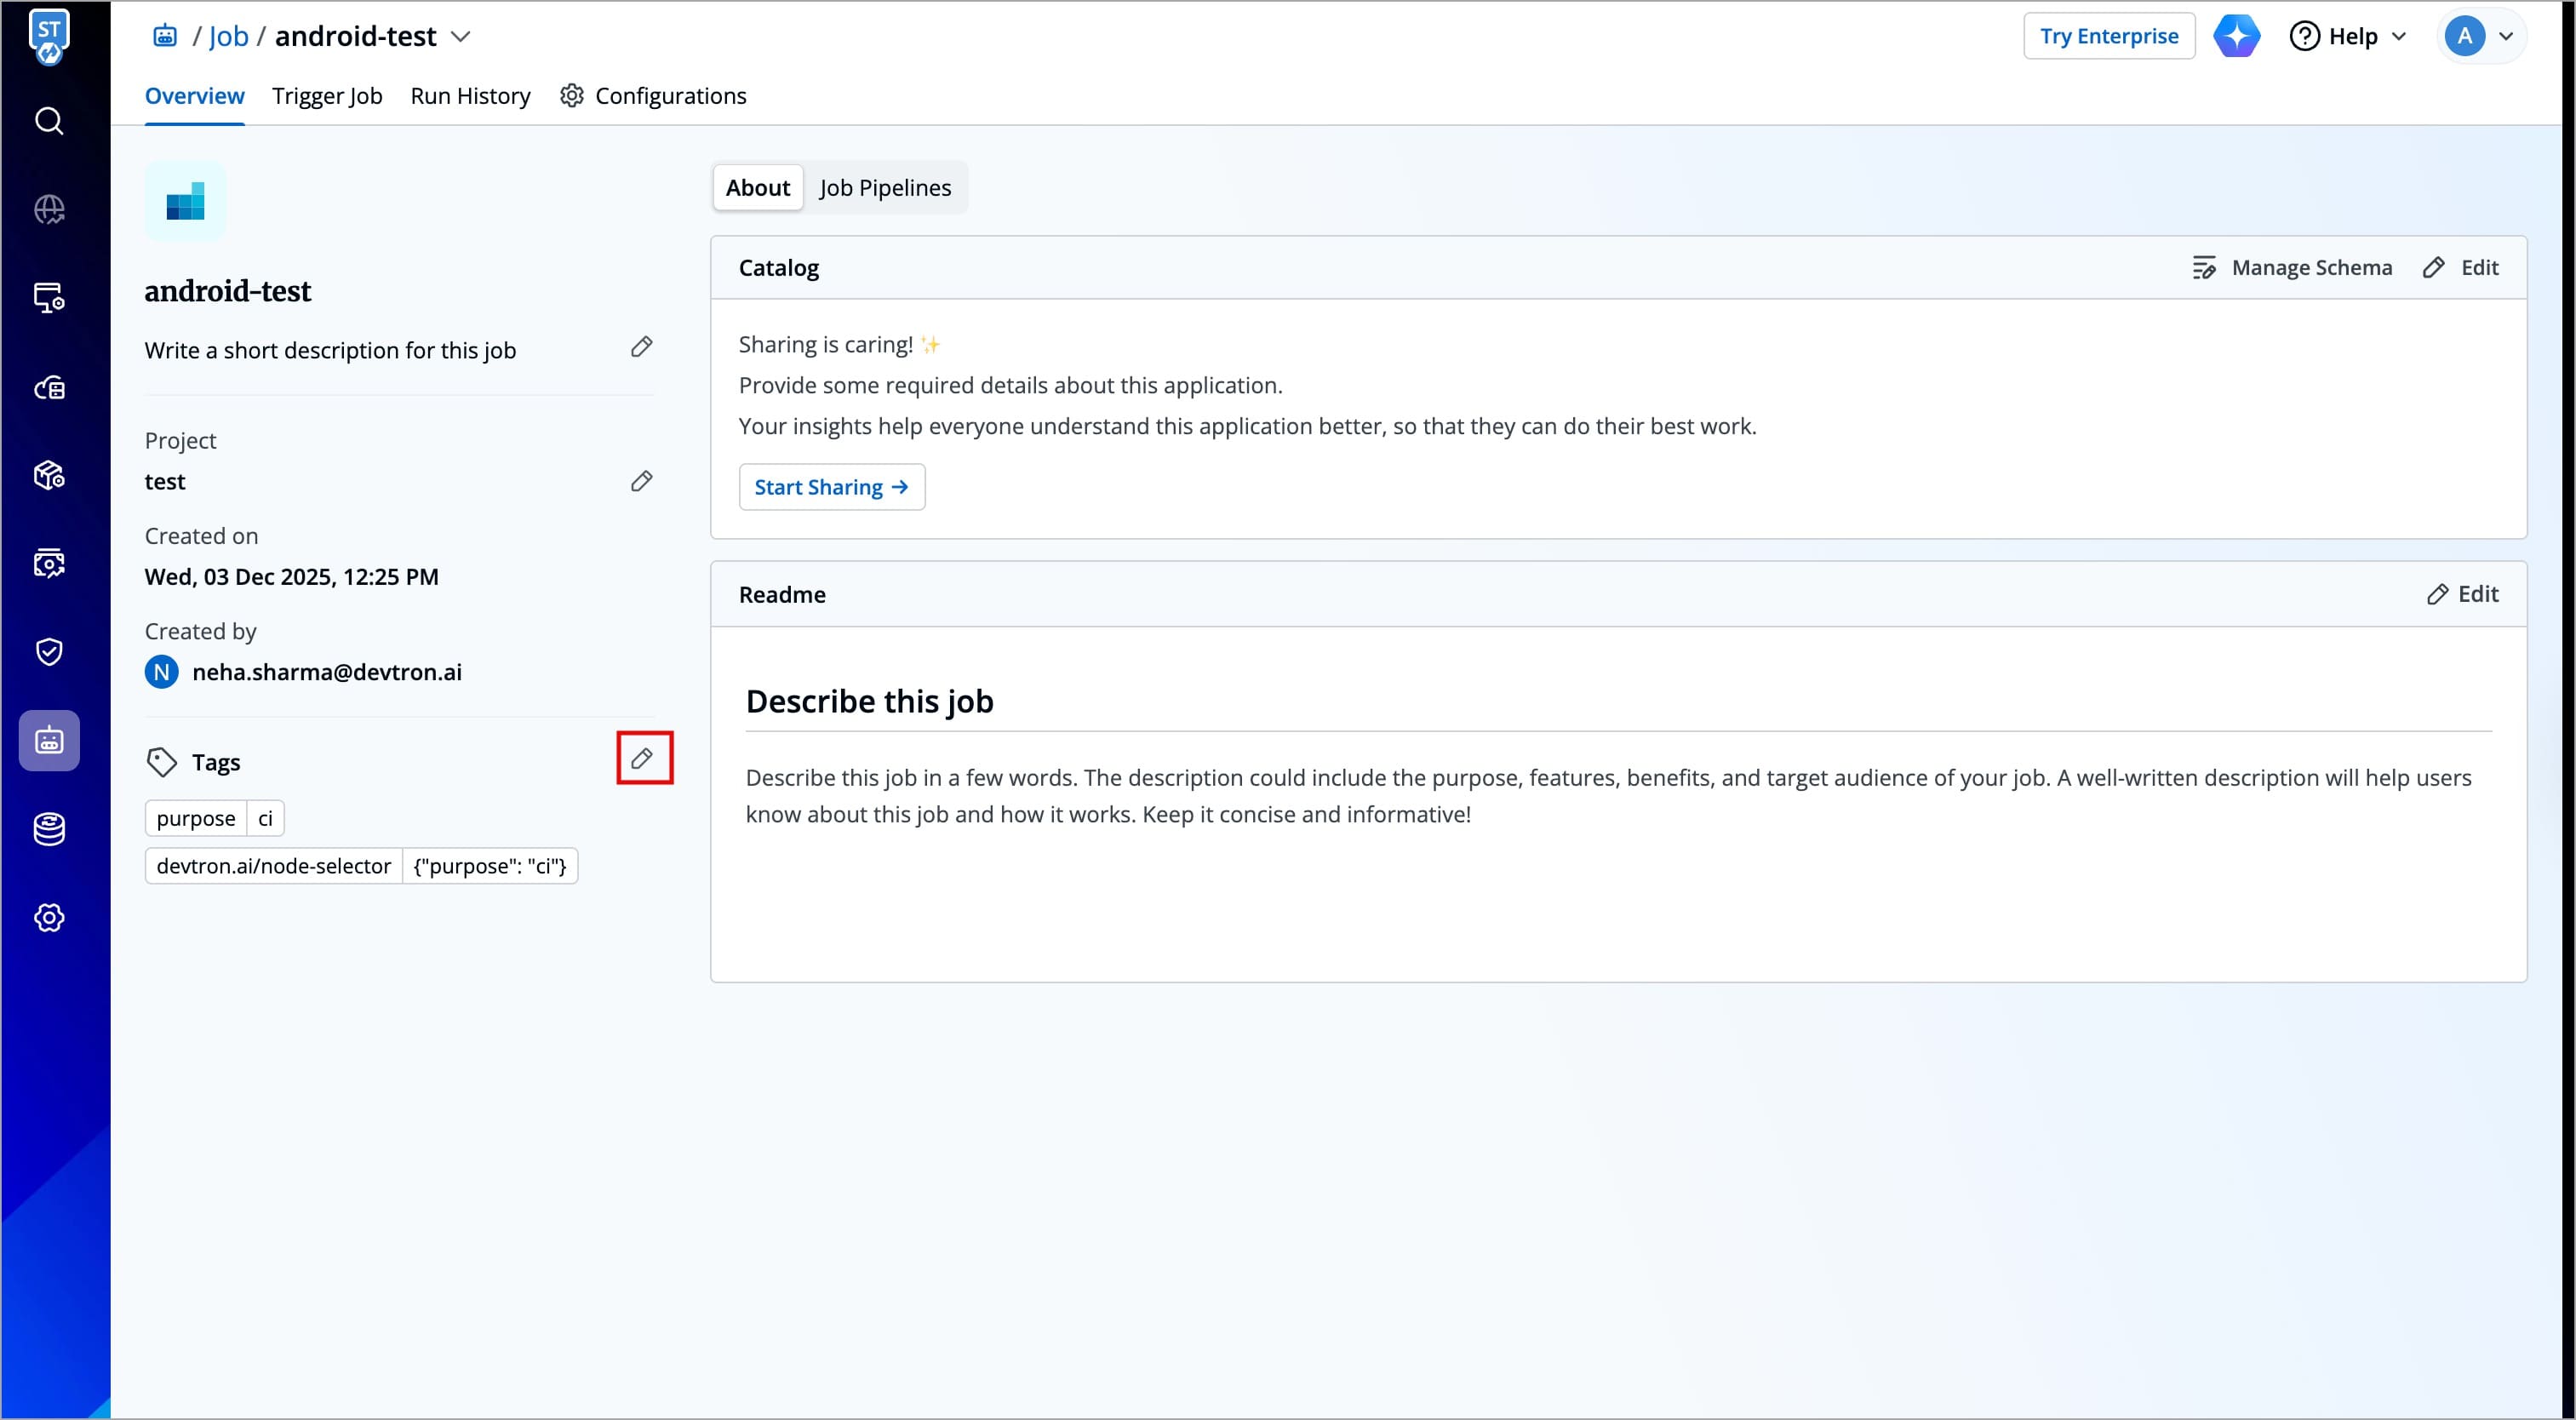
- Add the following key-value tag:
| Key | Value |
|---|---|
devtron.ai/node-selector | {"<label-key>": "<label-value>"} |
Example
| Key | Value |
|---|---|
devtron.ai/node-selector | {"purpose": "ci"} |

- Click Save to apply the configuration
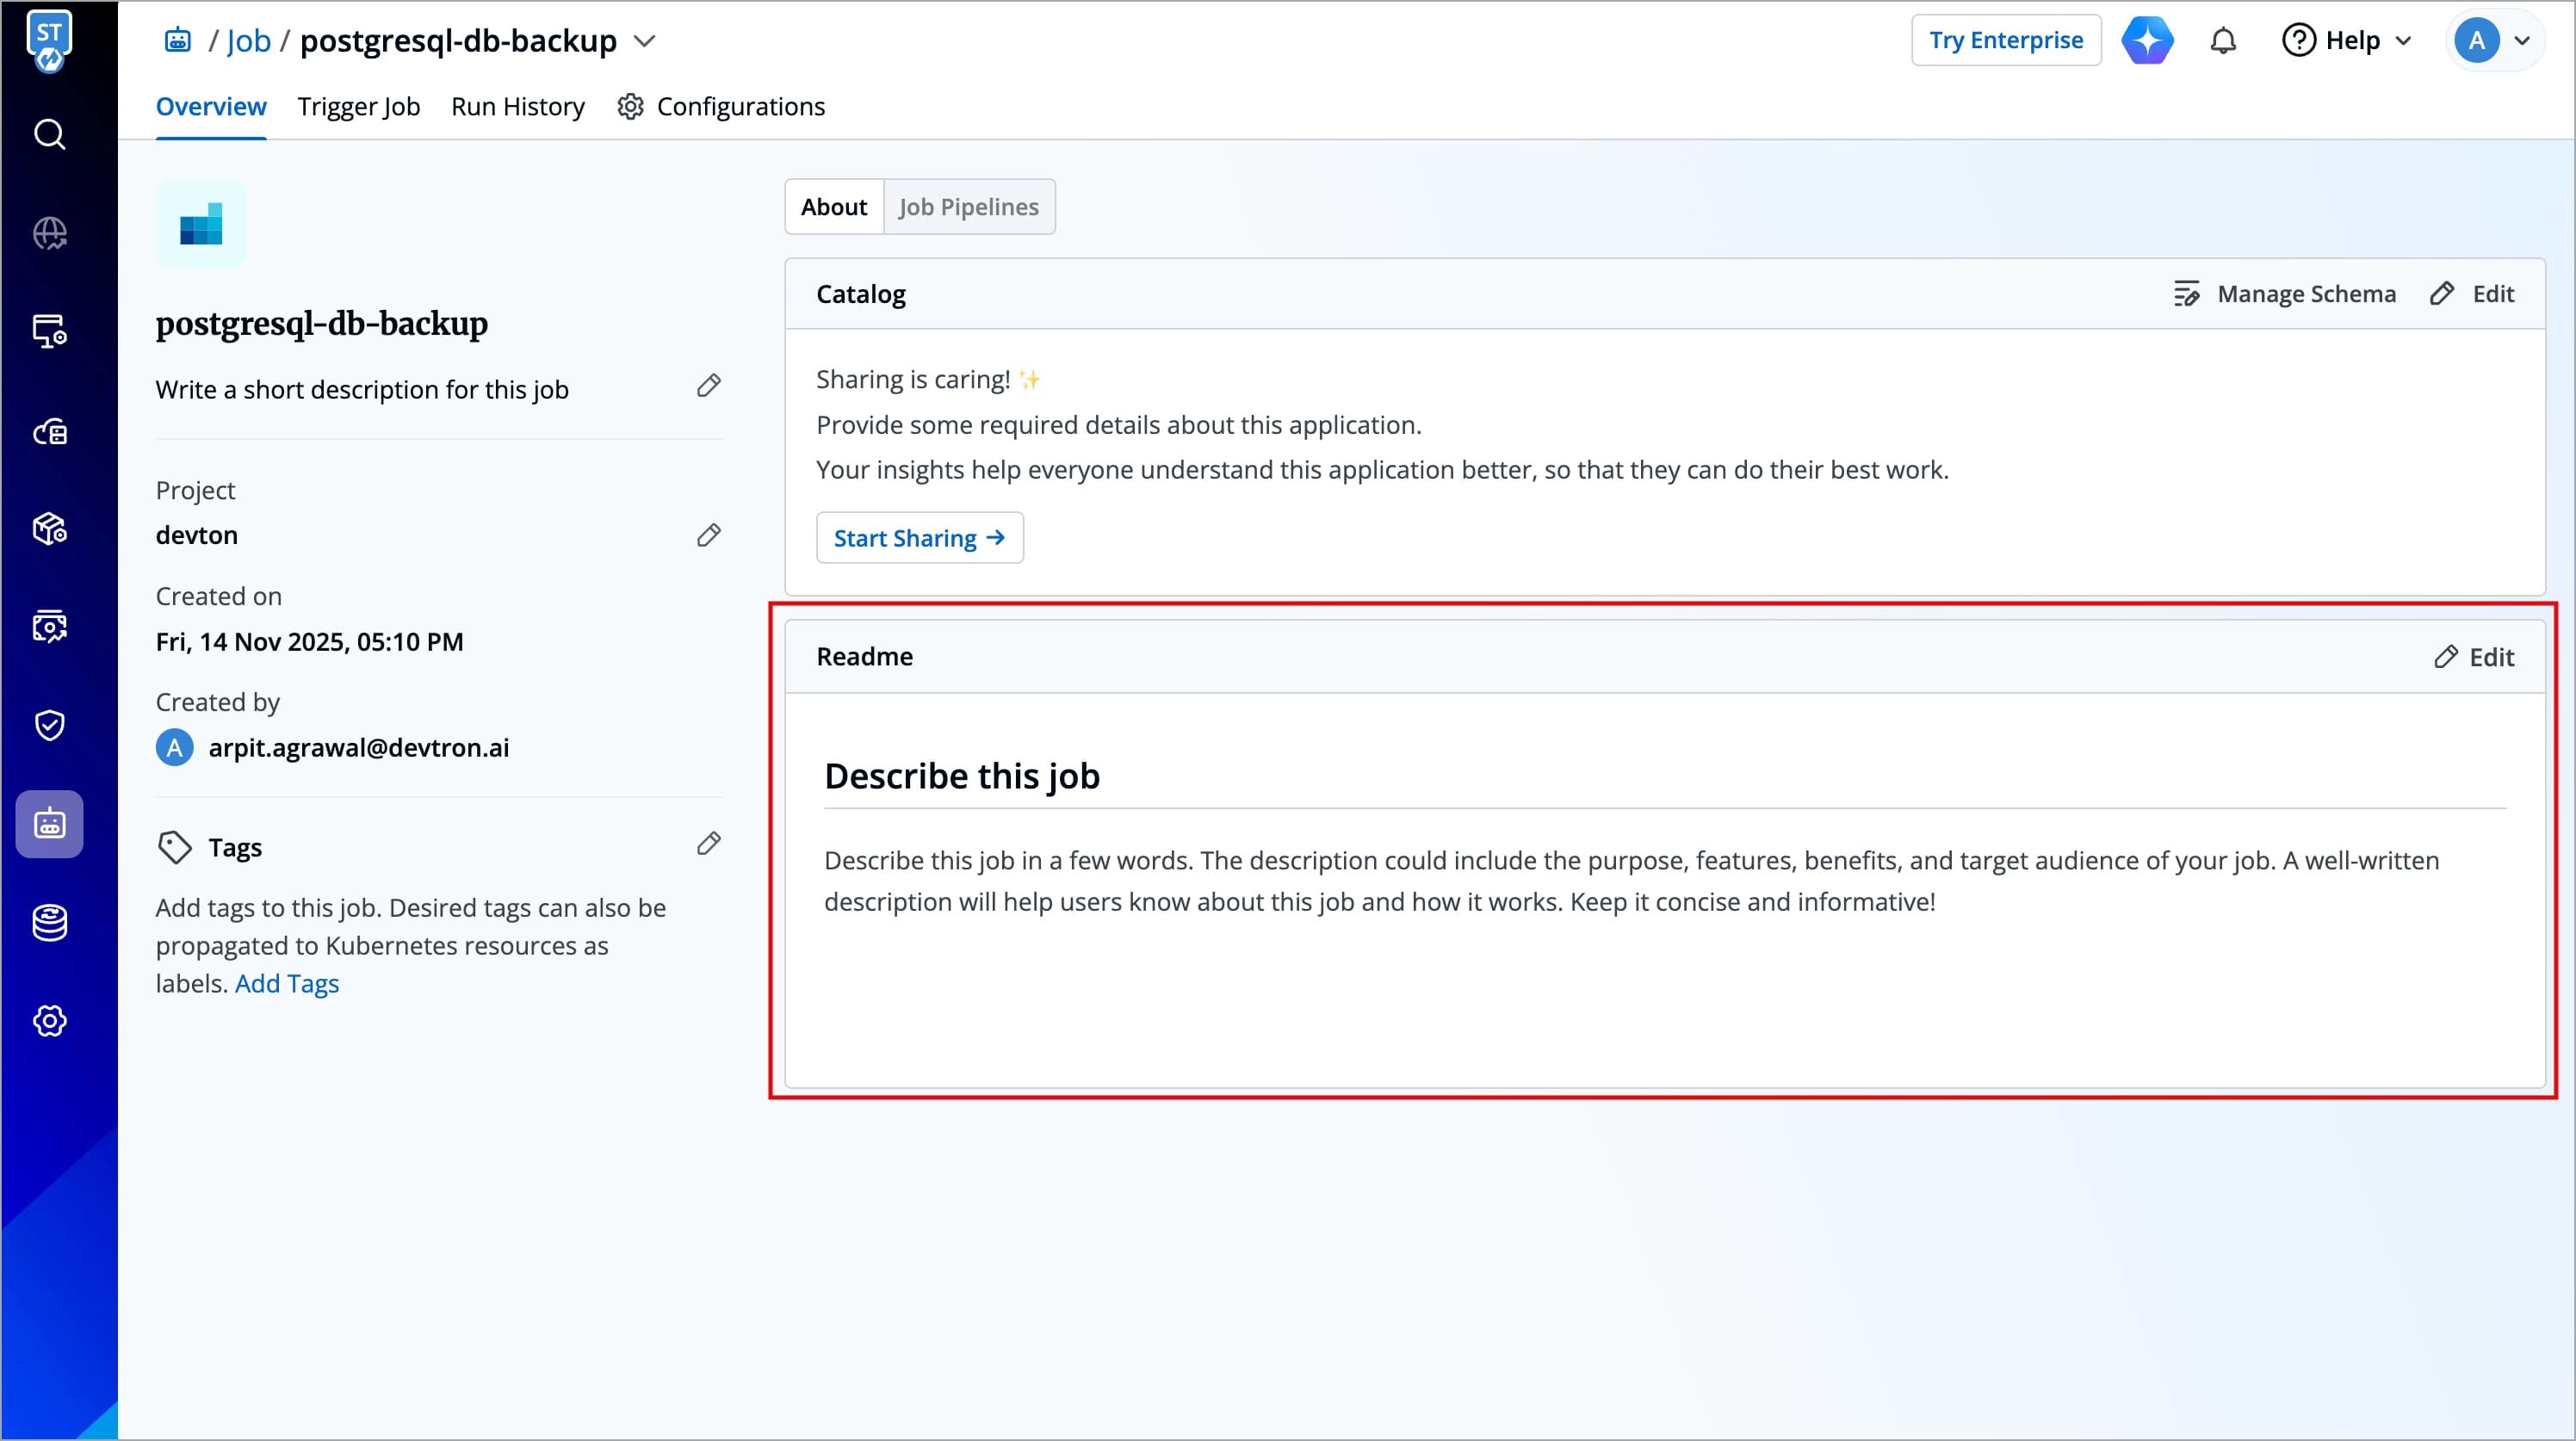
Readme
The right side of the About section contains a README area where you can maintain job-specific notes or documentation. The Readme supports Markdown formatting, making it easy to include formatted text, instructions, or important context related to the application.
To add or update the Readme:
- Click the Edit button in the Readme section.
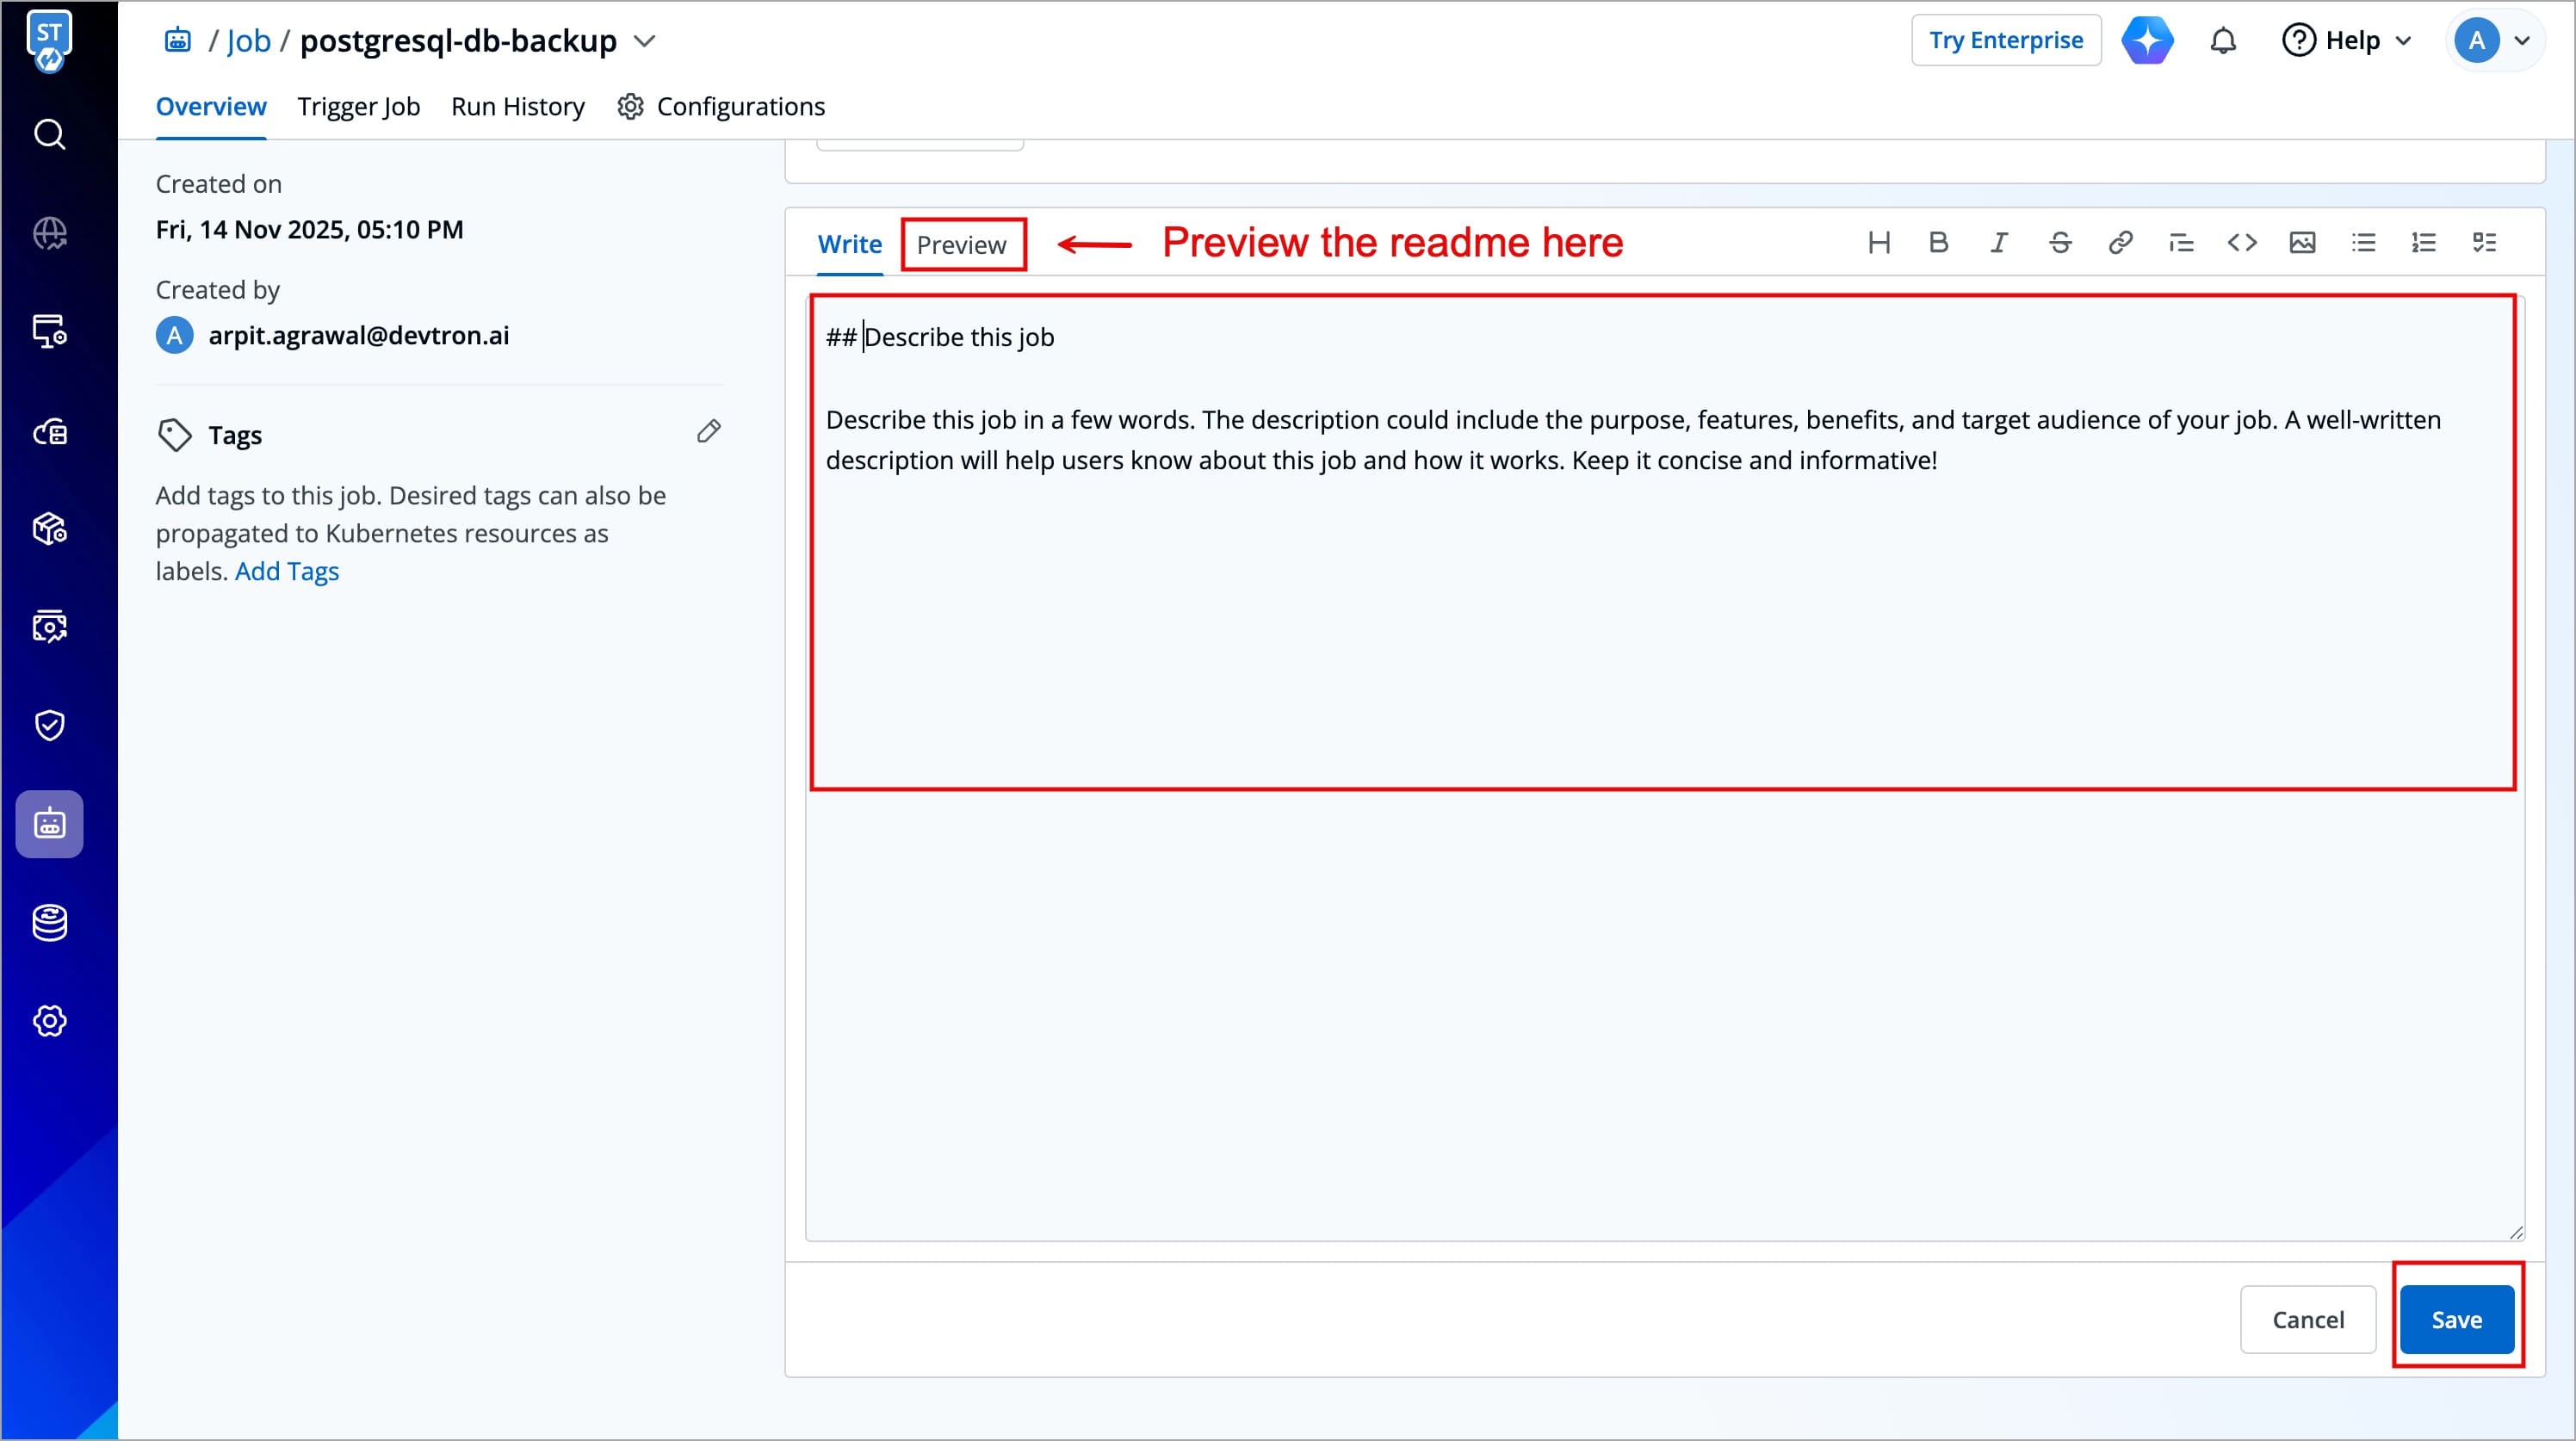
- A Markdown editor will appear where you can write or modify content under the
Writetab. - Use standard Markdown syntax to format text, create lists, insert links, and more.
- Preview the content using the Preview tab.
- Click Save to update the README.
After saving, the system displays the email address of the user who last updated the README, along with the date and time. This information appears in the header of the Readme section, beside the title.
Catalog 
The Catalog in the About section displays information about your job, such as Container port, Environment Variables, Arguments, Resources(CPU and RAM). You can manage this data using the Manage Schema option, which defines the structure of your catalog. Refer the Manage Schema documentation to learn more.
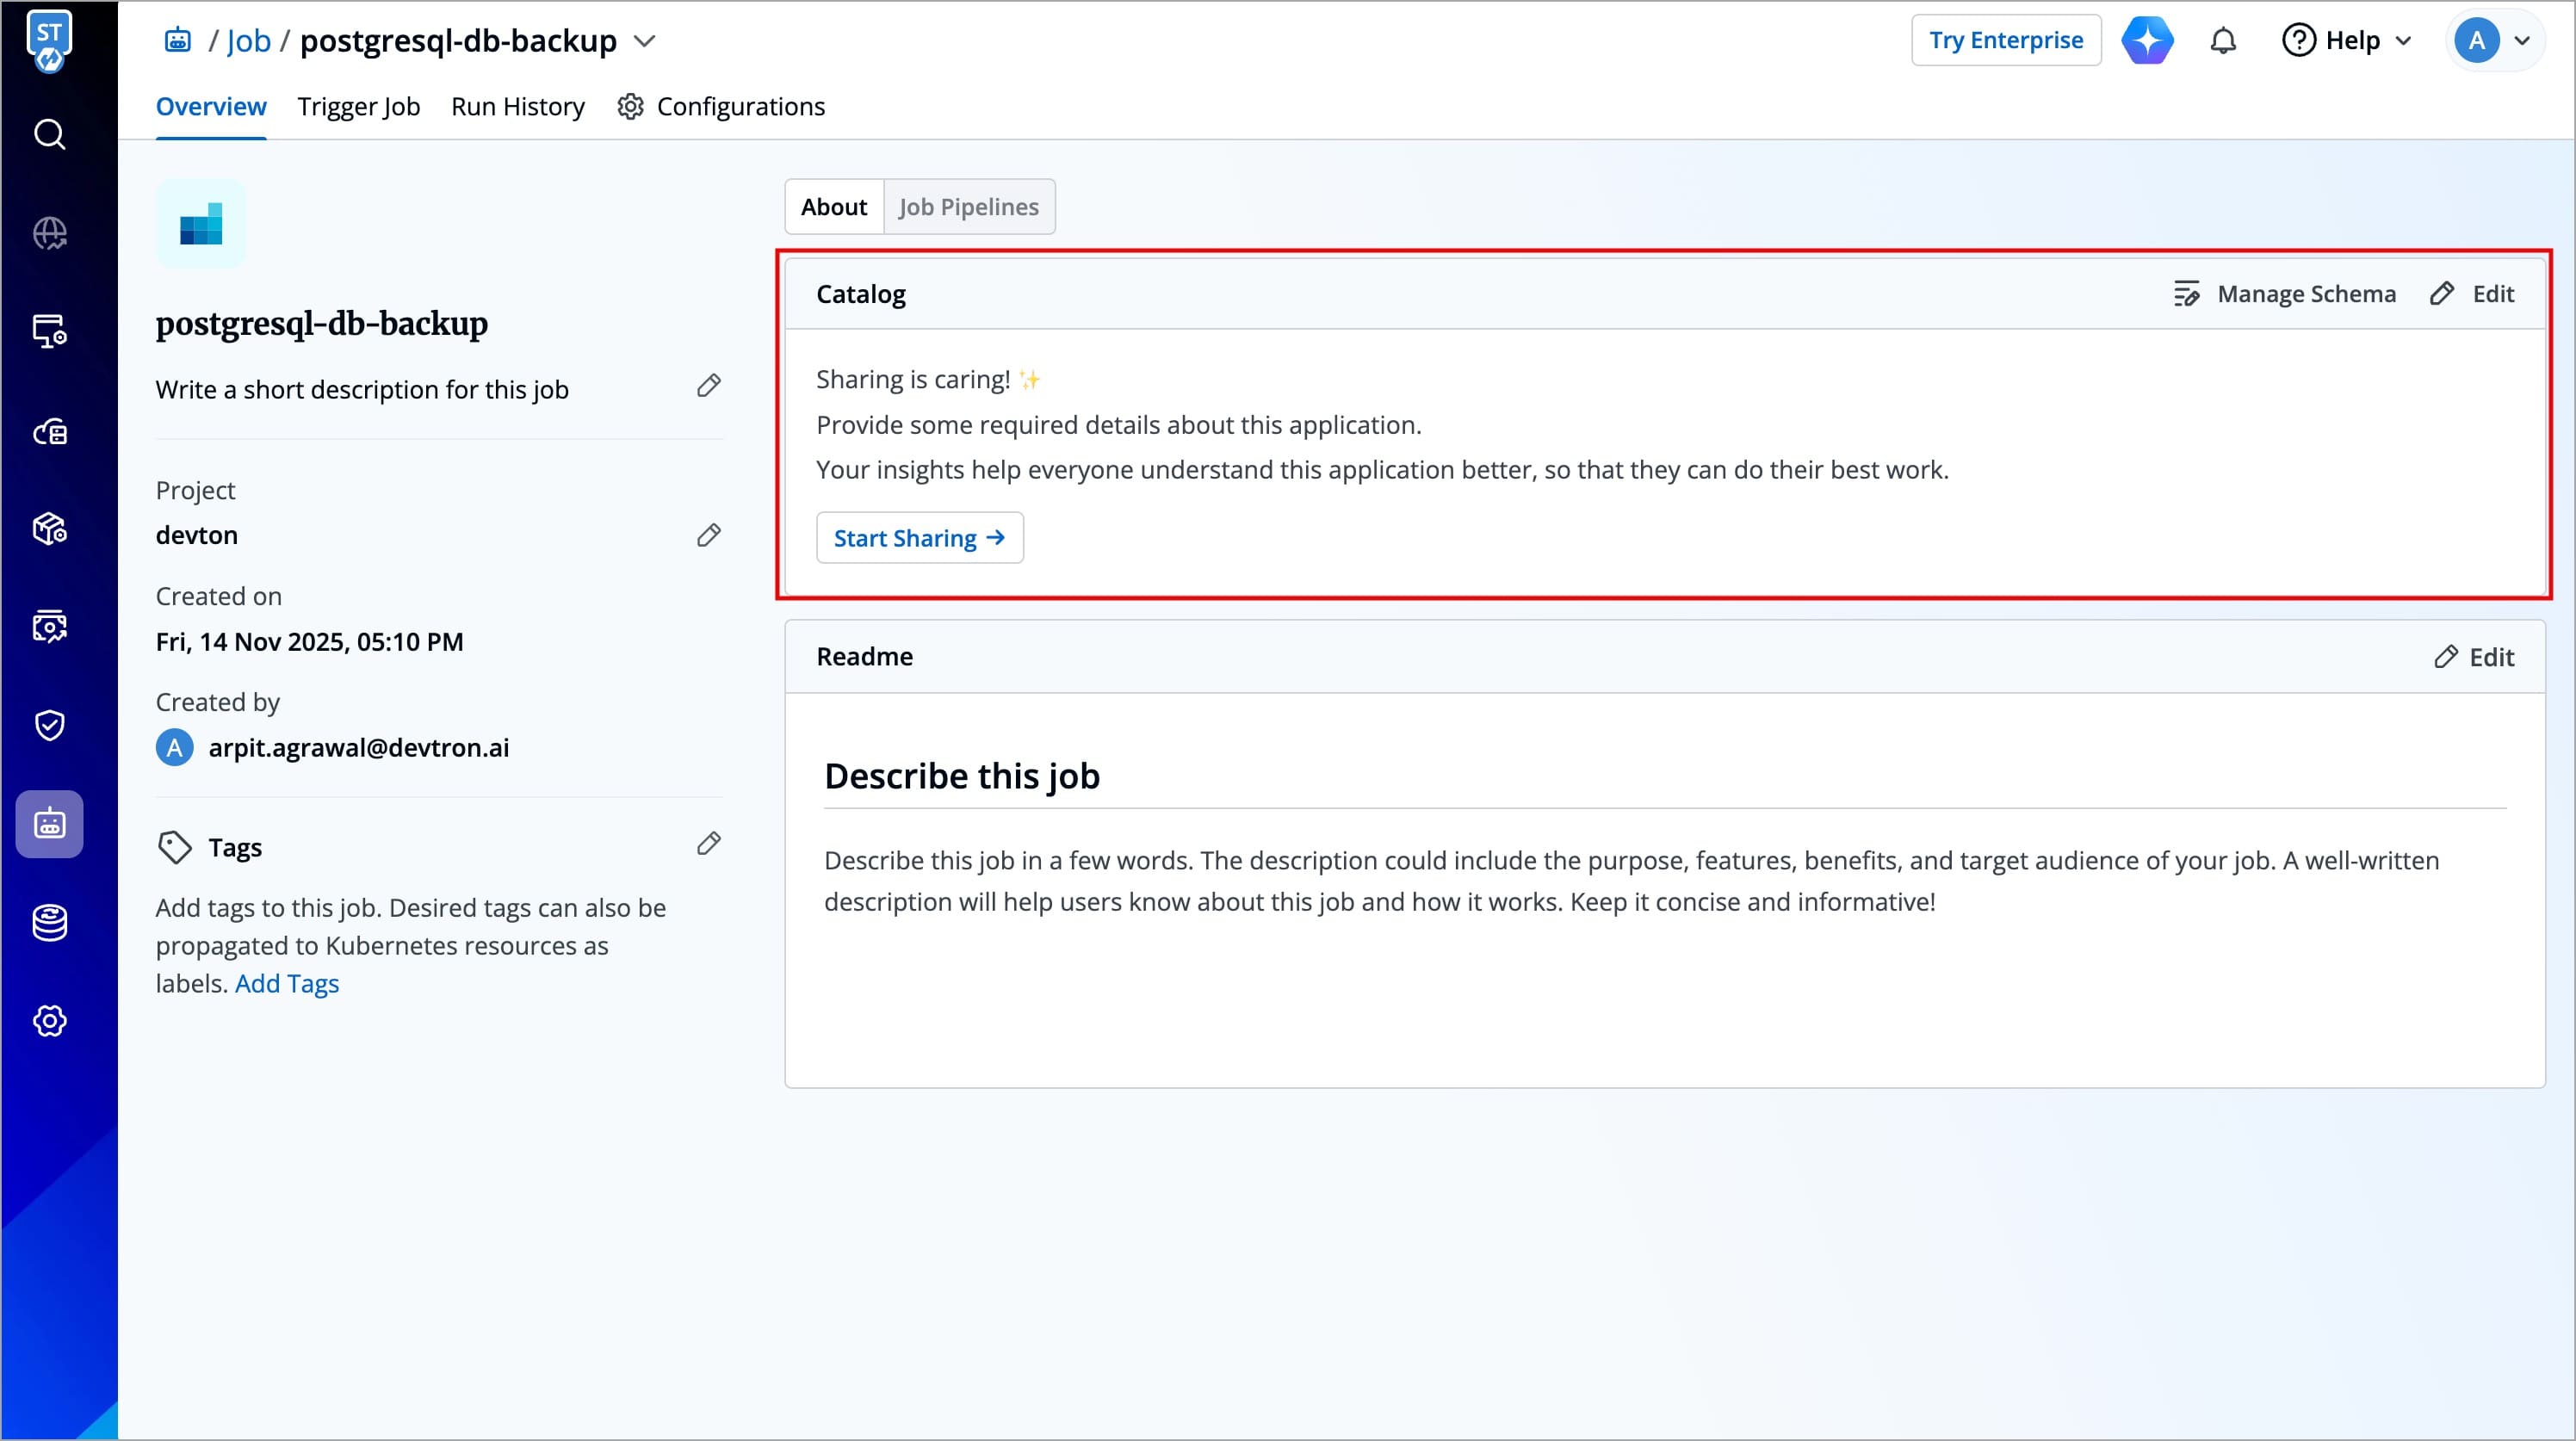
You can use the Catalog to maintain information about your job, such as Environment Variables, Resources(CPU and RAM), service documentation, etc. This makes it easier for others to understand, manage, and use your job.
Super-Admins define a custom JSON schema that determines what fields are shown in the catalog form. This schema is specific to each resource type, such as Devtron jobs.
When you click the Edit icon, a form appears based on the defined schema. As a job owner, you can fill out fields like:
- Container port (e.g., API contract, service documentation)
- Environment Variables
- Arguments
- Resources(CPU and RAM)
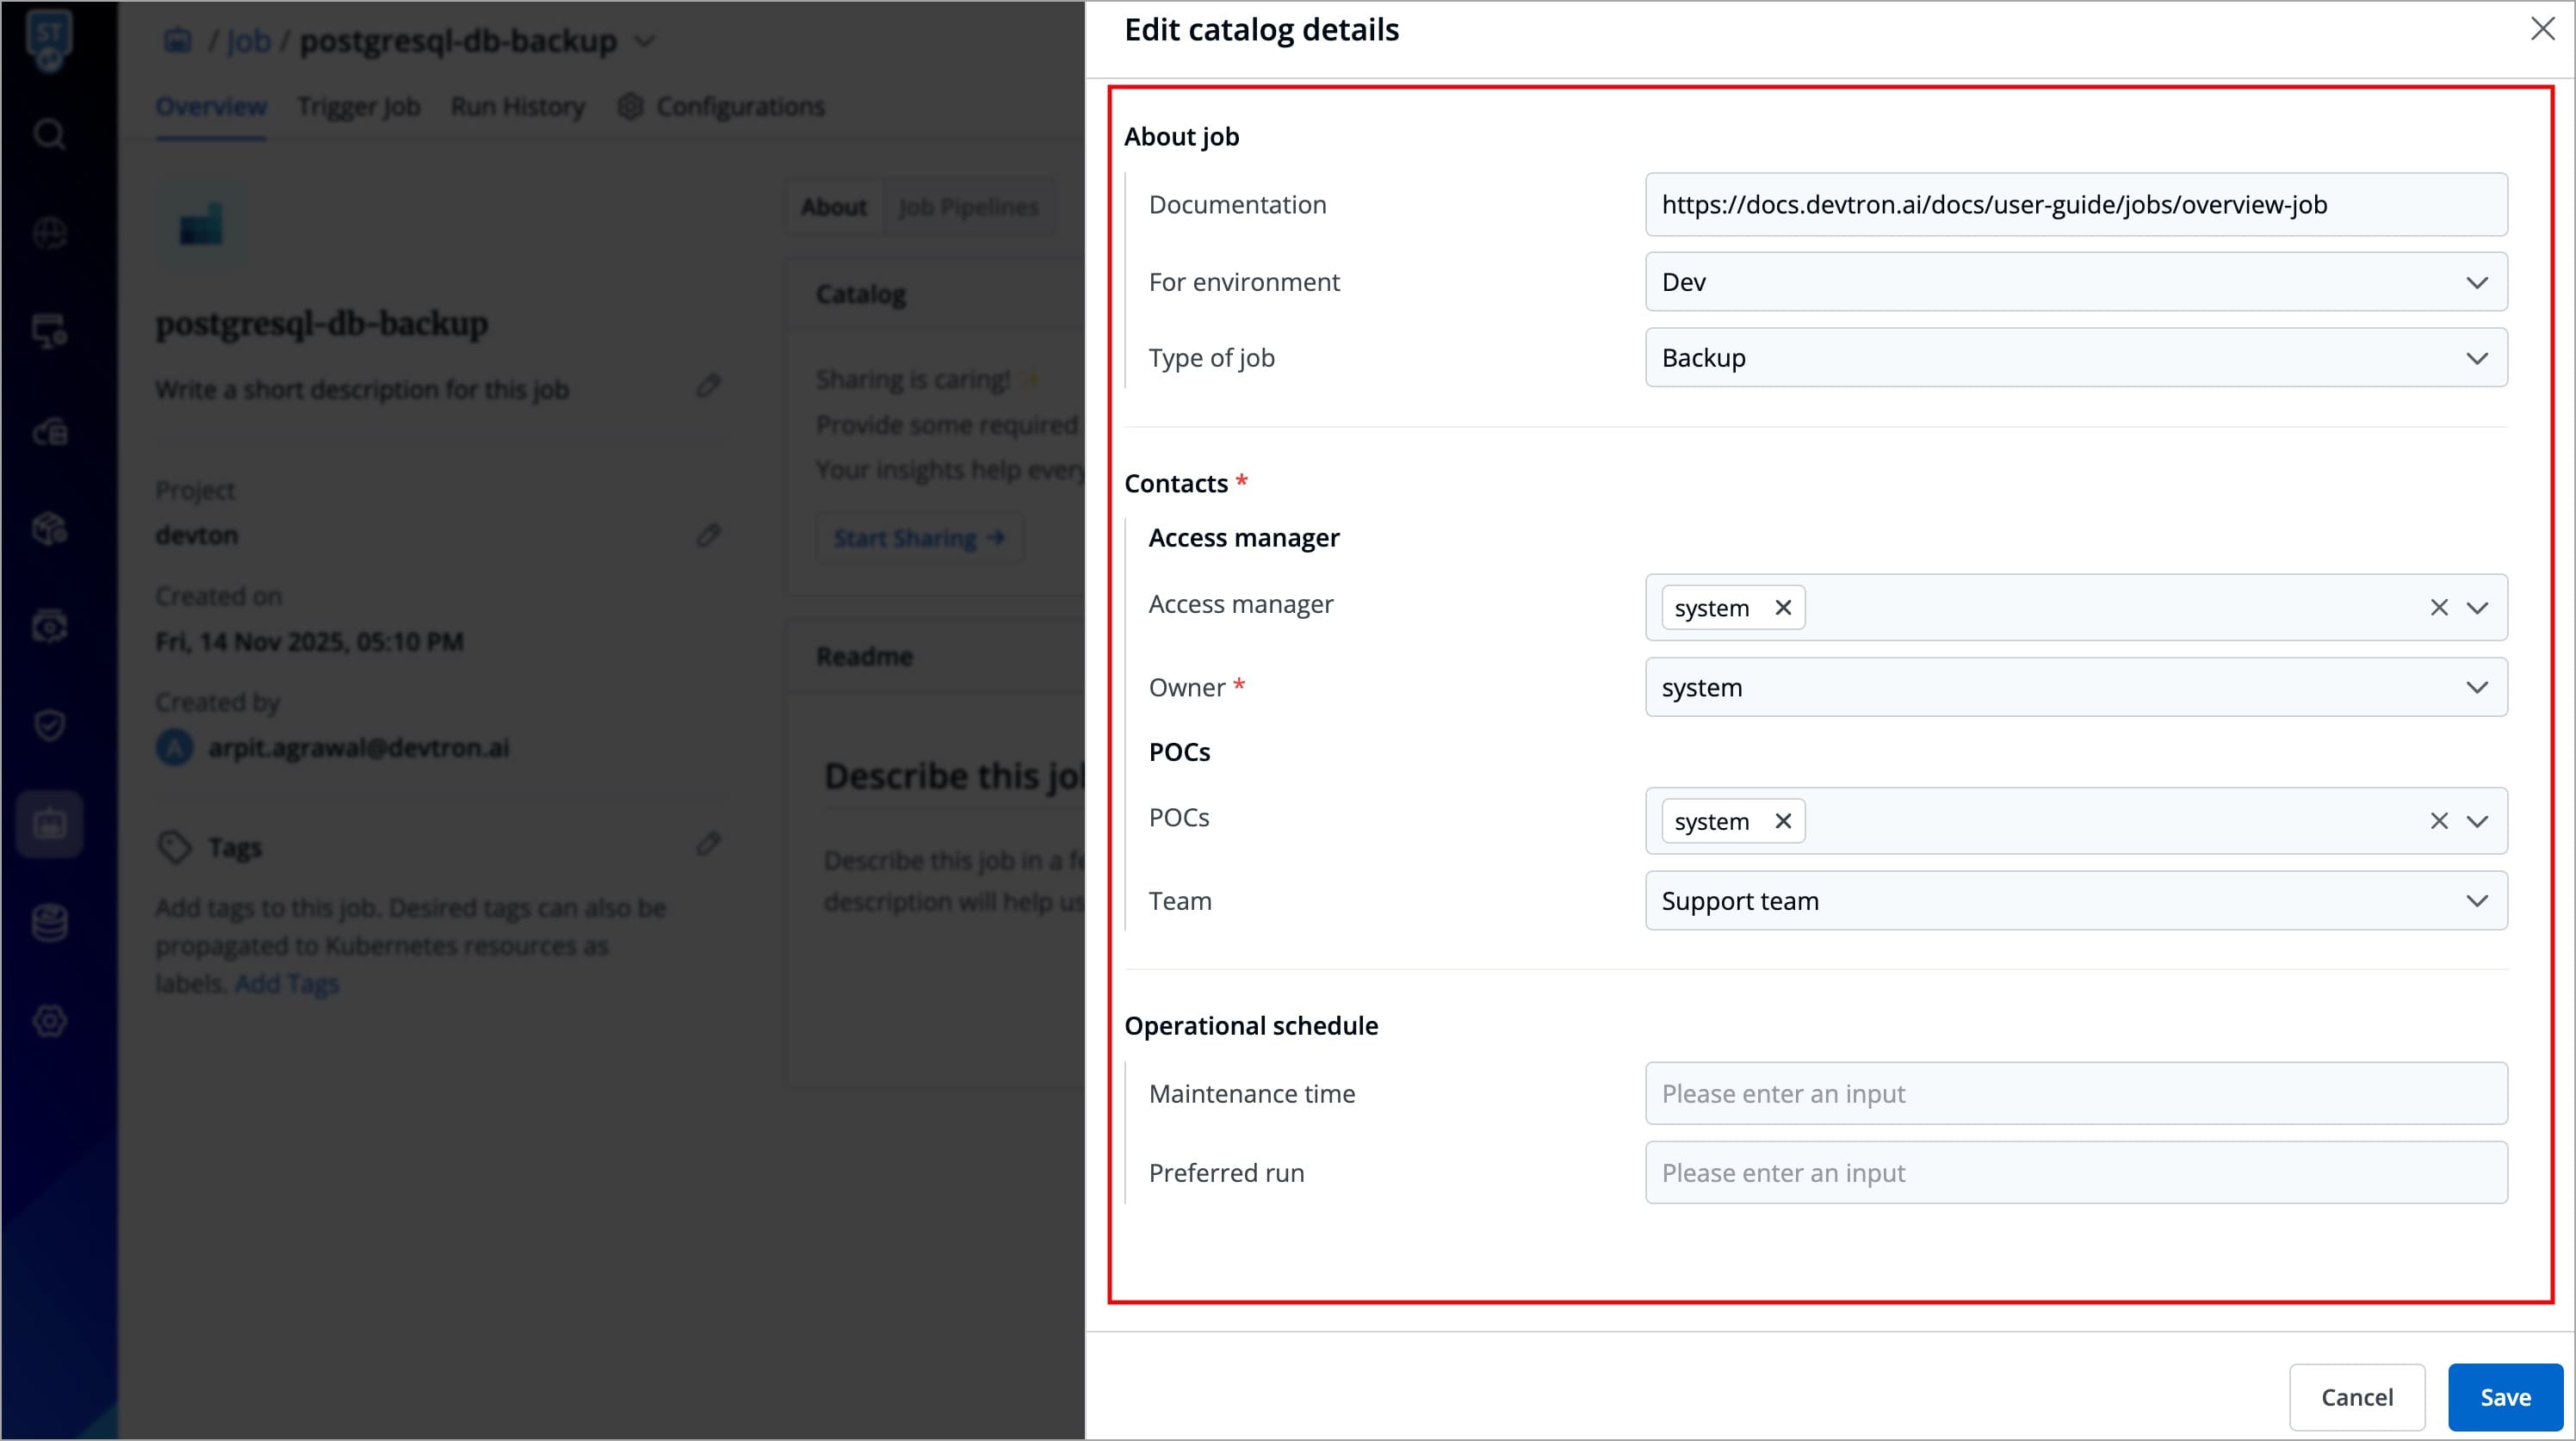
The structure and labels in the catalog form are entirely configurable by your platform team via JSON schema in Catalog. Field names and sections may vary depending on how the schema was defined by your organization.
Once saved, this information is displayed in a readable format within the Catalog subsection and is accessible to all users who have permission to view the job.

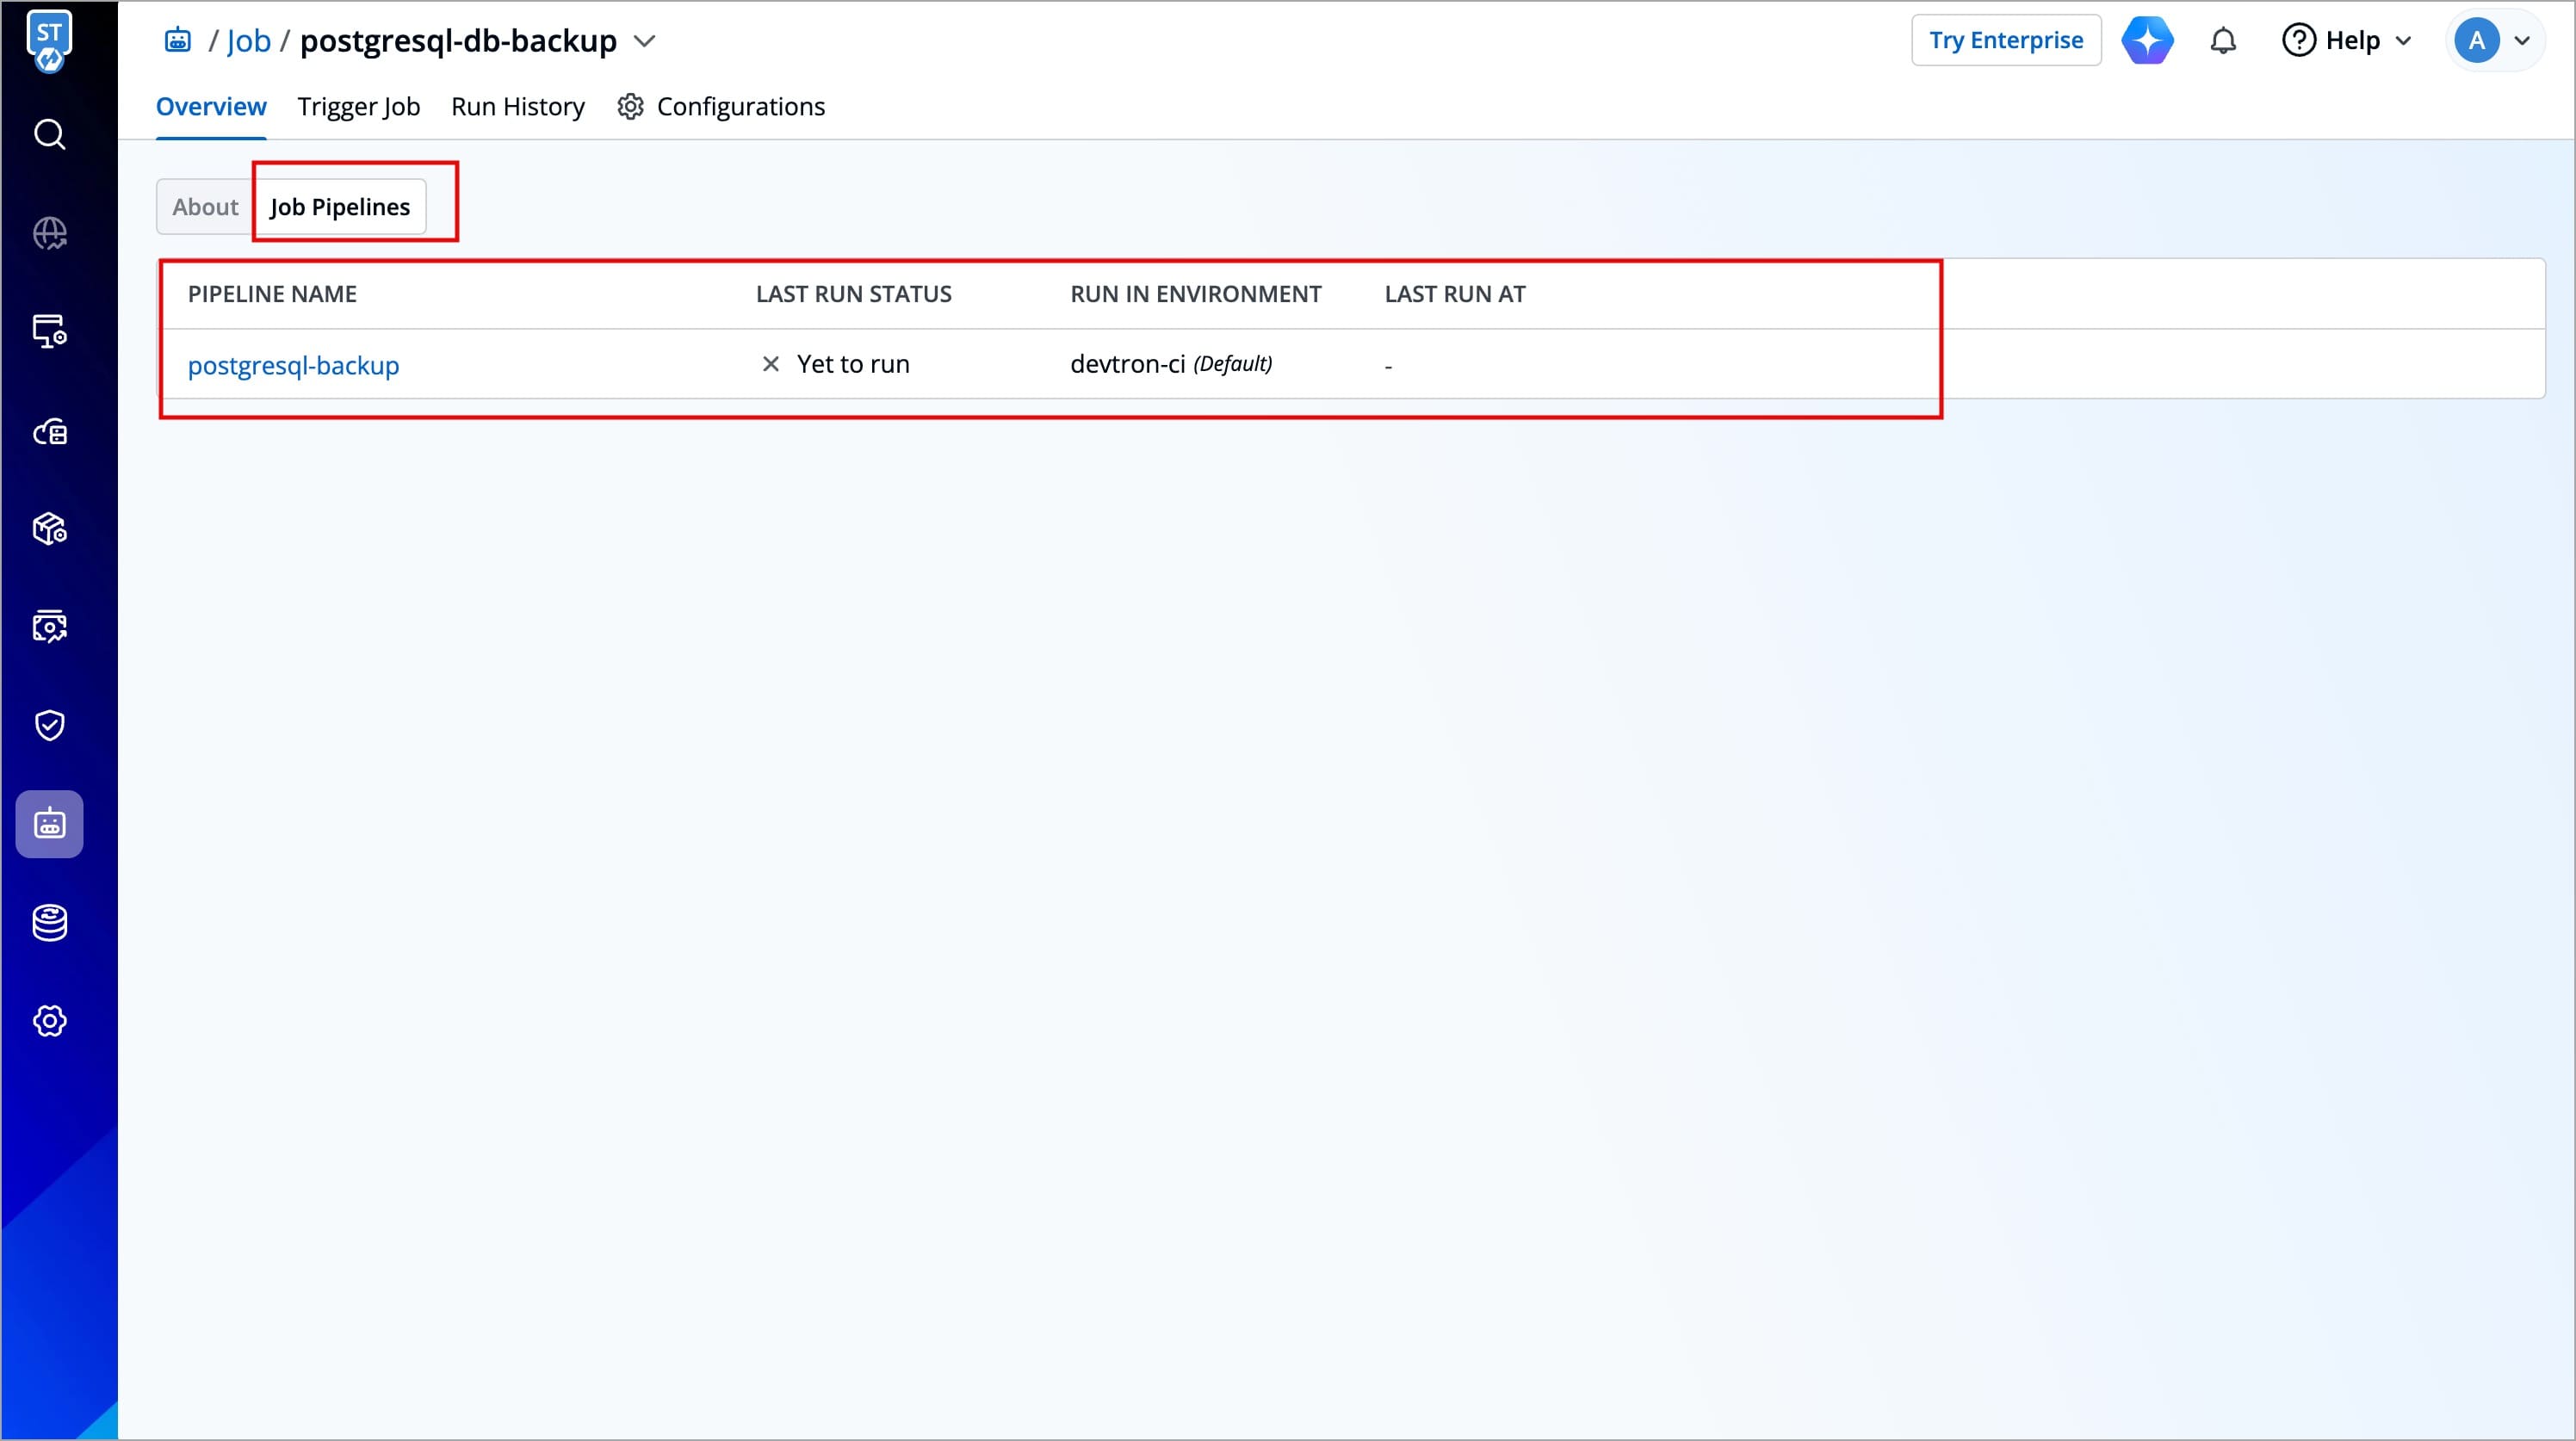
Job Pipelines
The Job Pipelines section provides a detailed view of all job pipelines. For each job pipeline, it displays
| Field Name | Description |
|---|---|
| Pipeline name | Name of the job pipeline. |
| Last Run Status | Displays the status of the most recent job execution |
| Run in environment | Displays the name of the environment in which the job is executed. |
| Last Run At | Displays how long ago the job was last triggered. |